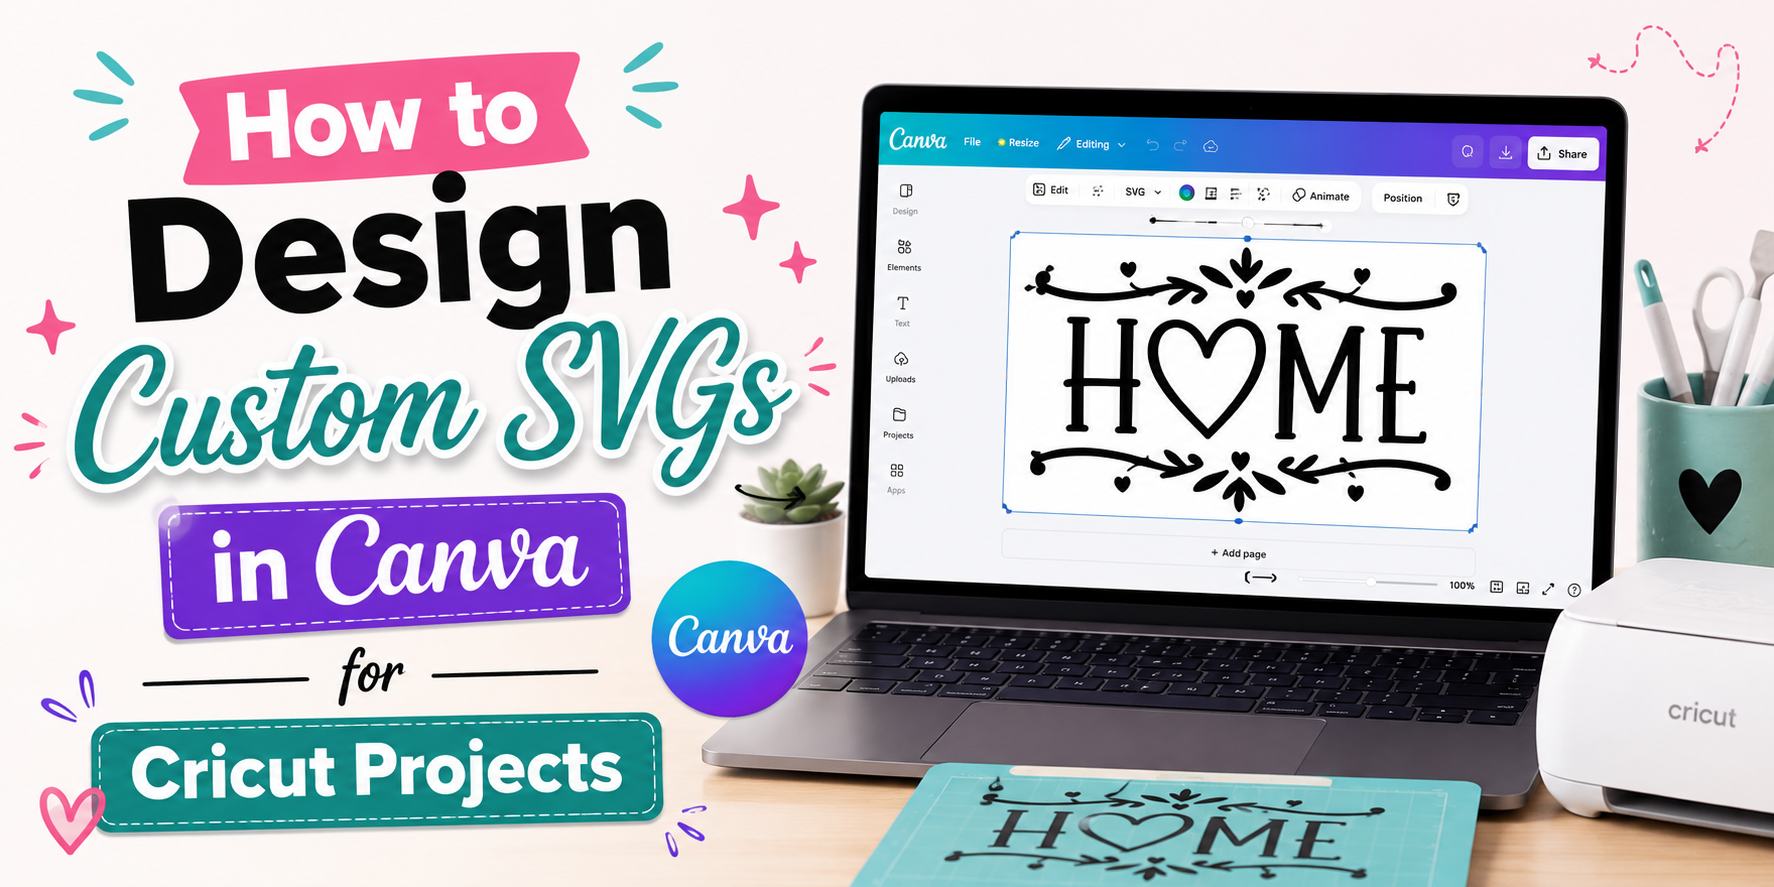
How to Design Custom SVGs in Canva for Cricut Projects
Many Cricut users want custom designs that match their own ideas. Still, finding the right SVG file is not always easy. Some designs look too common, while others need changes before they are ready to cut. That can slow down your project and make crafting less enjoyable.
The good news is that Canva gives you a simple way to create your own SVG designs. You can add shapes, text, and graphics that fit your project. This guide shows each step, from creating your design in Canva to uploading it into Cricut Design Space. You will also find helpful tips, project ideas, and common mistakes to avoid.
What Is an SVG File for Cricut Projects?
An SVG file is a design file that keeps lines and shapes clear at any size. SVG stands for Scalable Vector Graphics. You can make the design larger or smaller without losing quality.
Cricut machines use SVG files to cut many types of materials. The machine follows the paths in the file to make clean and accurate cuts. This helps you create projects with sharp edges and smooth lines.
SVG files work well for many Cricut projects. You can use them for vinyl decals, paper crafts, greeting cards, stickers, T-shirts, signs, gift tags, and home décor. A single file can also include several layers. Each layer can be cut from a different color or material.
Canva lets you build simple SVG designs with shapes, text, icons, and other design elements. After you finish your design, you can save it as an SVG file if your Canva plan supports SVG export. Then you can upload the file into Cricut Design Space and get it ready for cutting.
Learning how SVG files work makes it easier to create designs that cut cleanly. It also helps you avoid extra edits before you start your Cricut project.
Why Create Custom SVGs in Canva for Cricut?
Custom SVGs give you more control over your Cricut projects. Canva makes the design process simple, even for beginners. You can create graphics that match your style, adjust them at any time, and use them on many craft projects. A custom SVG also helps your finished work look more personal instead of using the same designs as everyone else.
Create Personalized Craft Designs
A custom SVG lets you add your own ideas to every project. You can use your favorite colors, shapes, text, and icons to match the look you want. This works well for gifts, home decor, party items, and holiday crafts.
Personal designs also help your projects stand out. A simple change, such as adding a name or a special message, can make a basic craft feel more meaningful.
Resize Designs Without Losing Quality
SVG files stay sharp at different sizes. You can make a design larger for a wall sign or smaller for a greeting card without making it look blurry.
This gives you more freedom while planning your Cricut projects. One SVG can work for many different materials and sizes, so you do not have to create the design again.
Make Unique Cricut Projects
Custom SVGs help you create projects that fit your own style. You are not limited to ready-made graphics. Instead, you can build something that matches your idea from the start.
This is useful for T-shirts, mugs, stickers, signs, tote bags, and paper crafts. Each project can have its own look while using the same design skills.
Save Time With Canva Tools
Canva includes simple tools that help you build designs more quickly. You can move elements with drag-and-drop controls, adjust colors, add text, and line everything up without much effort.
The easy layout keeps the design process smooth. You spend less time fixing small details and more time creating your Cricut projects.
Easily Edit and Customize Designs
Your design is never locked into one version. You can change fonts, colors, shapes, or graphics whenever you want. Small edits only take a few clicks.
This makes it easy to create several versions of the same SVG. One design can be changed for birthdays, holidays, family events, or small business products without starting from scratch.
Tools You Need to Create SVGs in Canva
You do not need a long list of supplies to make SVG files in Canva. A few basic tools are enough to start. Each one plays a different role in the design process. Once everything is ready, you can create, edit, and prepare files for your Cricut projects with less effort.
Canva Account
A Canva account is the first thing you need. It gives you access to the design editor, templates, shapes, text tools, and graphics. You can start with a free account and create many simple SVG-style designs.
Some features and elements are only available with Canva Pro. If your project needs premium fonts or graphics, a Pro account gives you more choices. Even so, the free version works well for many Cricut projects.
Cricut Design Space
After creating your design in Canva, you need Cricut Design Space. This is the software that prepares your design for cutting.
You can upload your finished file, resize it, and place it on the cutting mat. It also lets you check that every part of the design looks right before you send it to your Cricut machine.
Computer or Tablet
A computer or tablet gives you a larger workspace for designing. Bigger screens make it easier to move objects, line up text, and make small edits.
A desktop or laptop often gives you more control, especially for detailed designs. A tablet also works well if you like creating with touch controls. Pick the device that feels most comfortable for your workflow.
Fonts and Design Elements
Fonts and design elements help turn a simple idea into a custom SVG. Canva includes many fonts, shapes, icons, and graphics that you can mix to create your design.
Choose fonts that are easy to read, especially for signs, shirts, and gifts. Simple shapes and clean graphics also produce better cutting results. Before saving your design, check that every element fits the style of your Cricut project.
How to Design Custom SVGs in Canva for Cricut Projects
Creating your own SVG in Canva is easier than it may seem. Start with a simple idea and build it one step at a time. A clean design is much easier to cut, weed, and apply. Follow these steps to make an SVG that works well with your Cricut machine.
Step 1: Choose Your Cricut Project Idea
Start with the project you want to make. Your idea will shape every part of the design. A small decal needs a different layout than a large wall sign or a T-shirt graphic.
Pick one clear purpose before you open Canva. This helps you stay focused and keeps the design simple. You can also sketch your idea on paper. Even a quick drawing helps you plan the layout.
Keep the finished size in mind. Tiny details may not cut well, especially on small projects. Bold shapes and clean lines often give better results.
Step 2: Create a New Canva Design
Open Canva and create a new design. Choose a canvas size that gives you enough room to work. A larger workspace makes it easier to move and edit each element.
Turn on guides if you need help with spacing. You can also add a simple grid while planning your layout. Remove it before you export the file.
Name your project early. A clear file name makes it easier to find later, especially if you create many SVG files.
Step 3: Add Shapes and Graphics
Use Canva's shapes, lines, and graphics to build your design. Start with the main elements before adding smaller details.
Keep enough space between objects if they will be cut as separate pieces. Overlapping shapes may need to be joined later, so check how they fit together.
Choose graphics with clean edges. Avoid tiny decorative pieces that may not cut well on a Cricut machine.
Step 4: Add and Customize Text
Add text if your design includes a quote, name, or short message. Pick a font that is easy to read and easy to cut.
Adjust the font size, spacing, and alignment until everything looks balanced. Short words usually work better than long blocks of text.
Check every letter before moving on. Thin letters or very small text can become hard to weed after cutting.
Step 5: Arrange Layers and Elements
Place every shape, graphic, and text element where you want it. Move items until the design feels balanced from top to bottom.
Keep enough space around each part. This makes the finished project look neat and helps prevent cutting problems.
Zoom in to check small areas. A quick review often helps you spot items that need a slight adjustment.
Step 6: Clean Up Your SVG Design
Look over the entire design before you save it. Remove extra shapes, unused graphics, or hidden objects that are no longer needed.
Check for overlapping pieces that should not be there. Make sure every part has a purpose.
A clean file is easier to upload and edit later. It also helps reduce cutting errors.
Step 7: Export Your Design as an SVG File
Once your design is ready, export it as an SVG file. This format keeps the lines sharp and allows Cricut Design Space to read the design correctly.
Save the file with a name that describes the project. Clear file names make your SVG library easier to organize.
Open the exported file and give it one last look. A quick check helps you catch any small issues before you start cutting.
Step 8: Upload SVG to Cricut Design Space
Open Cricut Design Space and upload your SVG file. After the upload finishes, review the design on the canvas.
Check that every layer appears as expected. Resize the design if needed, but keep the proportions the same.
Run one final review before sending the file to your Cricut machine. A few extra seconds can help you avoid wasted materials and give you a cleaner finished project.
Best Practices for Creating Cricut SVGs in Canva
Creating a custom SVG in Canva takes more than making it look nice. A design also needs to cut well on a Cricut machine. A few simple habits can save time and reduce mistakes. These tips help you build files that are easy to cut, weed, and assemble.
Keep Designs Simple and Clean
Simple designs usually give better cutting results. Clean shapes and clear lines are easier for Cricut to follow. They also make weeding much easier.
Remove extra decorations that do not add value to the design. Leave enough space between shapes and letters. A clean layout helps every part of the design stay clear after cutting.
Use Cutting-Friendly Fonts
Some fonts work much better for cutting than others. Thick, bold letters are often easier to cut than thin or decorative styles.
Pick fonts with smooth edges and solid shapes. Avoid fonts with very small gaps or tiny curls. If you use script fonts, make sure connected letters join well so the design stays together.
Avoid Tiny Details
Small details may look nice on the screen, yet they can create problems during cutting. Tiny shapes may tear or become hard to weed.
Keep small text to a readable size. Make thin lines a little thicker if needed. Larger details usually produce cleaner results and save time during assembly.
Organize Layers Properly
A well-organized design is easier to edit before you export it. Group related elements together and keep similar items on the same layer whenever possible.
Give each layer a quick review before saving the file. This simple step helps you spot misplaced objects and makes future edits much easier.
Check Cut Lines
Take a close look at every shape before exporting your SVG. Open paths, overlapping objects, or unwanted lines can cause cutting problems.
Zoom in and inspect the edges of your design. Remove extra shapes and fix any uneven lines. A quick check helps create a cleaner cut file.
Test Your Design Before Cutting
Run a small test cut before using your final material. This helps you catch problems early and avoid wasting vinyl, cardstock, or other supplies.
Check that every shape cuts as expected. Look at the small details and make sure they weed cleanly. Make any needed changes, then cut the full design with confidence.
Creative Cricut Project Ideas Using Canva SVGs
A custom SVG gives you plenty of ways to make fun Cricut projects. You can change colors, shapes, and text to match your style. Start with a simple design, then use it on many different items.
Custom T-Shirts: A custom T-shirt is one of the most popular Cricut projects. Add names, short quotes, or simple graphics to make each shirt special. Match the design to birthdays, family trips, sports teams, or school events. A clean SVG also helps your cut lines stay neat.
Vinyl Decals: Vinyl decals work well on laptops, notebooks, mirrors, and water bottles. Small designs are easy to cut and apply. You can make logos, monograms, or fun shapes that fit your style. A simple SVG often gives the best results.
Personalized Tumblers: A custom tumbler makes a nice gift or daily item. Add a name, favorite saying, or small graphic to create a personal look. Pick a design that fits the size of the tumbler. Clean lines help the vinyl stick well after you apply it.
Greeting Cards: A handmade card adds a personal touch to any event. Use your SVG to cut shapes, frames, or words from cardstock. Mix layers to give the card more depth. A simple layout keeps the finished card neat and easy to read.
Wooden Signs: Wooden signs are great for home or party decorations. Add family names, welcome messages, or holiday designs. Paint the wood first if you want a colorful background. Then place your cut design on top for a clean finish.
Stickers: Your SVG files also work well for sticker projects. Make planner stickers, reward stickers, or cute decorations for journals. Keep the design clear so each sticker cuts neatly. Small details should have enough space between them.
Labels: Custom labels help keep your home neat and organized. Use them for pantry jars, storage bins, office supplies, or craft materials. Pick easy-to-read fonts and simple shapes. Clear labels look better and are easier to use every day.
Home Decor: SVG designs can add a personal touch to many home items. Decorate picture frames, flower pots, wall art, or storage boxes. Match the colors to the room for a finished look. Small changes can make everyday items feel more personal.
Gift Tags: Custom gift tags make presents feel more thoughtful. Add names, short messages, or simple holiday designs. Cut the tags from cardstock or other craft paper. A matching set gives every gift a polished look.
Seasonal Crafts: Seasonal SVGs help you make decorations all year. Create projects for spring, summer, fall, winter, birthdays, or other special days. Change the colors and shapes to fit each season. One basic design can become many different projects with a few small edits.
Common Mistakes to Avoid When Creating SVGs in Canva for Cricut Projects
Creating SVG files in Canva can be simple, but small mistakes can affect your Cricut projects. A poorly prepared file may cause cutting issues, design errors, or a messy final result. Checking a few key details before saving your SVG can help your projects turn out better.
Using Too Many Small Details
Tiny shapes, thin lines, and small cut areas can be hard for a Cricut machine to handle. These details may tear, shift, or fail during cutting. Try to keep your design clean with shapes that are easy to cut.
Forgetting to Check the File Size
Large SVG files can slow down your design process. They may also take longer to upload in Cricut Design Space. Remove extra elements and hidden layers before exporting your file.
Not Combining Design Elements Properly
SVG files work best with organized layers. Separate pieces can move around or create unwanted gaps. Group similar parts together and check that each element is placed correctly.
Choosing the Wrong SVG Export Settings
Canva offers different file types, but SVG is the best choice for Cricut projects. Saving your design as another format can reduce editing options or affect how the machine reads the file.
Ignoring Color and Layer Organization
Colors help you see different parts of your design while editing. A messy layer setup can make the cutting process harder. Use clear layers and organize each section before saving your SVG.
Skipping a Test Cut
A test cut helps you spot problems before starting the final project. It shows if the design size, lines, and shapes work well with your chosen material.
Taking a few extra minutes to review your SVG file can prevent common problems. A clean design setup makes it easier to create smooth Cricut projects from Canva.
Tips for Organizing Your Canva SVG Files
A well-organized SVG library makes your Cricut projects easier to manage. You can find the right design faster and avoid creating the same file again. A simple file system keeps your Canva projects clean and saves time during future crafts.
Create folders based on project types. You can make folders for shirts, stickers, signs, home decor, gifts, and seasonal crafts. This helps you group similar designs in one place.
Use clear file names for each SVG. Add details that help you identify the design later. For example, names like “Floral_Mug_Design” or “Halloween_Cat_Shirt” are easier to search than random names like “Design1” or “NewFile.”
Keep different versions of your designs saved. A folder with original files, edited files, and final SVG files helps prevent mistakes. You can return to an earlier version if you need to make changes.
Remove files you no longer need. A clean Canva workspace makes it easier to focus on your current Cricut projects. Delete duplicate designs or move older files into an archive folder.
Add notes to your SVG files if needed. You can include details about the colors, materials, or project ideas. These notes help you remember how the design was made and how it can be used later.
A simple organization system makes your SVG collection easier to use. Your designs stay ready for your next Cricut project, and your creative process feels smoother from start to finish.
Final Verdict
Creating custom SVGs in Canva is a simple way to make Cricut projects that match your ideas. Canva gives you tools to add text, shapes, and graphics while keeping the design process easy. You can create files for shirts, stickers, signs, cards, gifts, and many other crafts.
A clean SVG file helps your Cricut machine make better cuts. Simple designs, clear layers, and proper file organization can save time and reduce mistakes. A quick review before cutting also helps your final project look neat.
With the right steps, Canva can help you turn your ideas into ready-to-cut SVG files. Start with a clear project plan, keep your design easy to cut, and organize your files for future crafts. Your Cricut projects can become more personal with designs made by you.
FAQs
1. Can I create SVG files in Canva for Cricut?
Yes, you can create SVG designs in Canva and use them with Cricut. Add shapes, text, and graphics to your design, then export the file as an SVG if your Canva plan supports this option. After that, upload the file into Cricut Design Space for cutting.
2. Is Canva good for making Cricut SVG designs?
Canva is a helpful tool for creating simple Cricut SVG designs. Its easy editing tools let you customize fonts, shapes, colors, and graphics. It works well for projects that need clean and simple designs.
3. Do I need Canva Pro to export SVG files?
SVG export is available with Canva Pro. The free version still lets you create designs, but you may need another way to convert or adjust files if SVG export is not available for your account.
4. What type of SVG designs work best for Cricut projects?
Simple designs with clear lines and fewer small details usually work best. Bold shapes, readable fonts, and organized layers help Cricut cut the design more accurately.
5. Can I use Canva fonts for Cricut SVG projects?
Yes, you can use Canva fonts in your SVG designs. Choose fonts with thicker letters and simple shapes so they are easier to cut and weed after your Cricut machine finishes cutting.
6. Why is my Canva SVG not cutting correctly in Cricut Design Space?
Cutting problems can happen because of small details, messy layers, overlapping objects, or incorrect file settings. Check your design before exporting and run a small test cut to find any issues.
7. Can I edit a Canva SVG after uploading it to Cricut Design Space?
Yes, you can make basic changes in Cricut Design Space after uploading your SVG. However, it is often easier to fix major design changes in Canva before exporting the file again.
8. What Cricut projects can I make with Canva SVG files?
You can use Canva SVG files for many projects, including T-shirts, vinyl decals, stickers, greeting cards, wooden signs, gift tags, labels, and home decor items.
9. How do I make my Canva SVG easier for Cricut to cut?
Keep your design simple and remove unnecessary details. Use cutting-friendly fonts, organize layers properly, and check your cut lines before saving the SVG file.
10. How should I organize my Canva SVG files?
Create folders based on project types, such as shirts, stickers, gifts, and seasonal crafts. Use clear file names and save different versions so you can find and edit your designs easily later.