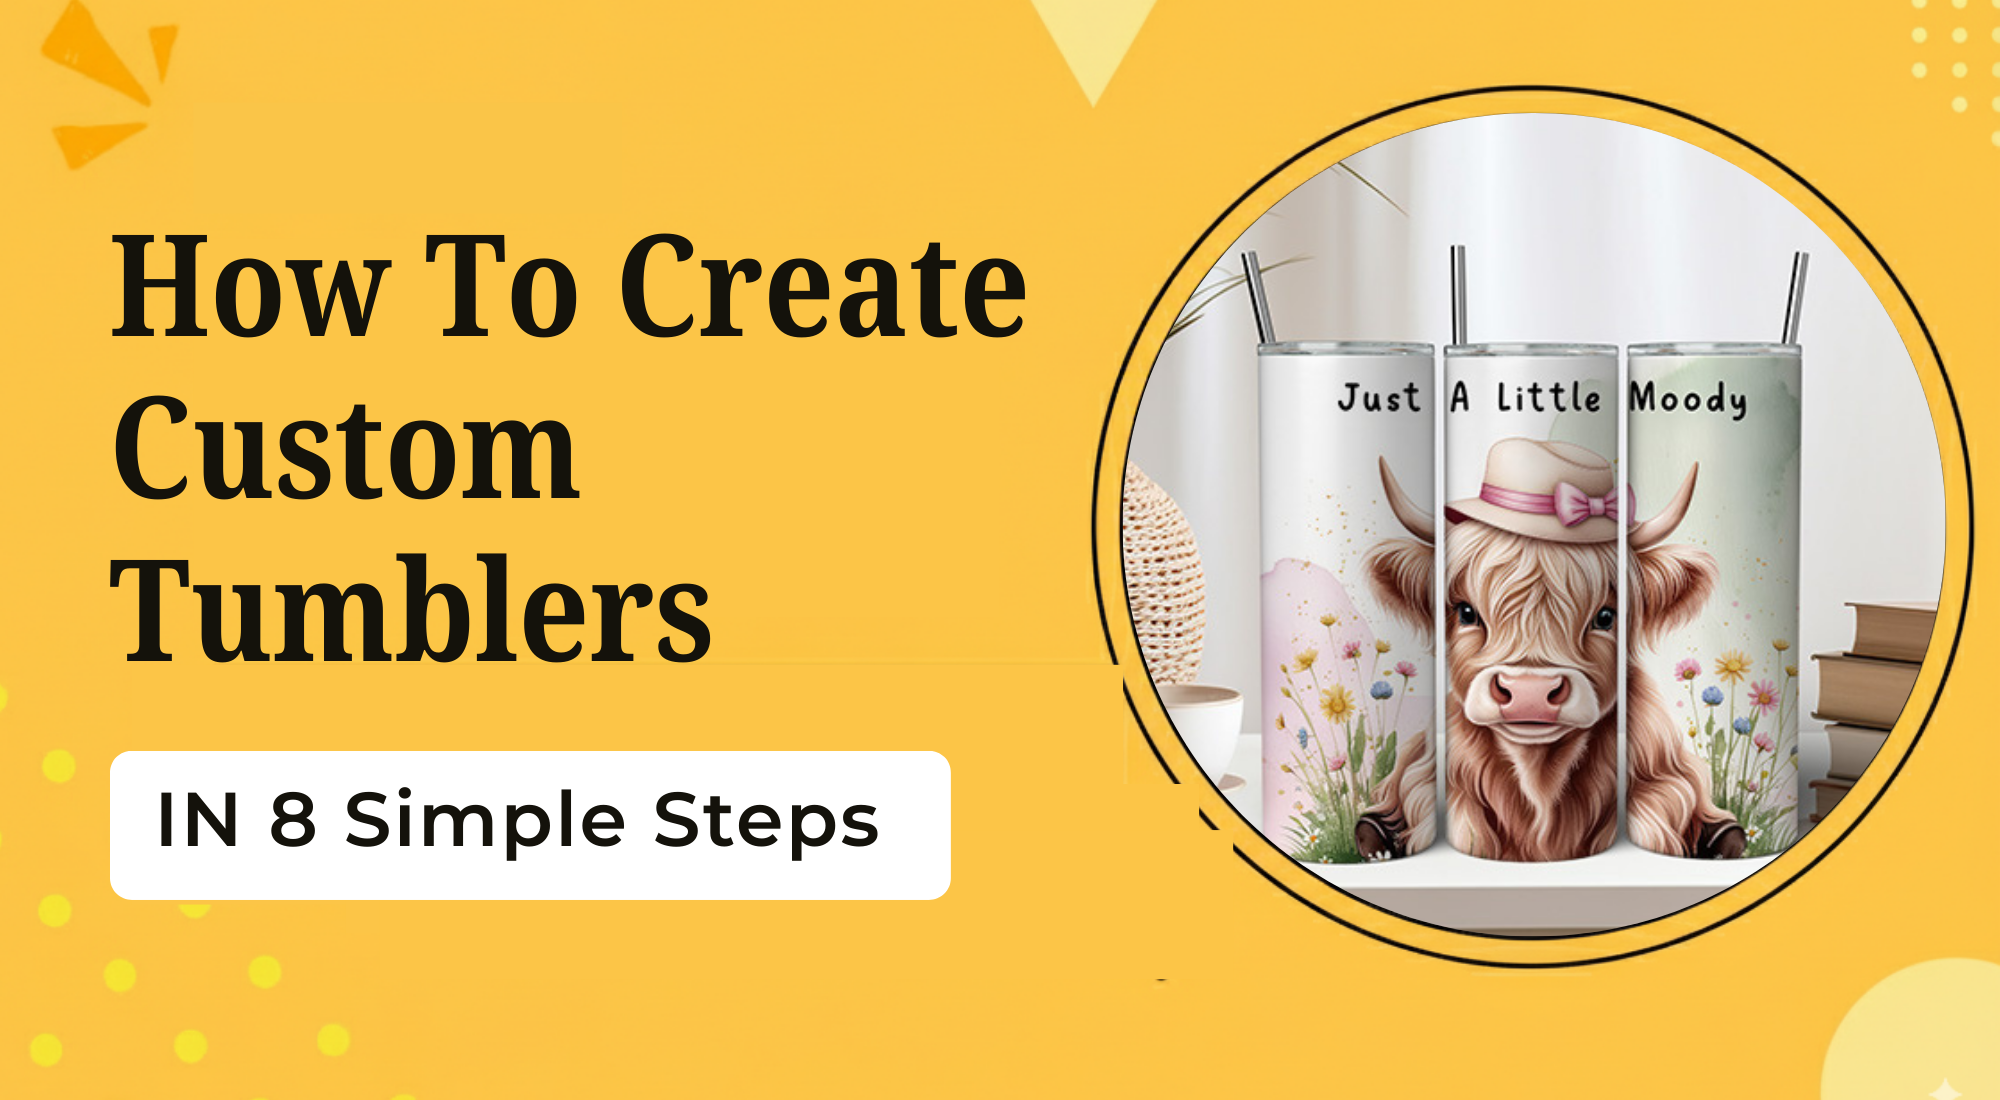
How to Create Custom Tumblers in 8 Simple Steps
Everyday life is full of moments where the right cup makes all the difference. Whether it’s your morning coffee on the way to work or a cold drink by the pool, the tumbler you choose follows you through your day. That makes it more than just a container. It’s part of your routine and your style.
Did you know reusable drinkware is one of the fastest-growing trends in everyday products? More people are switching from disposable cups to reusable tumblers for both comfort and sustainability. It’s not just about cutting down waste, it’s about upgrading daily habits with something better.
A custom tumbler adds more than function. It offers durability you can count on, keeps drinks at the right temperature, and fits almost any setting. At the same time, it reflects your personality in a way no plain cup can.
Ready to see how simple it is to design your own? Follow these eight easy steps to bring your custom tumbler to life.
Your Easy 8-Step Guide to Making Custom Tumblers
Making a custom tumbler is simple when you follow clear steps. This guide breaks the process into small parts so anyone can do it with ease. Read the points below to learn each step.
Step 1: Define Your Style
Before creating your custom tumbler, it’s important to define your style. Many beginners struggle here. They know they want something unique but aren’t sure where to begin. It can feel confusing to choose from so many options, and that’s why this first step is so helpful. Finding a starting point gives direction and makes the process less overwhelming.
Online Marketplaces
Websites like ArtBubbles and Pinterest are rich with ideas. On ArtBubbles, you can see what sellers offer and notice which designs are popular with buyers. This helps you spot current trends and understand what people enjoy. Pinterest works in a slightly different way. It is full of design boards, font pairings, artwork, and creative mashups, making it useful if you like to organize your ideas visually.
Retail Stores and Brands
Stores and lifestyle brands can spark ideas as well. Walking through Urban Outfitters or Anthropologie, for example, can expose you to color palettes and stylish collections that feature drinkware. These stores often set fashion trends that influence home items too. Looking at their designs can point you toward styles you may not have considered on your own.
Personalized Tumbler Ideas
If you’re unsure where to start, check out these custom tumbler ideas for inspiration.
1. Monograms and Names
Adding initials, names, or monograms gives tumblers a polished and personal touch. These designs are simple yet meaningful. They also make popular gifts for family and friends.
2. Inspirational Quotes
Short, uplifting quotes can brighten your day. A phrase you love becomes a small reminder each time you sip from your cup. It can also inspire others who notice it.
3. Company Logos
Custom tumblers can serve as promotional tools. A printed logo spreads brand awareness in a subtle way. They also work well for employee or customer gifts.
4. Artwork and Illustrations
Favorite drawings, prints, or even pet portraits turn tumblers into unique pieces. This option allows for more creativity. It’s also a way to carry art with you every day.
5. Special Occasions
Events like birthdays, weddings, and anniversaries can be commemorated on tumblers. Dates, names, or short messages make each design meaningful. These keepsakes often hold sentimental value.
6. Seasonal Themes
Seasonal designs add a festive touch to daily drinks. Holidays like Christmas or Halloween inspire themed artwork and colors. They help create a fun, celebratory vibe.
Trendy Design Techniques
Modern design methods can make a tumbler stand out even more. Popular effects include ombré fades, glitter coats, matte finishes, or holographic vinyl. Each of these techniques adds texture, shine, or depth to the cup, giving it a contemporary look that feels fresh.
As you can see, there are many ways to define your style before moving to the next step. Having inspiration and clear ideas will make the rest of the process smoother.
Step 2: Pick your Product
Choosing the right tumbler matters because not every option fits the same need. Some people like a slim and lightweight cup they can take anywhere. Others prefer a sturdy mug that holds more and keeps drinks hot for hours. By looking at the main types, you can decide which one works best for your routine.
Without a handle
The handle-free tumbler is clean, simple, and easy to carry. It is made from stainless steel and coated with a protective varnish that helps prevent scratches or fading. The plastic lid and metal straw give it a mix of comfort and style. With a full 360-degree printable surface, the design space is wide open for custom art or text. This tumbler works well for coffee in the morning, water at lunch, or a chilled drink at night. The smooth matte surface is modern, while the finish adds shine. Many of these tumblers can keep a drink cold for up to 24 hours.
With a handle
A tumbler with a handle feels more like a travel mug and is all about comfort. Made with stainless steel and BPA-free plastic, it is durable yet light enough to carry anywhere. It has a larger capacity, so it is perfect for long drives or full workdays. The insulation makes a clear difference. Drinks stay hot for up to six hours and cold for up to eight, which is much better than basic plastic mugs.
Wine tumbler
The wine tumbler has a compact size that makes it easy to pack. The double-wall vacuum seal keeps drinks at the right temperature for several hours. Stainless steel gives it toughness, while the design makes it portable. It is a favorite for short trips, picnics, or small gatherings.
Lid styles and functions
Not all lids are the same. Some slide open, some flip, and others leave room for a straw. Many lids are spill-resistant or splash-proof, which makes them safe to use in a car or at a desk.
Pro tip: To keep your tumbler looking new, skip the dishwasher or microwave. Hand-wash only.
Step 3: Create your Tumbler Design
This is the moment to bring your idea to life. Your tumbler design should reflect your style, and there are several ways to make it happen. Different methods work better for different skill levels, so you can choose what feels right for you.
Graphic design software
Advanced tools like Photoshop give you full control and make it easy to build complex designs. You can adjust fine details, layer images, and create custom effects. For something simpler, beginner-friendly programs like Canva offer ready layouts and drag‑and‑drop features. Both choices let you adjust colors, fonts, and images until the design matches your vision.
Design Maker tool
If graphic design isn’t your comfort zone, an online design maker is a quick option. These tools often offer large clipart libraries, hundreds of fonts, ready-made graphics, and even background templates. You can crop, resize, or rotate elements and see live previews through mockup or 3D views. It keeps the process beginner-friendly while giving you plenty of creative freedom.
Pro tip: Always keep your design elements inside the safe print area. Grid lines mark the zones where printing can shift slightly. Staying within these lines keeps text or images from being cut off.
File formats and image quality
High-resolution images are key. Blurry uploads will look worse once printed. PNG files are best for sharp graphics with transparent backgrounds, while JPEG files work well for full-color photos.
For more inspiration, check out a valuable read: How to make a custom tumbler?
Step 4: Prepare the Design
This step is about readying your chosen design for the tumbler. You can also get a free or premium design online. You can make your own artwork in graphic software and then import it into laser software like xTool Creative Space. Another option is to use pre‑made files, either free or paid, which can save time. Once inside the software, check that the design is properly placed and ready for adjustments.
Sizing matters here. Match the pattern’s height with the tumbler’s circumference and the pattern’s width with the tumbler’s height. If you use an image file, confirm the resolution is high enough for engraving. A minimum of 300 DPI helps produce a clean, sharp result. This small detail will make your custom piece look more professional.
Step 5: Set up the Rotary Attachment
The rotary attachment is needed for engraving round items like tumblers. It holds the cup steady and turns it during the process so the design comes out even all the way around. Without it, the engraving would look stretched or uneven.
Turn on the rotary option in your laser software and type in the tumbler size. Attach the rotary to your machine and place the tumbler inside. Lock it in place so it does not slip. Adjust the height and make sure the tumbler is level. Give it a short test spin to see if it rotates smoothly before engraving.
Step 6: Adjust the Engraving Settings
Getting the right engraving settings is key to clean and precise results. In your laser software, pick the tumbler from the Settings drop‑down. The recommended power and speed will appear, giving you a strong starting point.
These defaults work well, but you can adjust them to match your material and design. A stainless tumbler may need slightly different levels than a coated one. Avoid skipping steps like checking focus height or cleaning the tumbler surface.
Step 7: Start the Engraving Process
This step begins the actual engraving. First, check that the tumbler is flat, clean, and held tight. Set the laser focus for accuracy. Use framing to confirm alignment. Once ready, start engraving with steady care.
Would you like me to also extend this into a slightly longer instruction block under the H3 (like a detailed step in a guide), or do you prefer to keep only this concise format for each step?
Step 8: Finishing Touches
This step completes the project and makes the tumbler ready to use. Clean away dust and residue, reattach the handle, check all parts, then apply a food‑safe protective coat to keep the engraving sharp and scratch‑free.
Tumble your way to success
Custom tumblers are more than just drinkware. They bring out your style, show off creativity, and make everyday use more fun. For business owners, they also stand out as unique items that win attention and create lasting appeal.
Selling your tumblers online can be simple. You can list them in your store or use marketplaces where people already shop. With print-on-demand services like Printful, production and shipping are handled, so you can focus on design and growth.
Start creating your custom tumblers today. The steps are easy, the tools are ready, and there’s no better time to begin.
Conclusion
Creating custom tumblers is a fun way to show style while making something useful. By following each step, the process stays simple and enjoyable. Designs can reflect personality, bring color to everyday life, or even make a thoughtful gift. Each finished tumbler becomes more than just a cup, it becomes a personal item with meaning. Taking the time to craft it yourself makes the result even more special and rewarding.