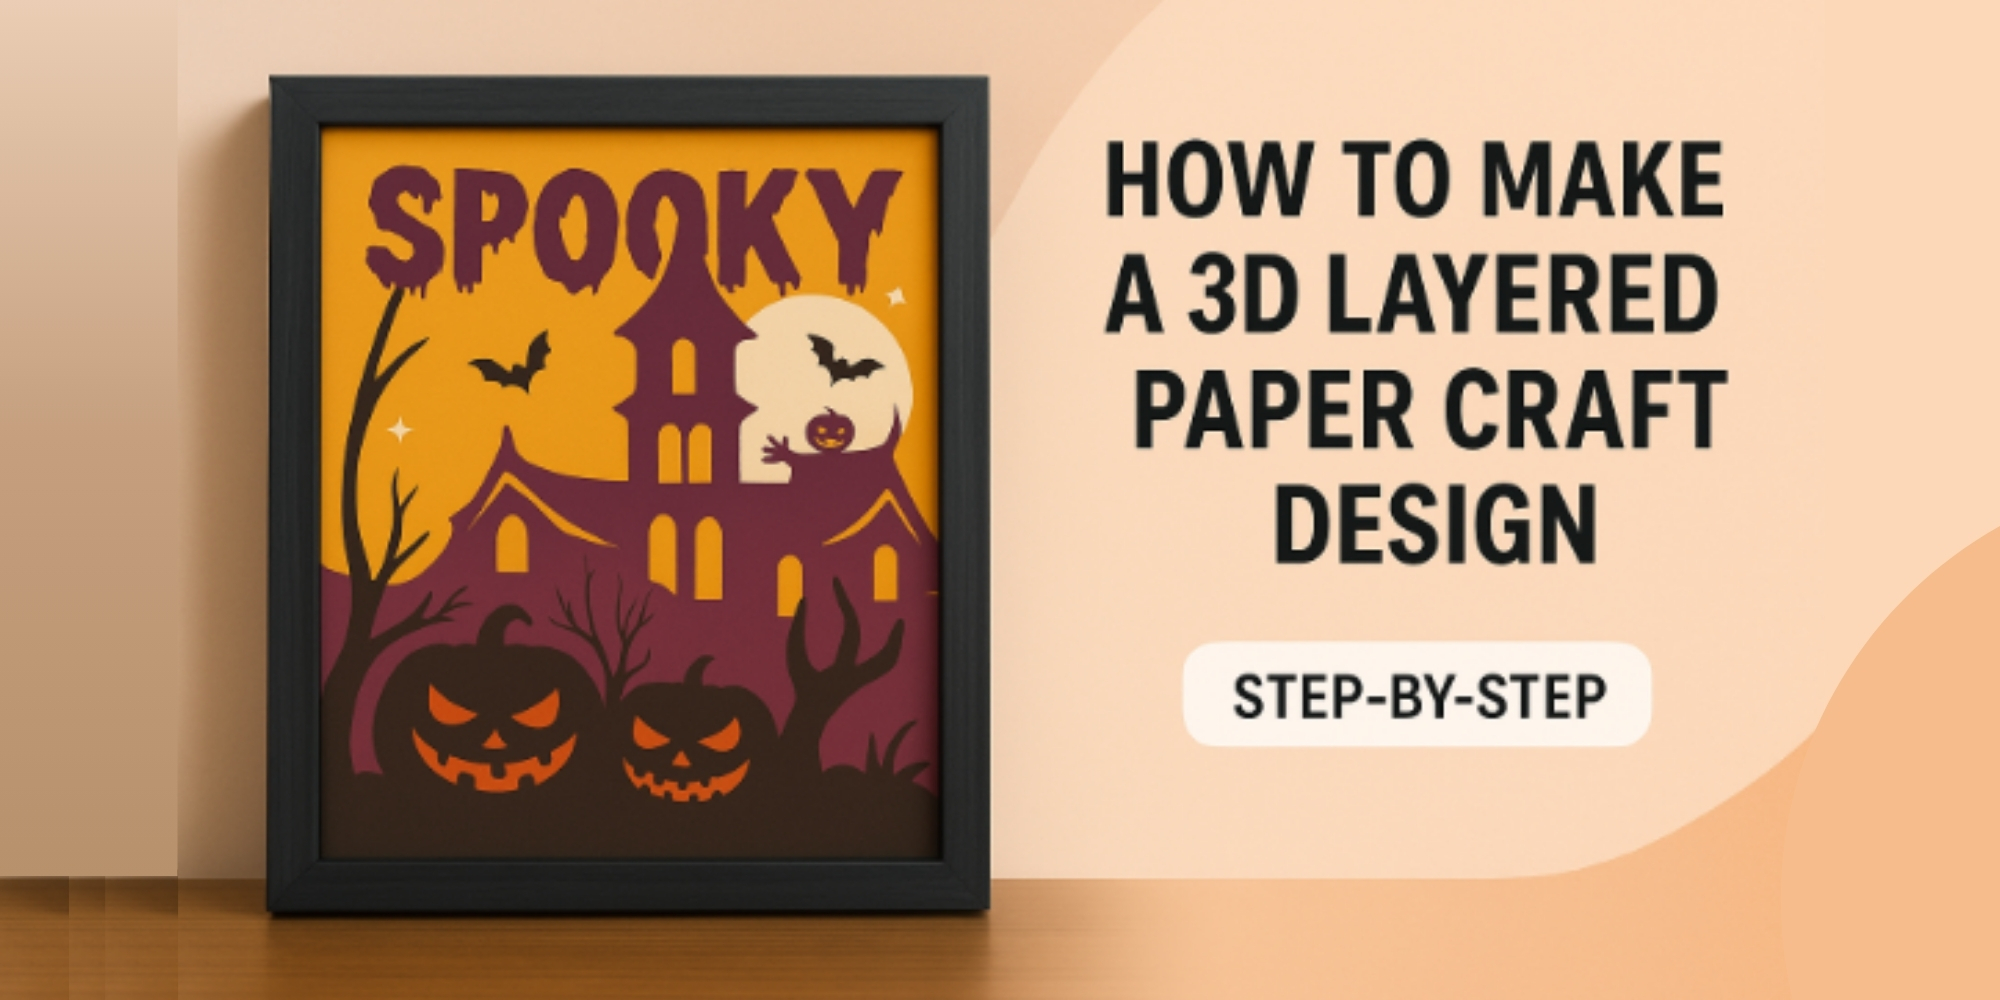
How to Make A 3D Layered Paper Craft Shadow Box Design
Creating a 3D layered paper craft design is a fun way to add depth and charm to your art projects. This technique turns simple paper into eye-catching, multi-dimensional designs that really stand out.
If you enjoy hands-on crafts, this project offers a fresh way to express your creativity. Layering paper adds texture and detail that flat art can’t match. Plus, it’s perfect for making personalized gifts or home decor that feel special.
Imagine your design inside a shadow box, where each layer pops in its own space. This method brings your paper art to life with depth and shadow effects. It’s easier than it looks and a great skill to learn for any craft lover. If you’re just starting, you might also enjoy learning how to make a perfect DIY shadow box.
Ready to start? Follow along as we guide you through each step from choosing materials to assembling your layered masterpiece. By the end, you’ll have a beautiful 3D design ready to display or gift. If you want ready to use templates, explore our Shadow Box SVG collection.
What You'll Need To Make Your 3d Layered Paper Craft
Choosing the right paper is the first step to creating crisp and clean layers. Medium-weight cardstock, around 65lb, works well for most designs. Cardstock with colored cores helps keep edges looking neat, especially on detailed cuts. Some artists prefer shimmer paper like the Stardream Metallics line to add a soft shine to their layers. For beginners, assorted variety packs are a good way to have a wide range of colors ready for any project.
Building depth between your paper layers is easy with self-adhesive foam dots or foam tape. These small spacers hold layers apart, allowing light to pass through gaps and creating a true 3D effect. You will also need reliable glue options that do not warp or wrinkle the paper. Glue pens, adhesive rollers, and rubber cement are often used because they offer clean application and strong hold without damaging delicate cuts.
Cutting machines, like the Cricut, help achieve precise shapes and intricate details. Using a standard blue mat with your machine keeps the paper in place while cutting. Once your design is ready, place it into a 9x9 shadow box frame with at least a 1.5-inch depth. This frame size gives enough space for layers and makes your artwork stand out.
If you’re wondering about frames, here’s a step-by-step on how to make a DIY shadow box frame that works beautifully with 3D designs.
Materials:
- Medium Weight Cardstock with Colored Cores: Prevents fraying edges, important for intricate designs.
- Assorted Starter Pack: Basic assorted colors, ideal starter pack, suitable weight for most papercraft projects.
- Cricut Joy Insert Card Packs: Good quality, not limited to Cricut Joy machines, often used in cardmaking.
- Cardstock Warehouse: High-quality matte-colored cardstock, go-to brand for single matte colors.
- Poptone Assorted Variety Pack: Heavy cardstock with bright color assortments, commonly used for cardmaking.
- Seasonal Assorted Variety Pack: Similar to Poptone but includes neutral tones to match accent colors.
- Stardream Metallics Line: Metallic shimmer finish cardstock with colored cores, adds sheen and highlights to projects.
Adhesives:
- Foam Tape: Preferred for creating a 3D effect between layers. Scotch brand is recommended.
- Scotch Adhesive Roller Dispenser: Quick, clean adhesive application.
- Rubber Cement: Useful for strong bonding without warping the paper.
- Glue Pen: Ideal for fine lines and delicate areas.
- Art Glitter Glue: Specialized glue for paper crafts that dries clear and doesn’t warp paper.
Tools:
- Cutting Machine (Cricut): Recommended for precise cutting of intricate designs.
5 Steps To Make a 3d Layered Paper Craft Design
Making a 3D layered paper craft design involves a few easy steps. With the right tools and careful cutting, you can create a beautiful layered effect. Keep reading to learn the five simple steps to make your own design.
If your goal is to showcase items instead of paper layers, you may prefer learning how to make a shadow box to display precious possessions.
Step 1: Find or Design a 3D Layered Paper Craft Template.
Start by choosing or designing a 3D layered paper craft SVG template. When opened in your design software, the layers will appear stacked but will cut separately once you start the cutting process. Before cutting, resize your project to fit your desired shadowbox size, such as 8.5" by 8.5" for a 9" shadowbox.
Next, customize your design by resizing and repositioning layers. Abstract or circular designs allow you to enlarge, shrink, or mirror layers freely to create depth. For linear designs, adjust layer size to make some elements appear closer or farther, and use mirroring to balance the layout.
To add a unique touch, include transparent or vellum layers in your design. These clear layers create beautiful light effects when the shadowbox is lit from behind or above, giving your paper art extra dimension and interest.
For a quick start, explore our 3D layered Shadow Box SVG templates curated for easy customization.
Step 2: Cutting Your Design
Using a cutting machine like a Cricut makes cutting easier and more precise. You can cut each layer separately by following the design instructions. While it’s possible to cut by hand with a knife, it takes much longer and needs steady skills to get the design right.
A fresh light grip mat helps hold the paper well and makes cleaning up scraps much easier. To pick up small scraps quickly, use a lint roller or even some scotch tape. This keeps your workspace clean and speeds up the process.
For the most detailed layers, try mirroring and flipping the paper before cutting. The side that touches the mat usually has a cleaner edge and less fraying. Also, use a spatula to gently lift thin pieces like outlines without bending them.
A new tip is to check your cutting blade regularly. Replacing dull blades prevents tearing and gives smoother cuts, especially on intricate designs. Keeping the blade sharp makes your project look neater and saves time overall.
Step 3: Assemble the 3D Layered Paper Craft Design
Now it’s time to put all your paper layers together. Ready to create your 3D paper craft?
Start with the square background pieces. Take the two teal pieces and stack them to check their direction. The gravestone will be on the right side, and the fence on the left. Flip the lightest teal layer and add self-adhesive dots. Space them out so each layer stays lifted and stable.
Tip: Keep the dots stacked vertically for the best support between layers.
Next, flip the piece back and place it on the dark teal layer. Follow by stacking these bottom layers in order:
- Black (full circle)
- Dark gray (stone sidewalk)
- Black (house silhouette)
- White
- Medium gray
- Light teal
- Dark teal
After completing the background, gather the haunted house layers. Use a glue stick to attach the black outline to the orange roof and let it dry. Then, use self-adhesive dots to connect the remaining layers in this order:
- Burnt orange
- Purple
- Black
- Yellow
- Dark gray
Finally, glue the outline layers on top of the burnt orange layer. Add dots to the back of the house and place it carefully on your finished background.
To protect your design, spray a light clear coat over the whole piece. This helps keep dust and moisture away so your craft looks great longer.
Step 4: Gluing Paper Layering Art
When working on layered paper cards, it’s best to keep flatter designs smooth by using an adhesive roller with glue that won’t warp the paper. Many cheap glues, like polymer-based Elmers, tend to create ripples. A high-quality glue that dries clear and flat is a safer choice to maintain crisp edges and smooth layers.
For 3D paper art, adding space between each layer gives a more dynamic look. Double-sided foam tape is perfect for this. Cut small strips and place them evenly between layers to ensure the depth looks balanced from all sides. Keeping the foam placement consistent will prevent any layer from sagging or leaning.
To protect delicate cuts in more fragile designs, you can place a thin clear acrylic sheet behind those layers. This invisible backing supports fine paper details, prevents bending, and keeps the layered dimension fully visible without adding bulk.
Step 5: (Optional) Put Your 3D Layered Paper Craft Design In A Shadowbox
Placing your layered paper art into a shadowbox is a simple way to protect it and turn it into a display piece you can enjoy every year. You can also add LED strip lights along the inside edges. These lights are easy to trim and will softly light up your design.
For easier setup, use a shadowbox with a removable glass front. This helps you arrange the layers, fit in lights, and even switch out designs for different seasons.
If you need a shadow box for your project, check our Shadow Box SVG collection for many styles.
A Few Random Tips on 3D Layered Paper Art
Creating a 3D layered paper craft design for a shadow box takes patience and attention to detail. Small techniques can make a big difference, like choosing the right paper weight or layering method. These details help add depth and keep your design sturdy. If you want to explore simple tricks to improve your paper art, there are some easy tips that can make your project smoother and more enjoyable.
For example, using different textures or adding subtle shading can bring your layers to life. Also, keeping your workspace organized can save time and reduce mistakes. To expand your skills with other paper techniques, check out our guide on DIY paper cut shadow boxes.
Conclusion
Creating a 3D layered paper craft shadow box is a fun and creative project. You have learned how to design your layers, cut them with care, and build depth by stacking each piece. Simple tools and a little patience can turn flat paper into a beautiful scene that feels alive.
Now it’s your turn to bring your ideas to life. Try different colors, shapes, and themes to make each shadow box special. Whether it’s for a gift or your home, every design you create will tell its own story.
Visit Art Bubbles for more DIY templates, craft ideas, and creative inspiration.