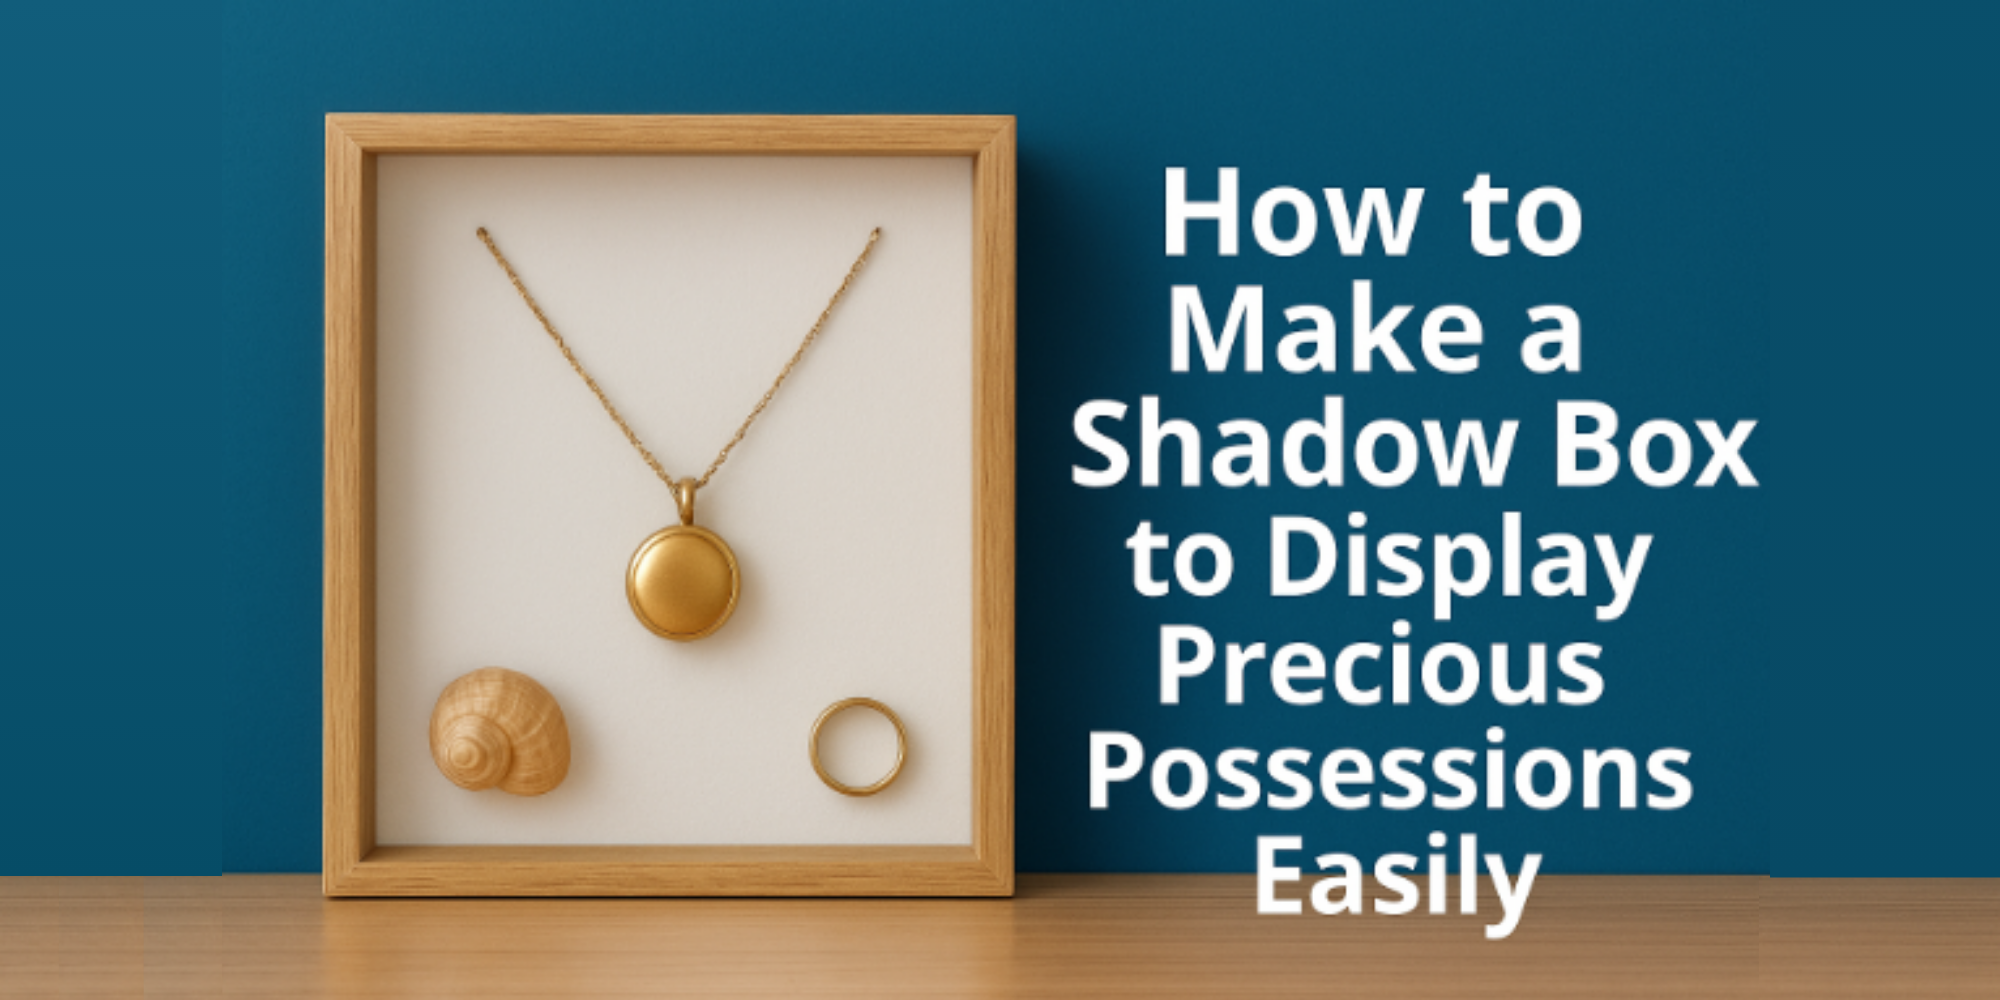
How to Make a Shadow Box to Display Precious Possessions Easily
Keeping special items safe can feel tricky. They often end up hidden or forgotten in drawers.
A shadow box offers a neat way to show your treasures. It turns memories into eye-catching displays anyone can enjoy.
Ready to learn how to make one yourself? Keep reading for easy steps to create your own beautiful shadow box. If you want a broader overview, start with our guide on How to Make a Perfect DIY Shadow Box.
(For some ready to cut designs, check out our Shadow Box collection.)
What You'll Need
Making a shadow box is simple when you have the right materials and tools. These basic supplies make the project easy and fun.
Equipment / Tools
- Tape measure
- Pencil
- Chop saw
- Clamp
- Nail gun
- Paintbrush (optional)
- Drill
Materials
- Frame
- Construction adhesive
- 4' 1x3
- Wood glue
- Paint or stain (optional)
- Craft board
- Fabric or scrapbook paper
- Decoupage glue or hot glue
- 2 Hinges
- Hook and eye latch
- Screws
- 2 D rings
15 Simple Steps to Make a Memory Shadow Box to Display Precious Possessions
Making a memory shadow box is easier than you might think. It lets you show off your special items in a neat and creative way. You don’t need many tools or skills to get started. Keep reading to find simple steps that will guide you through the whole process.
Step 1: Gather Your Mementoes
Start by looking through your collection of sentimental items. Choose the pieces that feel most special to you and fit the theme of your shadow box. These could be your child’s first shoes, concert tickets, a napkin from a first date, or flowers from a loved one’s memorial. Pick items that hold strong memories, but keep in mind this is just the first round of selection.
To create a display that feels alive, select items that vary in size, color, and shape. This adds visual interest and keeps the layout from feeling flat. Also, think about texture. Adding materials like fabric, paper, metal, or dried flowers can give your shadow box depth, making it pop with a layered, 3D effect. If you’d like inspiration for arranging sentimental items, you can also explore our guide on How to Make a DIY Memory Shadow Box.
Step 2: Start with the Frame
Pick your shadow box after gathering your items. The size and shape should give everything space to stand out. Crowded displays can look messy, so leave room between items.
Old picture frames can be turned into shadow boxes. If you need a special size, build your frame using scrap wood and simple tools. You can decorate it to match your style.
For larger keepsakes like jerseys or medals, choose deep shadow boxes. These give bulky items space so they don’t press against the glass.
Need a sturdier build? Learn how to craft your own with our DIY Shadow Box Frame tutorial.
Step 3: How will You Embellish?
Decorating your shadow box lets you get creative with small items. Visit the scrapbooking aisle for papers, stickers, and tiny trinkets to add charm. You can also find hidden treasures at home like buttons, old jewelry, or small keepsakes. Don’t forget, the inner edge of the frame is a perfect spot to display extra items.
For a personal touch, add name tags or monogram letters cut from cardstock or wood. It makes the shadow box feel unique and special.
Step 4: Prep the Front Panel
Remove all hardware from the back of the frame, then glue the glass panel in place using construction adhesive to stop it from shifting. After securing the glass, seal its edges with clear silicone. This extra step blocks dust and moisture, keeping your display safe and clean.
Step 5: Measure and Cut Wood
Measure the frame’s back opening and mark the dimensions onto a 1x3 wood board. Cut four pieces to create a box that fits snugly around the opening. Before attaching, lightly sand each piece to smooth out edges and remove splinters. This simple step makes assembly easier and gives a cleaner finish.
Step 6: Assemble Shadow Box
Apply a thin line of wood glue along the edge of a short piece and press it against a long piece to form a right angle. Secure with right-angle clamps to keep the corner perfectly square, then tack it with a nail gun. Repeat this step with the other sides until the shadow box frame is fully assembled.
Step 7: Paint Box
You can stain, paint, or decorate the box to match your style. Let the paint dry completely before moving on. For a modern touch, highlight the edges or corners with metallic paints like gold or bronze.
Step 8: Cover and Attach Back of Box
Cut a craft board to match the back of your box. Cover one side with fabric or decorative paper, folding and gluing the edges for a smooth finish. Before sealing the back, fix a sawtooth hanger or D-ring hook on the top edge to make hanging easy later. Apply glue around the box’s back edges and press the lined board in place. For added strength, secure it with small nails to keep everything firmly attached and ensure lasting durability on display.
Step 9: Add Some Photos, Too!
Photos make your shadow box more personal. Mat them with colorful paper and use spacers for depth. Try mixing small and large photo prints to create a layered, collage look that adds rich visual interest. For layered effects and depth, check out our creative guide to 3D Layered Paper Craft Shadow Box.
Step 10: Include an Interesting Background
Scrapbooking papers are a classic choice, but don’t stop there. Try using maps, newspapers, or magazine pages for a unique backdrop. For a personal touch, paint your own background with watercolors or acrylics. This adds custom colors and turns your shadow box into a mini artwork.
Step 11: And don’t Forget the Glass!
Decorate the frame’s glass with a special date or phrase using vinyl lettering or glass markers. For a softer look, spray frosted glass to create a gentle matte background that highlights your design. This simple touch makes the entire display feel thoughtful and polished.
Step 12: Attach Box Hardware
Cut a craft board to match the back of your box. Cover one side with fabric or decorative paper, folding and gluing the edges for a smooth finish. Before sealing the back, fix a sawtooth hanger or D-ring hook on the top edge to make hanging easy later. Apply glue around the box’s back edges and press the lined board in place. For added strength, secure it with small nails to keep everything firmly attached and ensure lasting durability on display.
Step 13:Get Ready to Assemble
Lay a plain sheet of paper or fabric inside your shadow box to test your layout without distractions. Move items around until the arrangement feels right. Adjust or remove pieces as needed. Once you’re happy, take a quick photo to remember the design before fixing anything in place.
Step 14: Display It
You can hang your shadow box on a wall or place it on a shelf. Both options let you showcase memories in your style.
Shadow boxes aren’t just for keepsakes. You can refresh them with seasonal items, swapping decorations for holidays or special events throughout the year.
Step 15: Secure Mounting Hardware
Attach D rings to the back of your shadow box for safe wall hanging. Add small rubber bumpers on the bottom corners to protect the wall surface and keep the frame level, preventing unwanted tilting or scratches.
Conclusion
Making a shadow box is a simple way to hold on to the things that matter most. It gives your keepsakes a safe place to stay while letting your memories shine. Each item you add tells part of your story.
Now that you know the steps, you can create one that feels personal and special. Take your time, enjoy the process, and let your memories speak for themselves.
For more inspiration and ready-made designs, visit Art Bubbles and explore our full range of shadow box SVGs and craft ideas.