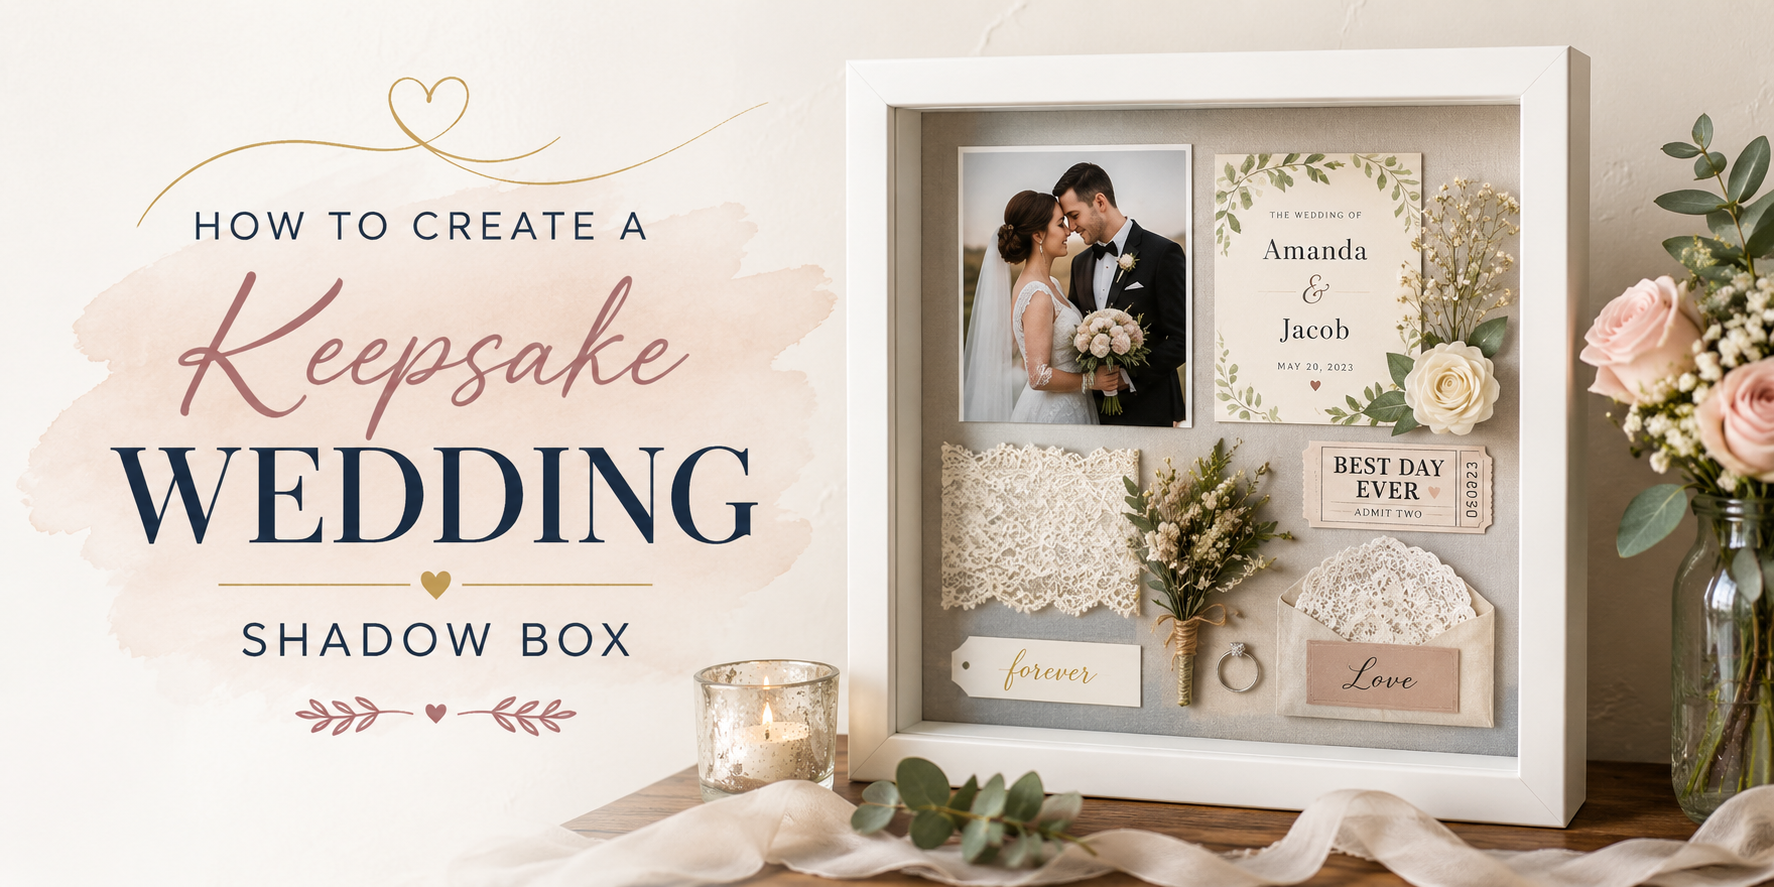
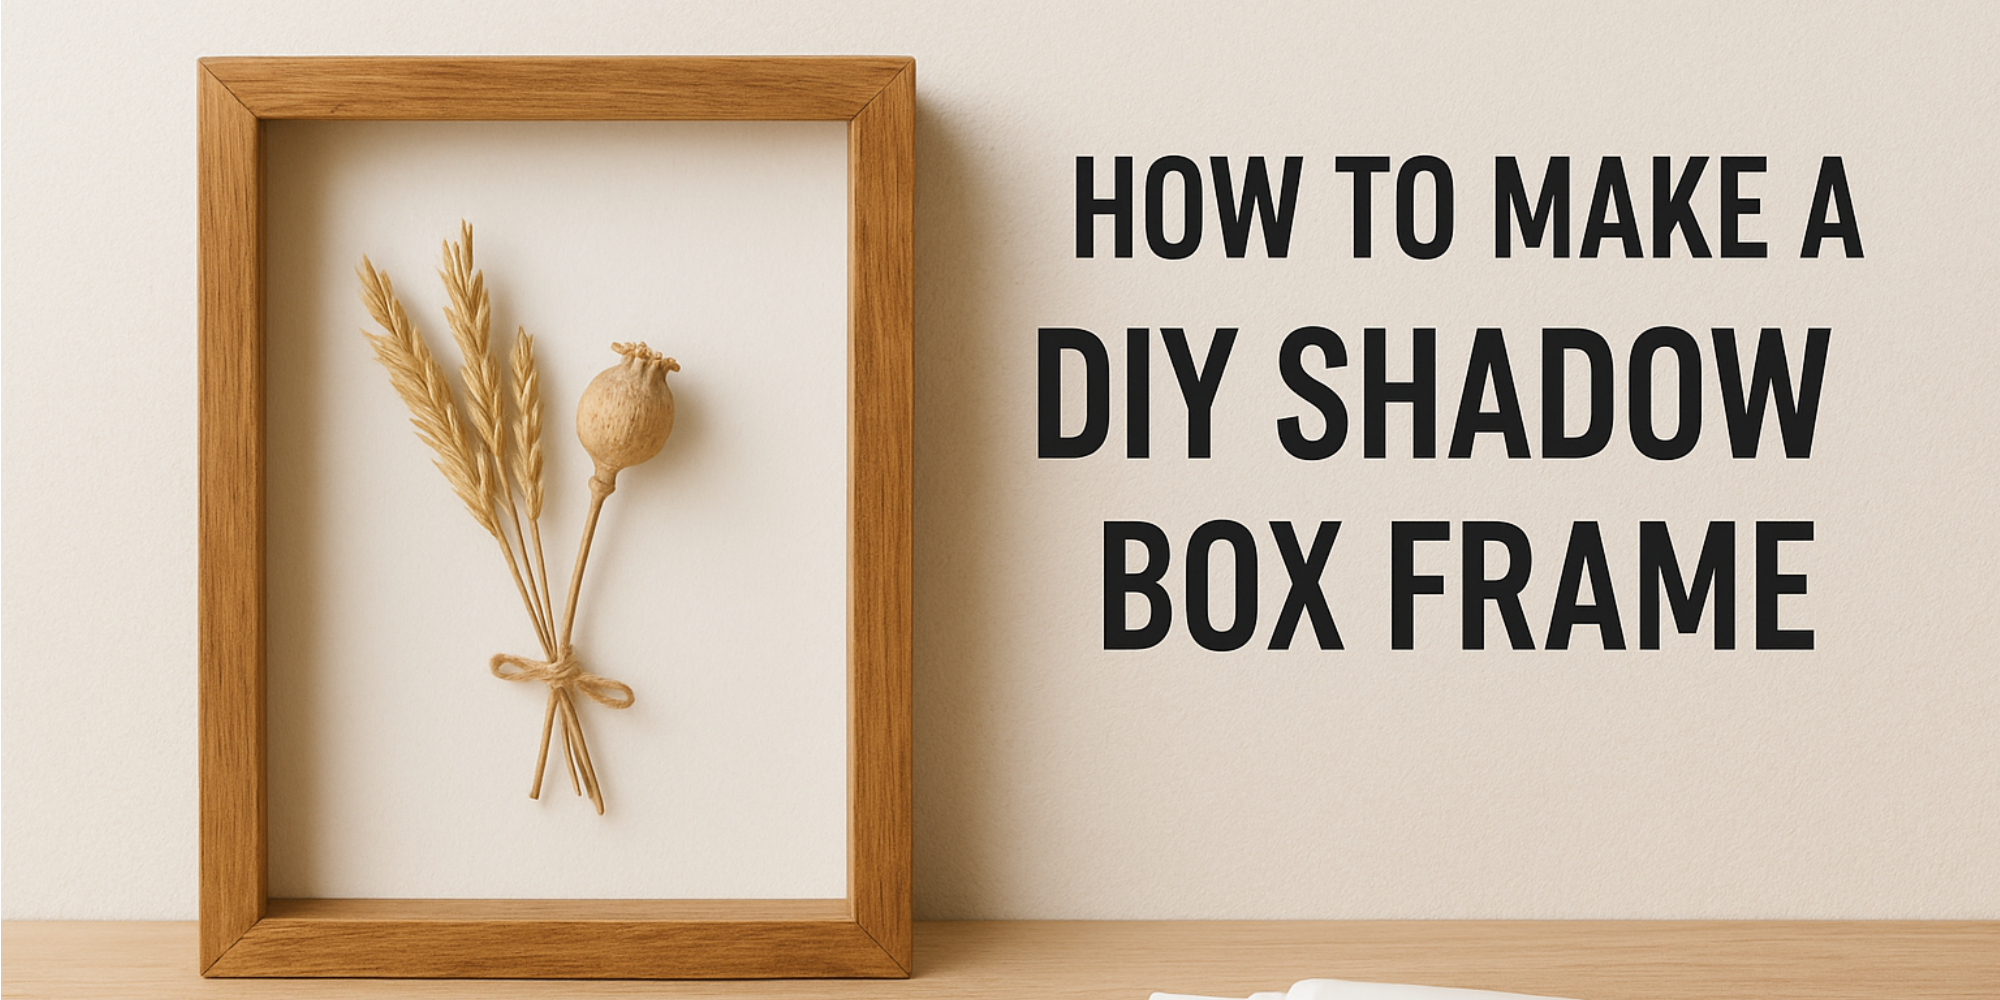
How to Make a DIY Shadow Box Frame
Store-bought shadow boxes often feel plain and don’t fit the special things you want to display. They come in fixed sizes, making it hard to showcase items that matter most.
You place your keepsakes inside, but they slide around or look lost in a large frame. It’s frustrating when the frame doesn’t match your space or the memory it holds.
Making your own DIY shadow box frame is simple. You can build it to fit your items perfectly and design it to match your style.
If you’re new to shadow boxes, you might want to check out our Shadow Box SVG Collection first for more ideas and inspiration.
Tools and Materials
Before starting your shadow box frame project, gather all the tools and materials you will need. Having everything ready makes the process easier and more enjoyable. Keep reading to find the full list of what you’ll need.
Tools:
- Clamps
- Compound mitre saw
- Earmuffs
- Gloves
- Hammer
- Measuring tape
- Nail gun
- Painter's tape
- Pencil
- Putty knife
- Safety glasses
- Sanding block
- Set square
Materials:
- 290mm x 19mm x 2.4m DAR pine x 2
- 42mm x 19mm x 2.4m DAR pine
- 32mm bullet head nails
- Hollow wall anchors
- Interior stain
- Paint brush
- Putty
- PVA glue
- Rags
- Sandpaper
16 Steps to Make a Shadow Box Frame
Making a shadow box frame can seem tricky at first. However, breaking it down into simple steps makes the process easy and fun. Read the following points to learn all 16 steps to create your own DIY shadow box frame.
Step 1. Cut the Timber to Length
Start by deciding the exact size of your shadow box and marking these measurements on the timber. Use a mitre saw to cut both ends of each side at a 45° angle. For consistent lengths, clamp a stop block to the saw’s fence after the first cut to keep every piece uniform and square.
Step 2. Cut the Sides
Use a miter saw to cut 1x3 boards, standing them on edge, and bevel each end at a 45-degree angle. Measure carefully from long point to long point for a precise 10-inch length. After cutting, sand the beveled edges to remove rough spots, ensuring the sides fit together cleanly for a polished, seamless finish.
Step 3. Cut and Prep the Panel
Cut a board or plywood to the required size using a miter saw, following the cut list. Drill two pocket holes on each short side and three along the longer sides with a pocket hole jig and drill. After cutting, lightly mark the front and back of the panel with a pencil to keep track during assembly.
Step 4. Fit the Panel
Place the 1x3 sides on edge around the panel, ensuring the mitered corners fit snugly. After test-fitting, remove the sides and apply glue to one edge of the panel. Use painter’s tape to hold the joints tightly in place while the glue dries, keeping everything steady.
Step 5. Attach the First Side
Lay the first side flat on your work surface. Position the Panel so the pocket holes sit flush with the edge, sliding it until the ends align with the inside edges of the miters. Lightly sand the mitered corners to remove splinters and ensure a snug, seamless fit. Once aligned, use a drill/driver to drive 1¼-inch pocket hole screws through the Panel into the Side board, securing the pieces tightly together without gaps.
Step 6. Install a Second Side
Apply glue to the second panel side and the exposed miter joint, then position the adjoining side carefully. Use a corner clamp to hold it steady and aligned. Secure it with a drill/driver and 1¼-inch pocket hole screws, keeping the joint tight and square.
Step 7. Attach Remaining Sides
Use a drill and screws to secure the remaining sides, applying wood glue along panel edges and miter joints for strong bonds. As you fasten the sides, keep a damp cloth nearby to wipe off any excess glue immediately, preventing dried marks on the surface.
Step 8. Check if the Shadow Box is Square
Measure corner-to-corner diagonally with a tape measure; equal distances mean the box is square. If not, adjust it gently. For a faster check, place a carpenter’s square in each corner. Any visible gaps will show if the frame needs further alignment.
Step 9. Cut the Top Fixing Rail
Place a 42mm x 19mm timber piece along the back of the shadow box, making sure it sits flush with one side. Mark where the other end needs trimming and cut it to size using a drop saw, adjusting the length to fit your box. After cutting, gently sand the edges and corners to smooth out splinters. This helps the rail fit neatly and prevents rough spots from damaging the wall.
Step 10. Attach the Top Fixing Rail
Apply wood glue to the top and sides of the top fixing rail, then press it into place, keeping it flush with the box edges. Use small clamps instead of tape to hold the rail firmly while the glue sets. Once aligned, secure the rail with a nail gun to lock it in position.
Step 11. Cut the Bottom Fixing Rail
Measure the bottom fixing rail to match the width of your shadow box, then cut it to size. For a neater finish, wrap masking tape around the cutting line to prevent splinters. You can also mitre the ends at a 30-degree angle to keep the rail edges hidden once installed.
Step 12. Attach the Bottom Fixing Rail
Apply glue to the top of the bottom rail and position it against the shadow box. Clamp the rail to keep it flush with the edges, then use a nail gun to fasten it firmly. Before the glue sets, place a small bubble level on the rail to check alignment. This ensures the rail sits straight, preventing tilting issues. Wipe away any excess glue for a clean finish.
Step 13. Finish the Pieces and Install the Spacer Block
Place the Spacer Block at the center of the frame or behind the cutout where it stays hidden, then mark its spot. Remove the Block, apply glue to its backside, and put it back in place. Before nailing, pre-drill a small pilot hole to prevent splitting and guide the nail in straight. Finally, secure the Block with a 1½-inch nail for a firm hold.
Step 14. Stain or Paint the Shadow Box for a Custom Finish
You can stain or paint the shadow box to match your room’s style. For staining, apply the first coat, let it dry, sand lightly, then add a second coat for a smooth look. To create a vintage touch, try chalk paint. It gives a soft, matte finish and can be gently distressed for rustic charm.
Step 15. Fix the Shadow Box to the Wall
Choose the perfect spot on your wall and have someone hold the shadow box in place. Use a drill and screws to secure it through the top and bottom fixing rails, checking alignment with a spirit level. If studs aren’t available, use hollow wall anchors for extra support. For small or lightweight boxes, heavy-duty adhesive strips can be a good option, offering a secure hold without putting holes in your wall.
For more display ideas, see our Shadow Box collection.
Step 16. Style Your Shadow Box
Now you can style your shadow box with your favorite ornaments. To make them stand out, string small LED fairy lights inside. The soft glow will highlight your keepsakes and add a warm, inviting look to the display.
Conclusion
Making a shadow box frame is a great way to show off your special items. With just a few steps, you can create a beautiful display that fits your style. It takes some patience, but the result is worth it.
Try making your own shadow box to keep memories safe and add a personal touch to any room. Follow the steps carefully, and you’ll have a unique frame to enjoy for years.
For more ideas and unique designs, visit ArtBubbles.com.
For more inspiration and shadow box styles, you can check out these guides: