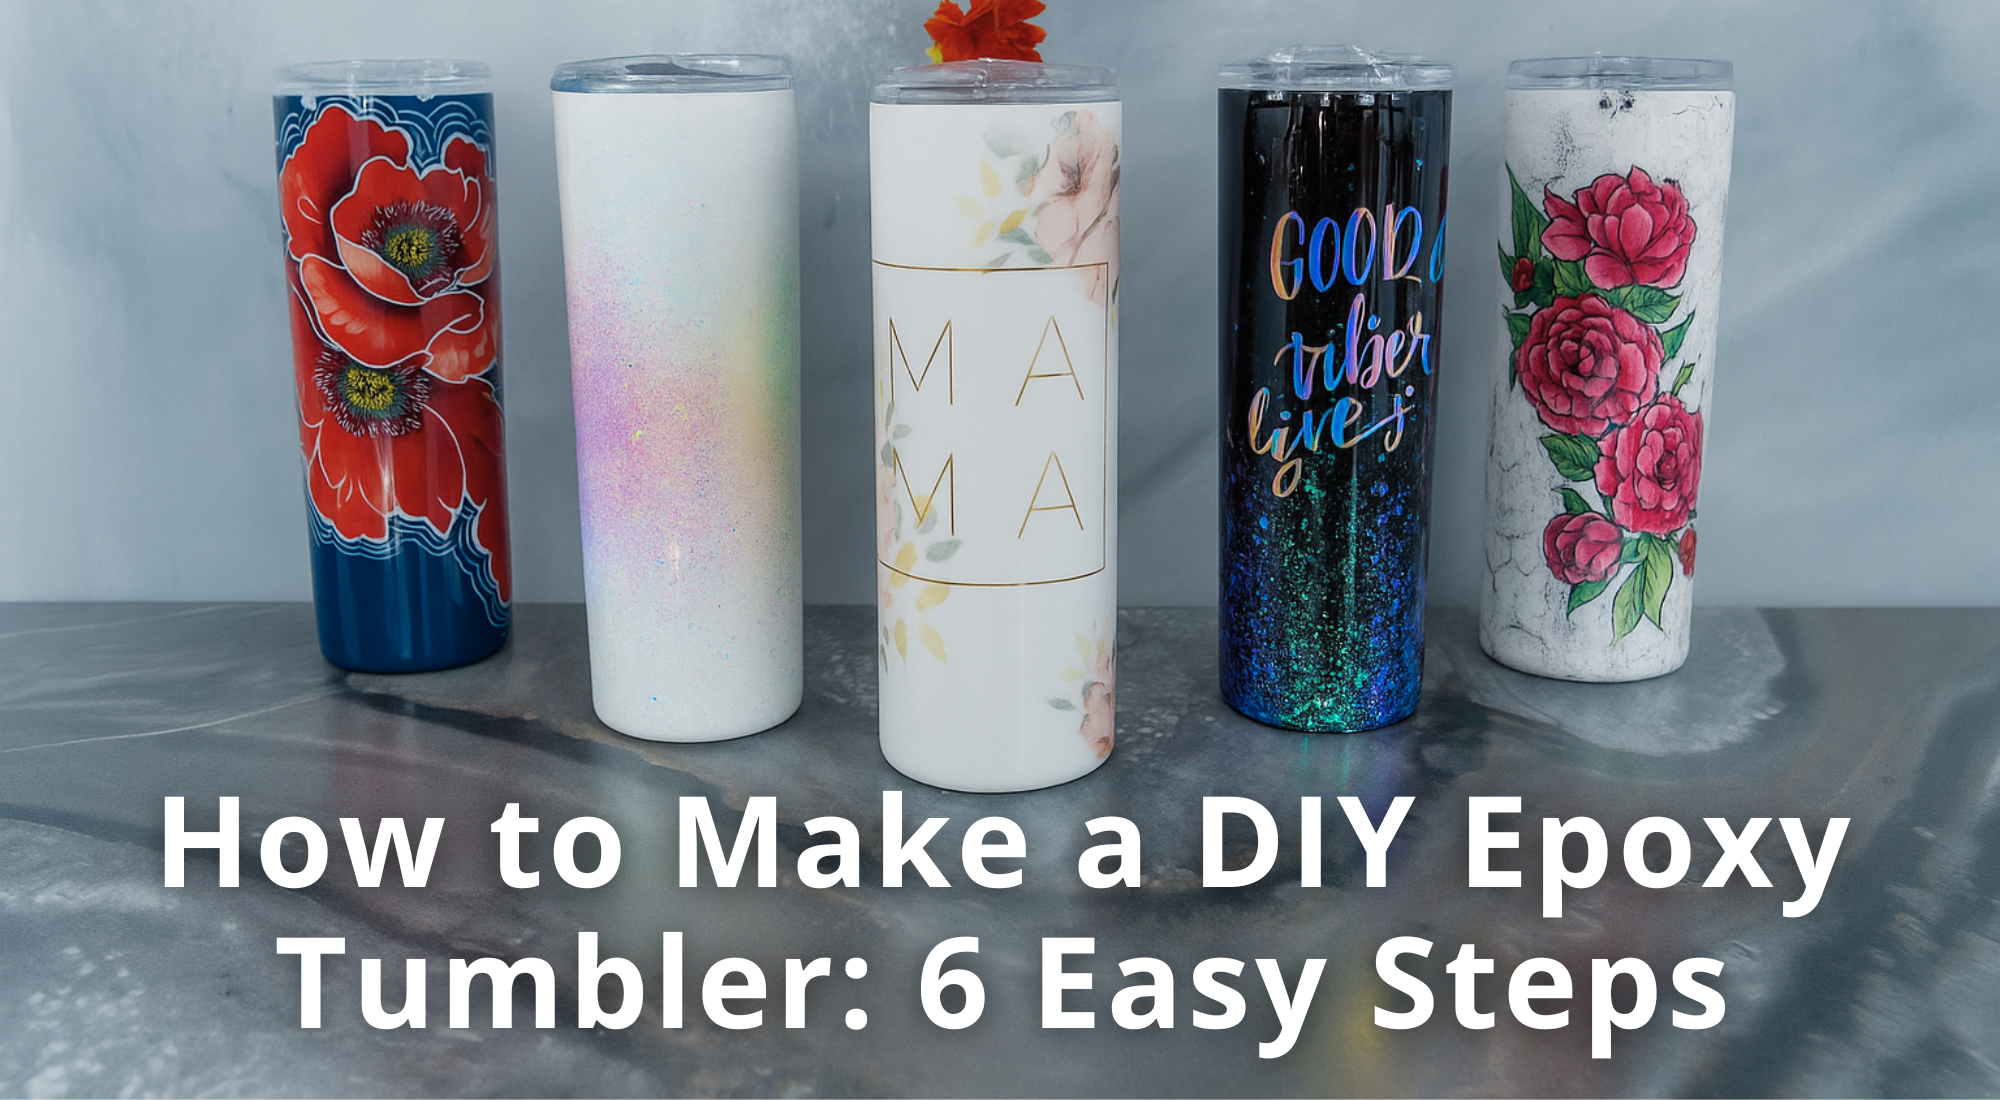
How to Make a DIY Epoxy Tumbler: 6 Easy Steps
Ever wanted a tumbler that is truly yours? One that shows your style, holds your favorite drink at the perfect temperature, and stands out from store-bought designs? Many people try to decorate tumblers but end up frustrated with messy spills, uneven glitter, or paint that peels too soon. It can feel tricky to get a tumbler that looks professional and works well for hot or cold drinks.
Without the right tools and guidance, epoxy projects can feel complicated. Too little attention to mixing or curing can ruin your design or make the tumbler unsafe. Some tumblers crack or lose their finish, and creating a smooth, shiny surface often seems impossible. You might worry that making a fully customized tumbler is only for experts, leaving you stuck with generic mugs that don’t reflect your personality. More craft inspiration here at Art Bubbles
The good news is that making a DIY epoxy tumbler is easier than it seems. With a tumbler turner and quick-drying epoxy, you can create a fully customized tumbler that keeps drinks hot or cold for hours. When mixed and cured properly, these tumblers are FDA approved, safe, and durable. Whether you want a fun cup for yourself, a thoughtful gift, or a product to sell, this guide makes the process simple and enjoyable.
By following this step-by-step guide, you will see exactly how to mix the epoxy, apply glitter or designs, and achieve a smooth, professional finish. Each step is broken down into easy instructions, so even beginners can follow along without stress. You will learn tips for using the tumbler turner, curing your project safely, and adding personal touches. By the end, you’ll have a beautiful, functional tumbler ready to enjoy or share with others.
Supplies Needed for Making Epoxy Tumblers
Making epoxy tumblers is a fun DIY craft that lets you create personalized designs right at home. You can choose colors, glitter, and decorations to match your style. Before starting, gather all the necessary supplies to make the process smooth and enjoyable.
- KSRESIN Liquid Art Epoxy Resin
- Stainless Steel Tumbler
- Silicone Mixing Cup
- Cup Turner
- Spray Paint
- Glitter
- Disposable Nitrile Gloves
- Mixing Sticks
- Vinyl (Optional)
- Rubbing alcohol
- Alumilite Amazing Quick Coat Epoxy
- Aluminum foil
- Paint brush and stencil dauber
- Measuring cups
- Electronic cutting machine with white adhesive vinyl
- Transfer tape
6 Simple Steps to Make a DIY Epoxy Tumbler
Making a DIY epoxy tumbler is easier than it looks. With just six simple steps, you can create a tumbler that is both shiny and unique. Follow the steps below to start your project and see how fun it can be.
Step 1: Prepping a Tumbler for Epoxy Resin
Start by gathering all your supplies in one place. Before painting, lightly sand the tumbler’s surface. This helps the paint stick better and creates a smooth finish for the epoxy. Wipe the tumbler clean to remove dust from sanding. Place the tumbler outside or in a well-ventilated area to spray paint. Follow the spray paint manufacturer’s instructions for distance, temperature, and recoat times to avoid streaks or uneven coverage.
Spray the tumbler evenly, making sure all areas are coated. Allow the paint to dry completely for at least 24 hours before applying epoxy. Proper drying ensures a smooth, even surface and prevents bubbling. Taking the time to prep the tumbler carefully will give your final epoxy design a professional look and long-lasting finish.
Step 2: Measure and Mix the Epoxy
Before you start, put on gloves and protective eyewear. Make sure you work in a well-ventilated area. If ventilation is poor, wear a respirator to stay safe. Check that the room temperature is around 70–75°F, as epoxy works best at this range. Temperatures that are too low or too high can change how it cures and may make it less clear.
To measure the epoxy, use about 1.5 mL per ounce of tumbler size. For example, a 20 oz tumbler needs 30 mL per coat, with 15 mL of resin and 15 mL of hardener. Pour equal parts into a mixing cup. Stir the mixture slowly for 2–3 minutes. Keep stirring until all streaks disappear and the epoxy becomes clear. Mixing slowly helps avoid bubbles and ensures the coating will be smooth and even on your tumbler.
Step 3: Applying Glitter to an Epoxy Tumbler
Start by gathering all your supplies. You will need epoxy resin, nitrile gloves, a mixing stick, a mixing cup, and glitter. Make sure your tumbler has been fully spray-painted and dried before beginning.
Measure equal parts of resin and hardener. For example, use 15 mL of each in the mixing cup. Stir the mixture thoroughly for about three minutes. Scrape the sides and bottom while stirring to remove any ribbons or streaks in the resin.
Put on your gloves and use your fingers to apply a thin layer of epoxy onto the tumbler. Sprinkle glitter evenly over the surface while the resin is still wet. Place a paper plate underneath to catch any excess glitter for future use.
Let the tumbler dry for at least four hours. For best results, work in a room with stable temperature and moderate humidity. This helps prevent bubbles and ensures the resin cures smoothly and evenly.
Learn more about snow globe tumbler project for creative fun.
Step 4: Coating your Epoxy Resin Tumbler with Epoxy
Place your glittered tumbler on a turner and start it rotating. This ensures the epoxy spreads evenly over the surface.
Mix equal parts of resin and hardener, such as 15 mL each, in a clean cup. Stir gently to avoid creating air bubbles.
With gloved hands, apply the epoxy evenly over the glittered tumbler. Cover every part of the surface for a smooth coat.
Run your gloved finger up and down the tumbler to level the epoxy. Take your time to smooth any uneven areas and remove small bubbles.
Let the tumbler cure for 24 hours. If you don’t plan to apply vinyl, repeat this step until the tumbler has a perfectly smooth finish.
Step 5: Applying Vinyl to Your Glittered Epoxy Tumbler
After your epoxy resin has fully cured, start by peeling your vinyl design from its backing. Carefully place it onto the glittered tumbler, pressing gently to make sure it sticks evenly. Smooth out any wrinkles or air bubbles by pressing from the center outward. Take your time, especially on curved surfaces, to keep the design aligned and neat.
Once the vinyl is applied, you can add extra details. Paint the bottom of the tumbler white, pour another thin layer of epoxy over it, and sprinkle white glitter for added sparkle. These steps enhance the design and create depth.
If you use additional epoxy, allow it to cure for at least four hours before handling or moving to the next step. This ensures the vinyl and glitter stay in place and the surface remains smooth and durable.
Step 6: Apply the Final Layer of Epoxy Resin
Start by peeling your vinyl design carefully from its backing. Handle it gently to avoid stretching or tearing the design.
Place the vinyl directly onto the cured glittered tumbler. Smooth it out with your fingers or a soft tool to make sure it sticks evenly and without air bubbles.
Once the vinyl is in place, you can paint additional details, like the bottom white section, to enhance your design. Add another layer of epoxy resin if desired, and sprinkle some white glitter for extra sparkle.
Allow any additional epoxy to cure for at least four hours before touching or moving the tumbler. This ensures the layer sets properly.
Always wear gloves and a mask to prevent skin contact and avoid inhaling fumes. Work in a well-ventilated space for safety. Check our holiday DIY guide for festive projects.
Conclusion
Now that your tumbler is complete, you can enjoy endless design possibilities. These personalized creations make thoughtful gifts for friends and family, and many people even sell them at craft fairs, shops, or on Etsy. With so many ways to customize, from names to charms, every project is unique. Have fun celebrating your creativity and sharing your stunning tumblers. See creative DIY gift tutorials for more ideas.