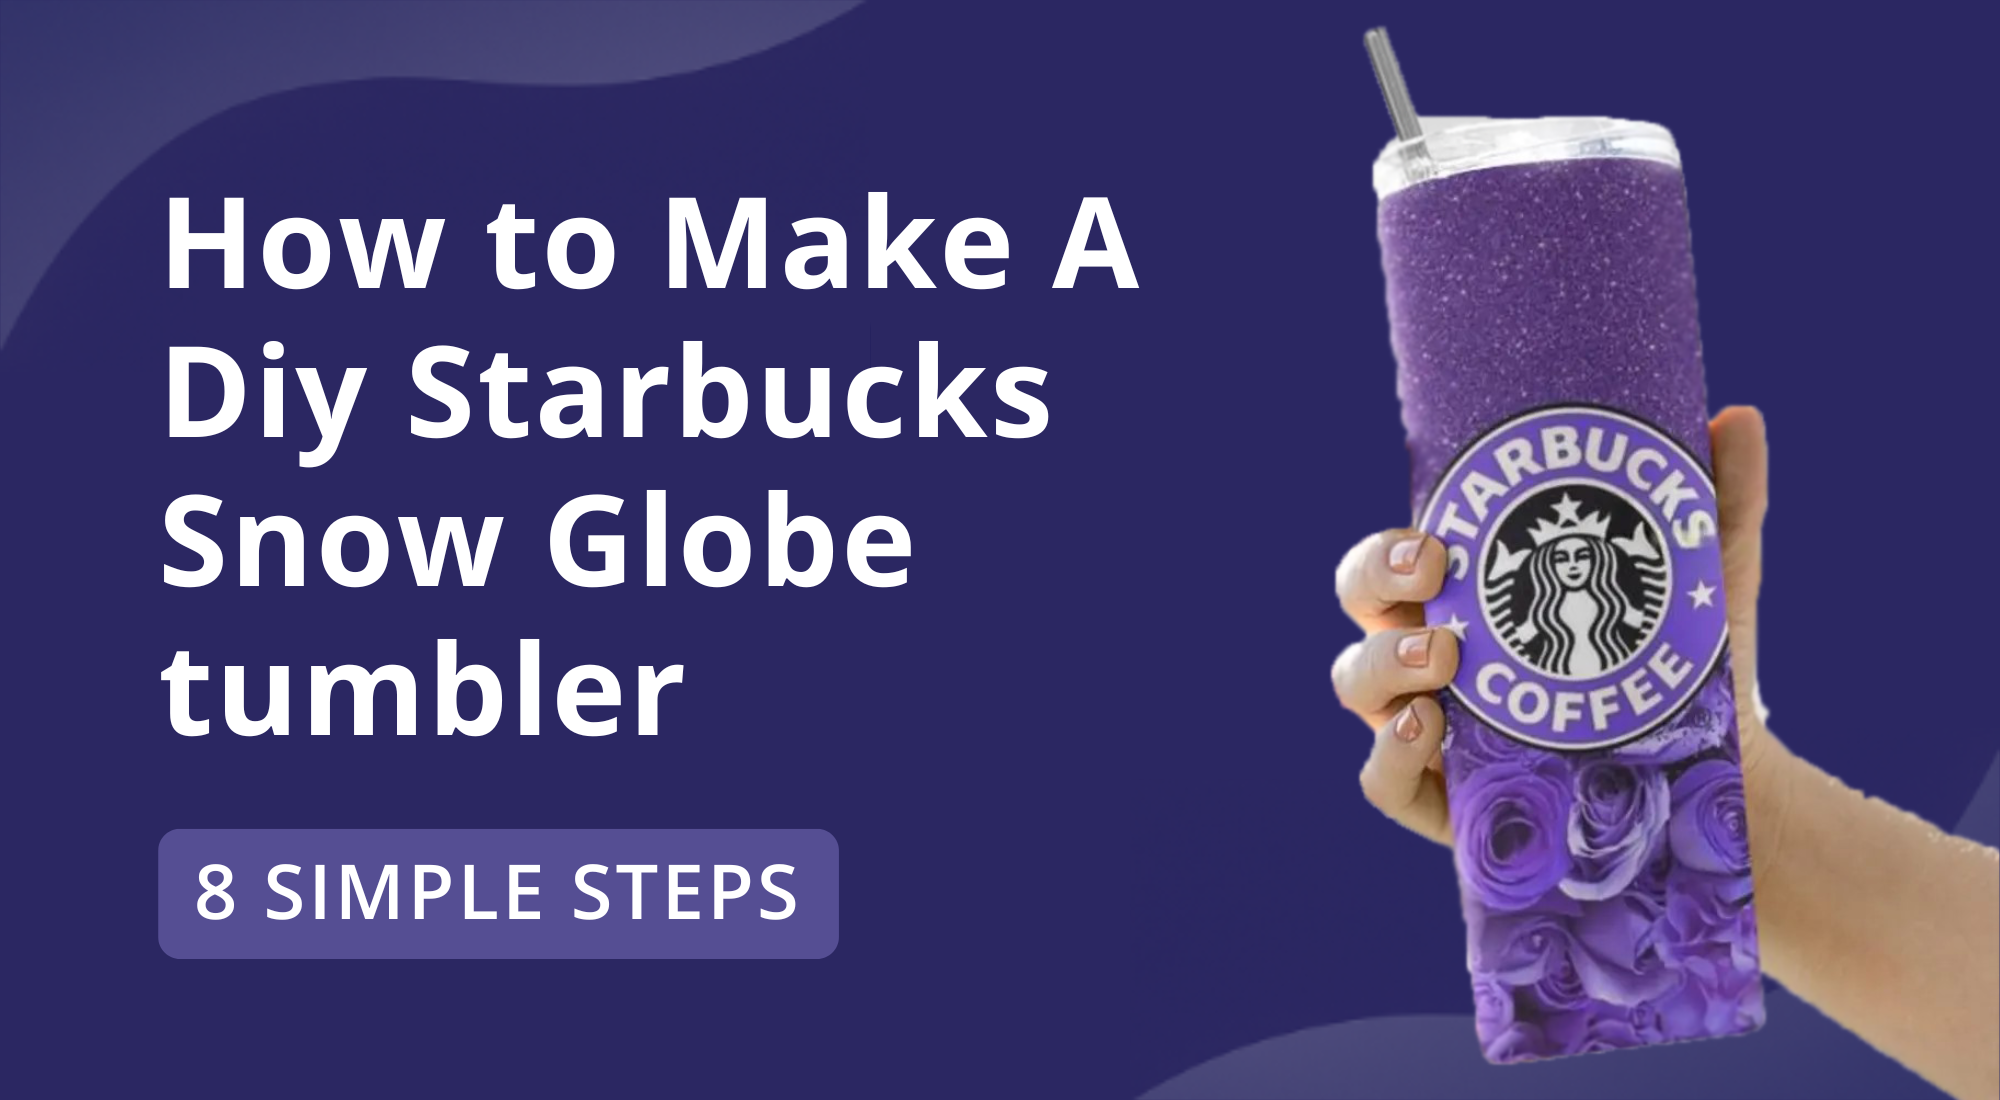
8 Steps to Make a DIY Starbucks Snow Globe Tumbler
Making one yourself is easier than it seems. You don’t need fancy tools or expensive supplies. All you need is a plain tumbler, epoxy, and glitter.
Using fine, small glitter gives a smooth, shimmering effect, but you can choose chunky or mixed glitter for extra sparkle. Crafting your own tumbler is a fun way to personalize it and create something truly unique.
Follow this step-by-step guide to make a glitter-filled snow globe tumbler at home. These tumblers are not only fun to craft, but they also make perfect gifts or items to sell. Let’s get started and bring your tumbler to life!
Starbucks Snow Globe Tumbler Supplies
Creating your own snow globe tumbler is easier when you have all the right materials. Gathering everything before you start saves time and makes the process smooth. You’ll need tools, liquids, and decorative items to get the best results.
- 20 Oz. Tumbler
- Chunky Glitter Mix (Peachy Olive Glitters)
- UV Epoxy
- UV Light
- Syringe
- Funnel
- Rubbing Alcohol
- Adhesive Dots
- UV Resin
- Standard Grip Cutting Mat
- Cricut Scraper
- Cricut Weeder
- Transper Tape
- Viny
- Paper Towel
- Clear Glue
- Distilled Water
- Measuring Cup
- Whisk and Bowl
- Drill
Easy Steps to Make a Starbucks Snow Globe Tumbler
Making your own Starbucks snow globe tumbler can be fun and creative. With just a few supplies and some simple steps, you can craft a tumbler that sparkles and stands out. Follow the steps below to create your own unique design.
Step 1: Drill a Hole in the Tumbler
Start by putting on safety glasses and gloves. Safety glasses protect your eyes from flying plastic bits, and gloves give you a better grip on the tumbler while you work. Place the tumbler upside down on a sturdy surface to keep it steady.
Position the drill bit as far to the side of the bottom as possible. Avoid the center. This helps the glitter flow down the side instead of getting stuck at the top. Use a drill bit slightly larger than your funnel or pouring tool. Make sure it is securely attached to the drill.
Drill slowly and carefully. Take your time to avoid cracking the tumbler or hitting the second wall. As you drill, plastic bits will rise to the surface. Brush them away frequently to keep the hole clean. You will hear a small pop when you break through the first layer. Once through, reverse the drill slowly to remove the bit without damaging the edges.
Keep in mind that drilling breaks the tumbler’s insulation. After this step, the tumbler will no longer keep drinks hot or cold for long. It may also sweat or form condensation when filled with liquid. Handling the tumbler carefully during this process and following these safety tips will make it easier to create a clean hole ready for filling with glitter and liquid.
Step 2: Adding Glitter to the Tumbler
Start by gathering your supplies: tumbler, funnel or rolled-up paper, and a mix of fine, medium, and chunky glitter. Using a variety of glitter sizes will create a sparkly effect that catches the light beautifully. Avoid using only very fine glitter, as it can look flat and less vibrant.
Place your funnel or paper into the opening of the tumbler. Slowly pour the glitter into the tumbler, taking care to distribute it evenly. Gently tap the sides of the tumbler to help the glitter settle. For chunky glitter pieces, use a small tool or brush to guide them into place so they don’t clump.
For a creative twist, try layering different glitter colors or textures to make a gradient or ombre effect. Start with one color at the bottom and gradually add another on top, or mix subtle textures for depth. This adds a unique and visually appealing look to your tumbler.
Fill the tumbler just below the first line for the best results. This ensures there is enough space for the next step while keeping the glitter evenly distributed. With a little care and layering, your tumbler will have a bright, sparkling interior that looks professional and eye-catching.
Mix Dispersion Liquid
Start by deciding how you want your glitter to move. For fast-moving glitter, mix ¼ cup glycerin with ¾ cup water. For slower, longer-lasting movement, use ¼ cup clear glue with ¾ cup water. Both options create a suspension liquid that will hold your glitter in place.
Next, pour your chosen liquid into a clean bowl and stir gently. Avoid shaking too hard, which can create bubbles and uneven flow. Slightly warming the liquid can help glitter move more smoothly and prevent clumps. Make sure it’s warm to the touch, not hot.
Use a syringe or pipette to transfer the liquid into the tumbler. Fill as full as possible while keeping control of the flow. Tip the tumbler slowly to help trapped air escape. Check carefully for any visible air bubbles at the top.
If you are using vegetable glycerin, be aware it can leave behind an oily residue. This residue can stop epoxy from sticking properly. Clean the bottom and sides of the tumbler thoroughly with rubbing alcohol.
Take your time to ensure the entire surface is clean. Any leftover oil or dirt can cause leaks later. Proper cleaning helps the epoxy seal correctly and keeps your tumbler safe to use.
Once the liquid is in place, give the tumbler a gentle swirl to evenly distribute the glitter. Avoid shaking too hard, which can create new bubbles or make glitter stick to the sides.
Finally, double-check the liquid level and remove any remaining air pockets. Your tumbler is now ready for sealing and epoxy coating, ensuring smooth, long-lasting glitter movement.
Step 4: Cover And Seal Hole
Start by covering the hole of your tumbler with a clear vinyl sheet or a plastic plug. This acts as a secondary barrier to prevent spills. You can also use alternatives like silicone stoppers, tape, or temporary clay plugs if you don’t have vinyl or plastic plugs. Make sure the cover fits snugly and sits evenly over the hole.
Next, prepare your workspace. Work in a dark, well-ventilated area and wear gloves to protect your hands. If you’re using UV resin, keep the tumbler out of direct sunlight until you are ready to cure the resin.
Apply a thin layer of UV resin over the covered hole. Use a mixing stick or spatula to level the resin with the plug. Keep the layer thin to prevent overflow and reduce bubbles.
Cure the resin using a UV light for about three minutes per layer. If you don’t have a UV light, place the tumbler in direct sunlight for roughly twenty minutes. Make sure the resin is fully cured before adding the next layer.
Add multiple layers of UV resin to build a smooth and secure seal. Allow each layer to cure completely before applying the next one. This will strengthen the seal and create a clean finish.
After the final layer has cured, tip the tumbler over to check for any leaks. If you see any, you can add an additional thin layer of resin and cure it again. Testing ensures your tumbler is sealed properly.
For long-lasting results, let the final layer cure fully for several hours or overnight. This extra curing time helps the seal hold up during regular use and prevents leaks from developing later.
Step 5: Add Rhinestones To Logo
Adding rhinestones is an optional step to make your tumbler more decorative. Start by placing small dots of glue around your logo, leaving enough space for each stone.
Use different rhinestone sizes or create a pattern to make the design more eye-catching. Hand-place each rhinestone carefully onto the glue dots.
Let the glue dry for 24 hours before exposing the tumbler to water. This ensures the rhinestones stay in place and the pattern stays neat.
Step 6: Prepare Design in Cricut Design Space
Before starting, make sure your tumbler is completely dry and hardened. Then follow these steps to create a personalized design:
- Upload a design from the Cricut Access Library.
- Select Open, then choose Open Cricut Design Space Application.
- Use Edit Copy to change the text, color, or size of the design.
- Adjust the design dimensions if needed. Standard sizing is for a normal 3-inch tumbler, but you can make it larger for bigger tumblers.
- Choose the right vinyl type: Permanent vinyl is best for tumblers that will be washed often, while removable vinyl works for short-term or temporary designs.
- Once your design looks perfect, move forward to cut it and apply it to your tumbler.
This method ensures your tumbler is both unique and durable, with colors and text styled exactly how you want.
Step 7: Cut Design with Cricut Machine
Follow these steps to cut your vinyl design for a tumbler:
- Gather your supplies: Cricut machine, Green StandardGrip mat, weeding tool, and scraper.
- Place your vinyl shiny side up on the mat. Smooth it to remove bubbles.
- Turn on your Cricut machine and click “Make It” in the software.
- Select your material type. For Explore Air 2, choose “Vinyl.” Adjust cut settings if needed.
- Load the mat into the machine and follow the on-screen cutting instructions.
- Once cutting is complete, carefully unload the mat.
Weeding your design:
- Use your fingers to lift the larger unneeded pieces of vinyl.
- For fine details or small letters, use a weeding tool to remove leftover pieces.
- Don’t forget the inside parts of letters or shapes.
- Work slowly around edges to avoid tearing the design.
Tip: Check your blade before cutting and do a small test cut on scrap vinyl. This ensures clean cuts and prevents mistakes on your main design.
Step 8: Transfer Adhesive Vinyl to tumbler
Follow these steps to add your vinyl design to a DIY tumbler:
- Make sure the tumbler is clean and dry. Wipe it with rubbing alcohol to remove oils or dust.
- Cut the transfer tape slightly larger than your vinyl design.
- Place the tape on top of the vinyl carefully. Avoid bubbles or wrinkles.
- Use a scraper to press the design onto the tape. Rub both the front and back so it sticks well.
Once your vinyl is on the transfer tape:
- Slowly peel the tape from the vinyl starting at the top left. Pull at a semi-diagonal angle.
- If the vinyl does not lift, place it back down and rub again with the scraper.
- Position the design on the tumbler. Make sure it is straight and centered.
- Press the vinyl down with the scraper. Smooth out any bubbles or bumps.
- Peel back the transfer tape slowly. If the vinyl lifts with the tape, press it back down and rub the area again.
Tips to avoid common mistakes:
- Work slowly to prevent tearing the vinyl.
- Check for air bubbles before fully removing the tape. Smooth them out immediately.
- For large or layered designs, apply each piece one by one. This helps keep the design aligned.
Once the vinyl is fully applied, your tumbler is ready. You can make different designs for holidays, favorite Starbucks drinks, or any special occasion. Each tumbler can be customized year-round. Take your time and check your work as you go. The scraper is your best tool for smooth, even application.
Following these steps will help your design stick properly and look professional. Small mistakes like misalignment or trapped bubbles can be fixed by repositioning the vinyl before the tape is fully removed. With patience, you can create a clean, polished finish every time.
Conclusion
Creating your own Starbucks snow globe tumbler is both fun and rewarding. By following the eight steps, you can craft a tumbler that reflects your style and creativity. Each step builds on the last, making the process smooth and enjoyable. Taking the time to carefully assemble and decorate your tumbler ensures a polished, professional-looking result.
Once finished, your tumbler becomes more than just a cup. It is a personal piece you can use daily or gift to someone special. With simple tools and a little patience, you can bring a unique, festive design to life at home.