How to Make Custom Gift Tags with Cricut
Many gifts look nice, but the tag often feels plain. A small detail can change the whole look of a present. A custom gift tag adds that special touch without much effort.
Store-bought tags can feel common and forgettable. A handmade tag gives a personal feel. It shows care in a simple way. It also lets you match colors, shapes, and style to your gift.
This project brings more meaning to your wrapping. It helps your gift stand out on any table or event. The process also feels calm and creative, even for beginners.
This guide walks through each step in a simple way. The next part starts the process from the basic setup to the final tag.
Supplies Needed
Start by gathering all your supplies so the process feels easy and smooth. Take a moment to set everything in one place before you begin. You will need the following items to make your custom gift tag:
- Smart Paper Sticker Cardstock
- Trimmer
- Cricut Explore 3
- Glitter Get Pen
- Twine
- Connect Device with Design Space
6 Steps to Make a Custom Gift Tag
Ready to make your own gift tag? The process is simple and fun. Follow the steps below to create a clean and personal tag with ease:
Step 1: Customize Your Design in Cricut Design Space
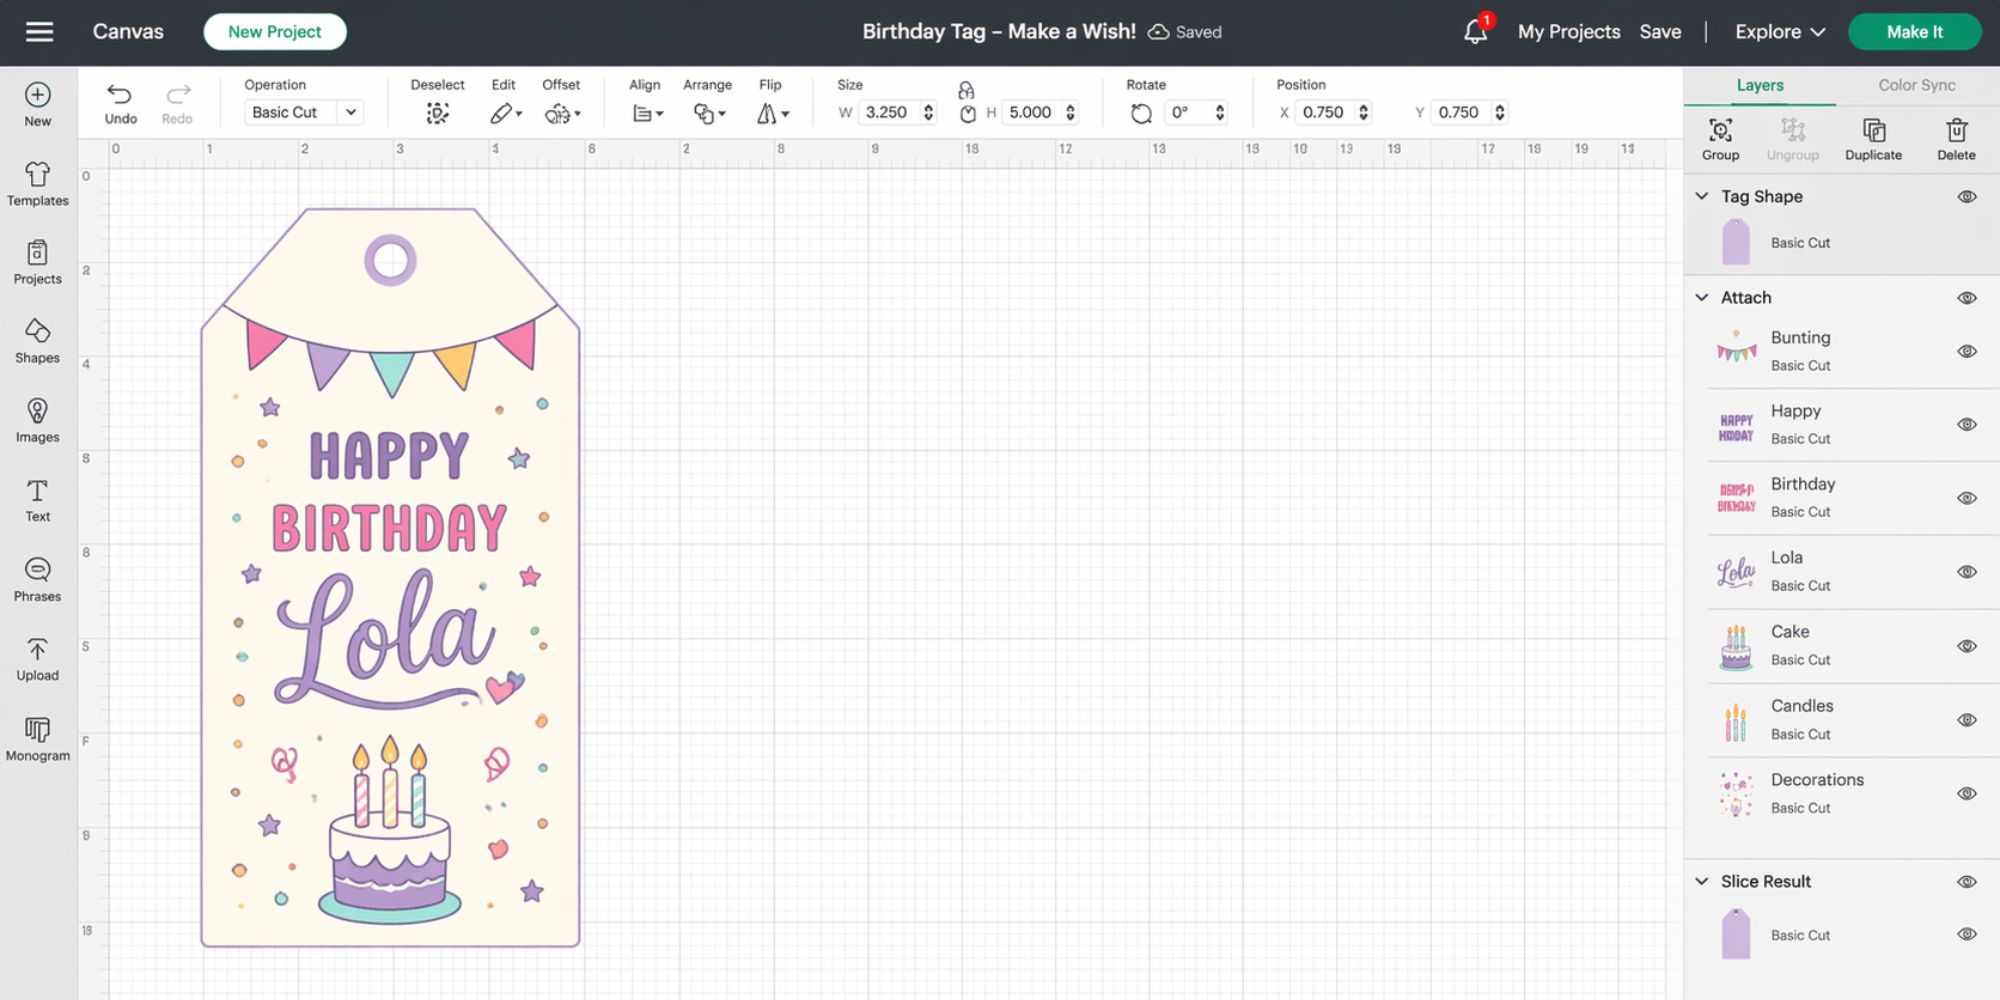
Open Cricut Design Space and locate the gift tag project file in SVG or a compatible format to avoid upload or sizing issues. Add your chosen name, such as Lola, then center it carefully on the tag. Select both the text and the tag together. Use the “Slice” tool from the bottom right corner. This removes the inner text shape from the tag and makes cutting and assembly more accurate and easy.
Step 2: Clean Up and Attach Your Design
After slicing the design, remove any extra text pieces that appear, since they are not needed. This keeps the workspace clean and easy to manage. Next, adjust the layout by moving the pen layer so it sits neatly on top of the white tag. Take a moment to check the mat preview to see how everything will cut. It helps spot spacing or placement issues early. After that, select all elements and click “Attach” in the bottom right corner. This keeps everything locked in place so the Cricut cuts it exactly as shown. Once done, press the “Make It” button to continue.

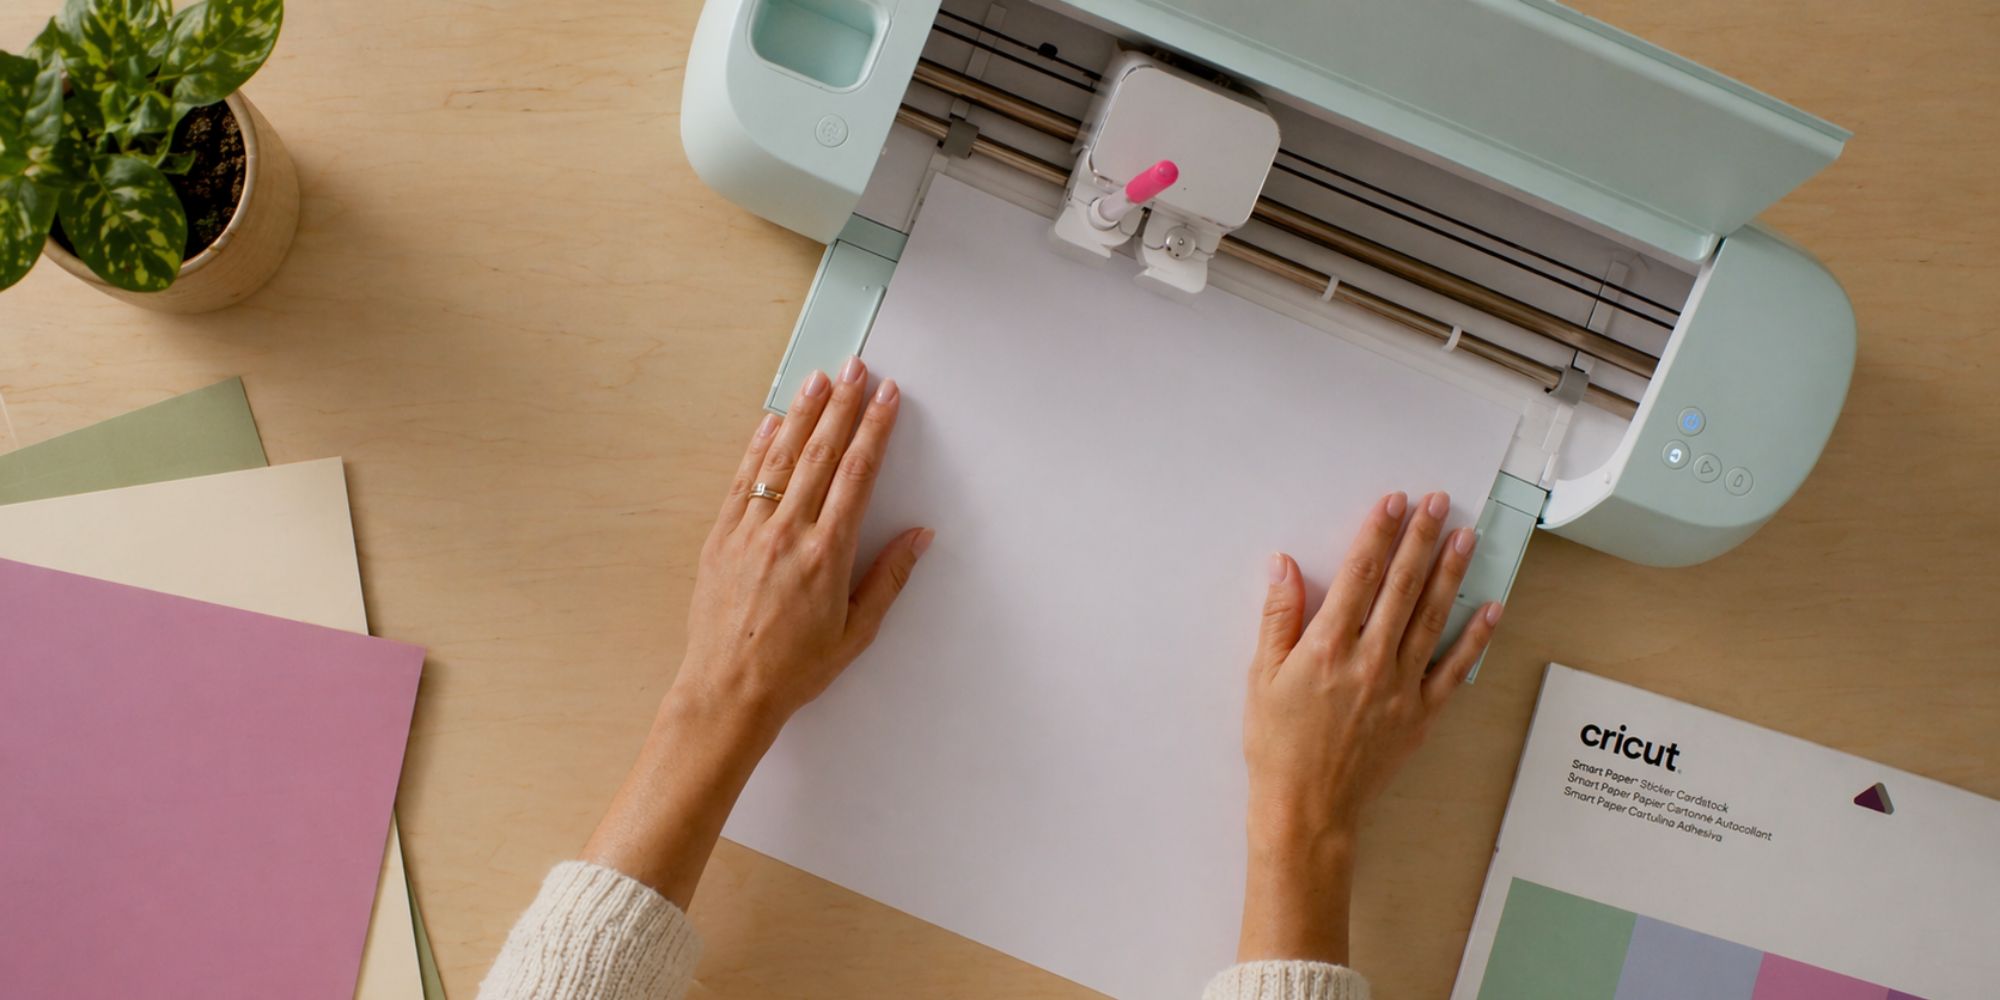
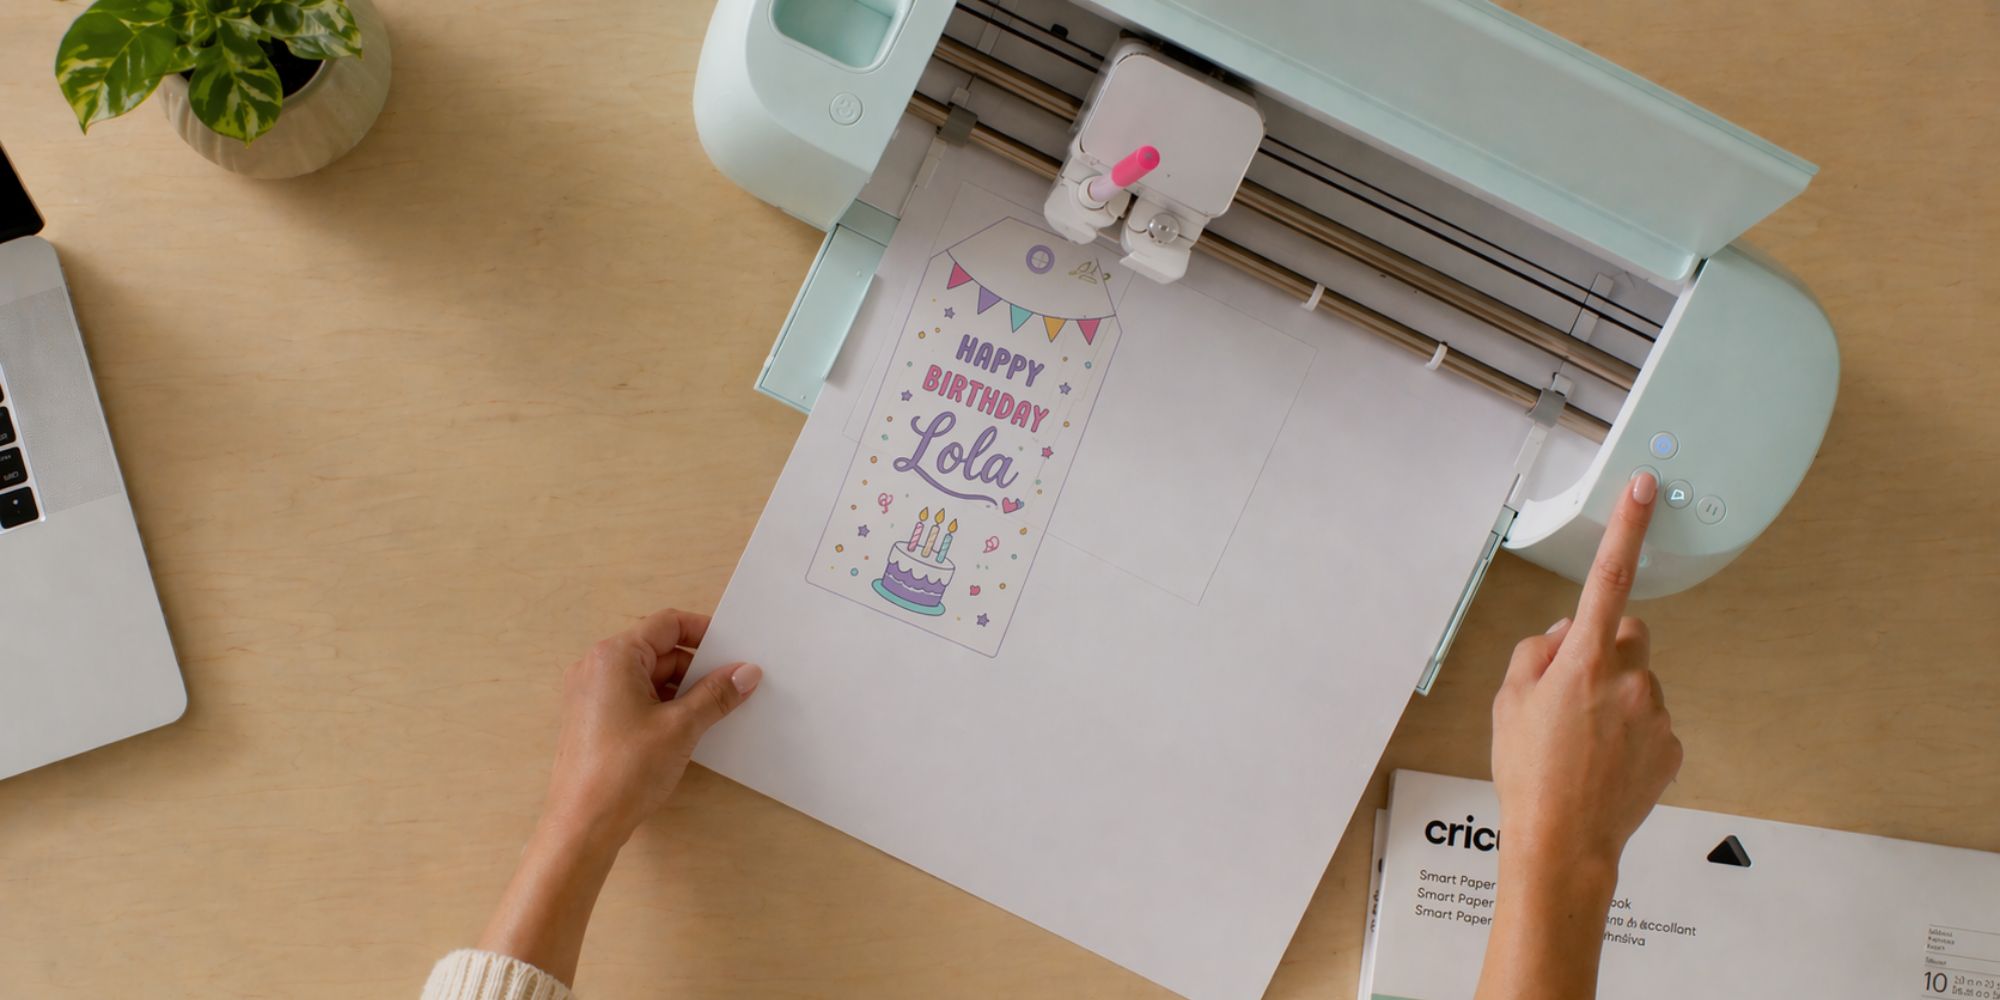
Step 3: Load Materials and Start Cutting
Cricut Design Space guides the user to load materials in a set order. First, confirm the cardstock size and type match the on-screen project settings to avoid errors. Load white Smart Paper Sticker Cardstock into the machine. Insert the gel pen into Clamp A for the writing part. Select the correct material setting in Design Space. Press the “Load” button. Press the “Go” button once it starts flashing to begin cutting.
Step 4: Cut the Second Material
After cutting finishes, press Unload. Remove the mat and check the blade for leftover bits and mat surface for debris or weak stickiness. Load the next material. Use purple Smart Paper Sticker Cardstock as the second layer, place it flat and aligned. In Design Space select the correct material setting. Load the mat again. If prompted press Unload once more then press Go to start cutting.
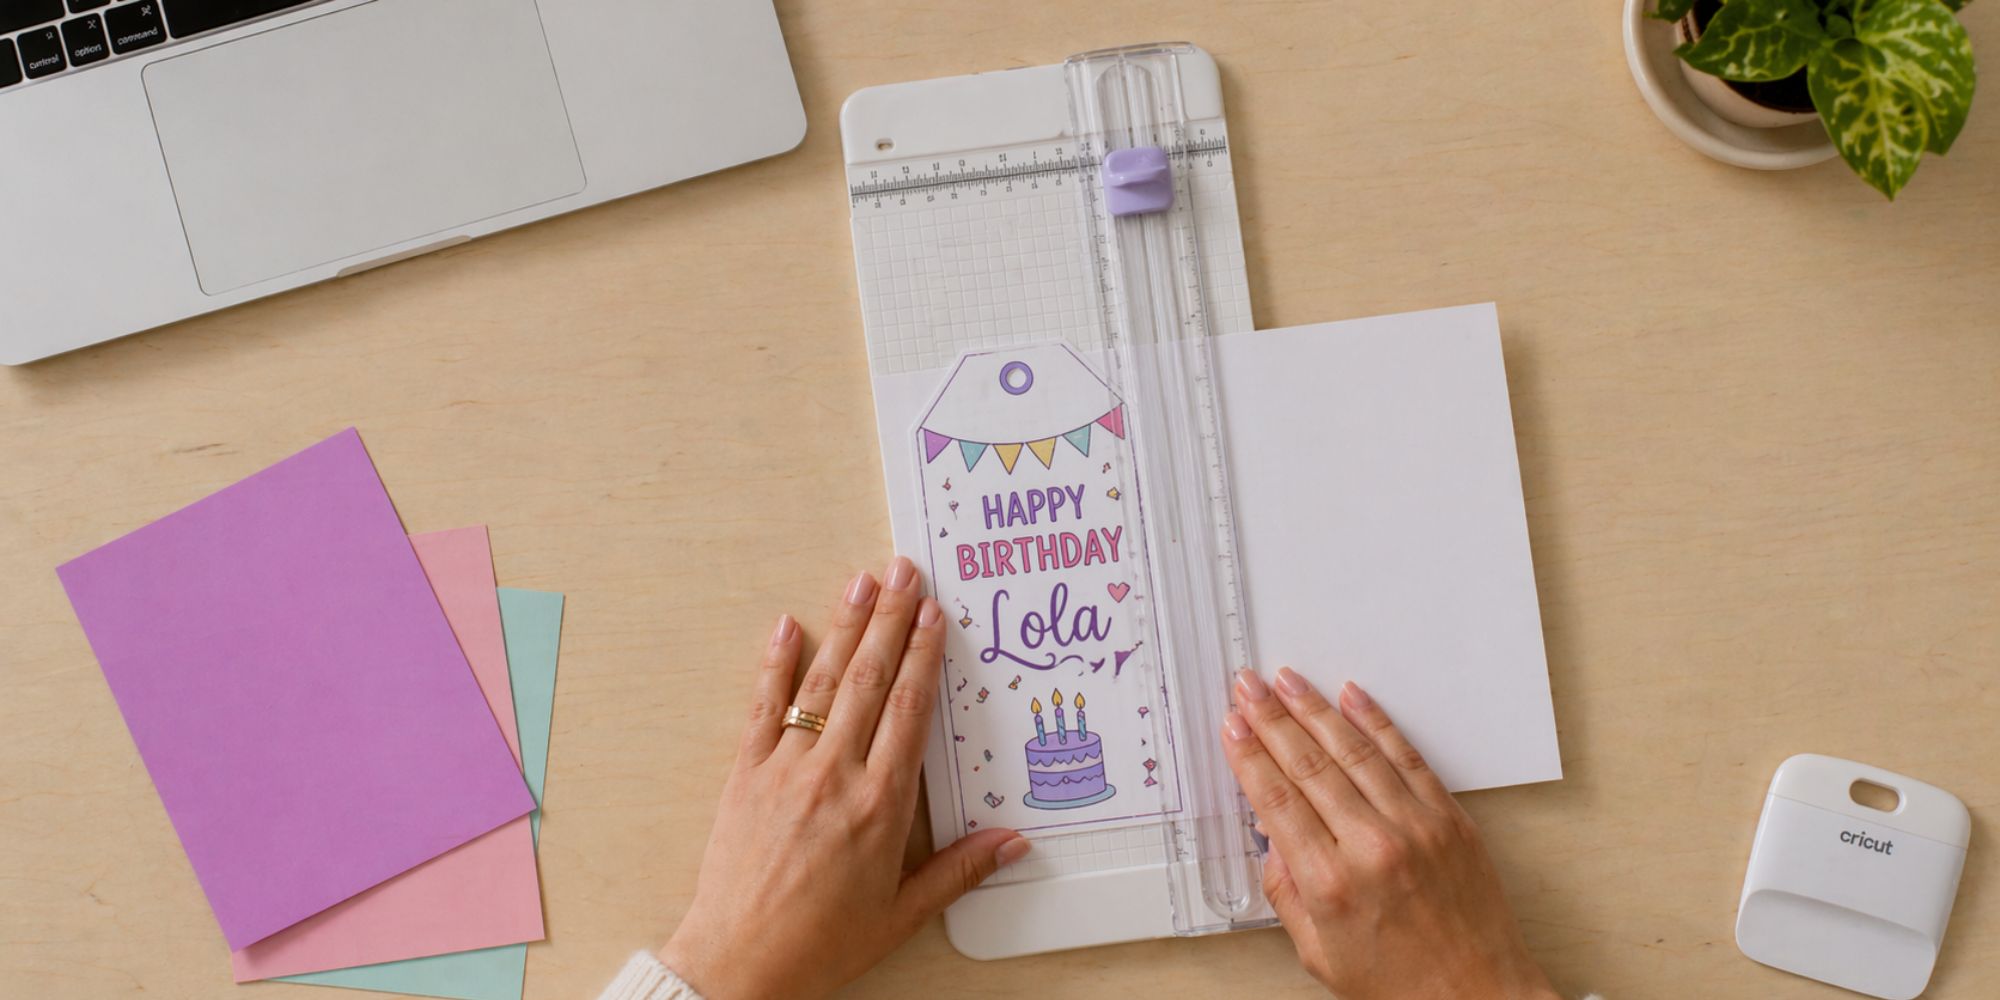
Step 5: Trim and Peel the Cardstock
Trim down the material into a smaller size so it is easier to handle. Keep any leftover scraps for future projects. Press the cardstock with a flat tool like a scraper to keep it smooth and reduce air pockets. Remove the backing by peeling the cardstock away from the liner. Flip the sheet face down so the liner faces up, then peel the liner slowly. This method helps stop the cardstock from curling.
Step 6: Assemble the Tag
This step is about putting all tag layers together. Stick the purple cardstock onto the sticky side of the white tag to form a layered sandwich. Then place the white cardstock with the pen drawing on top of the purple layer. Line up all edges so they match cleanly. Press the full tag gently with your hand or a flat tool. This removes air bubbles and keeps the layers smooth and even.
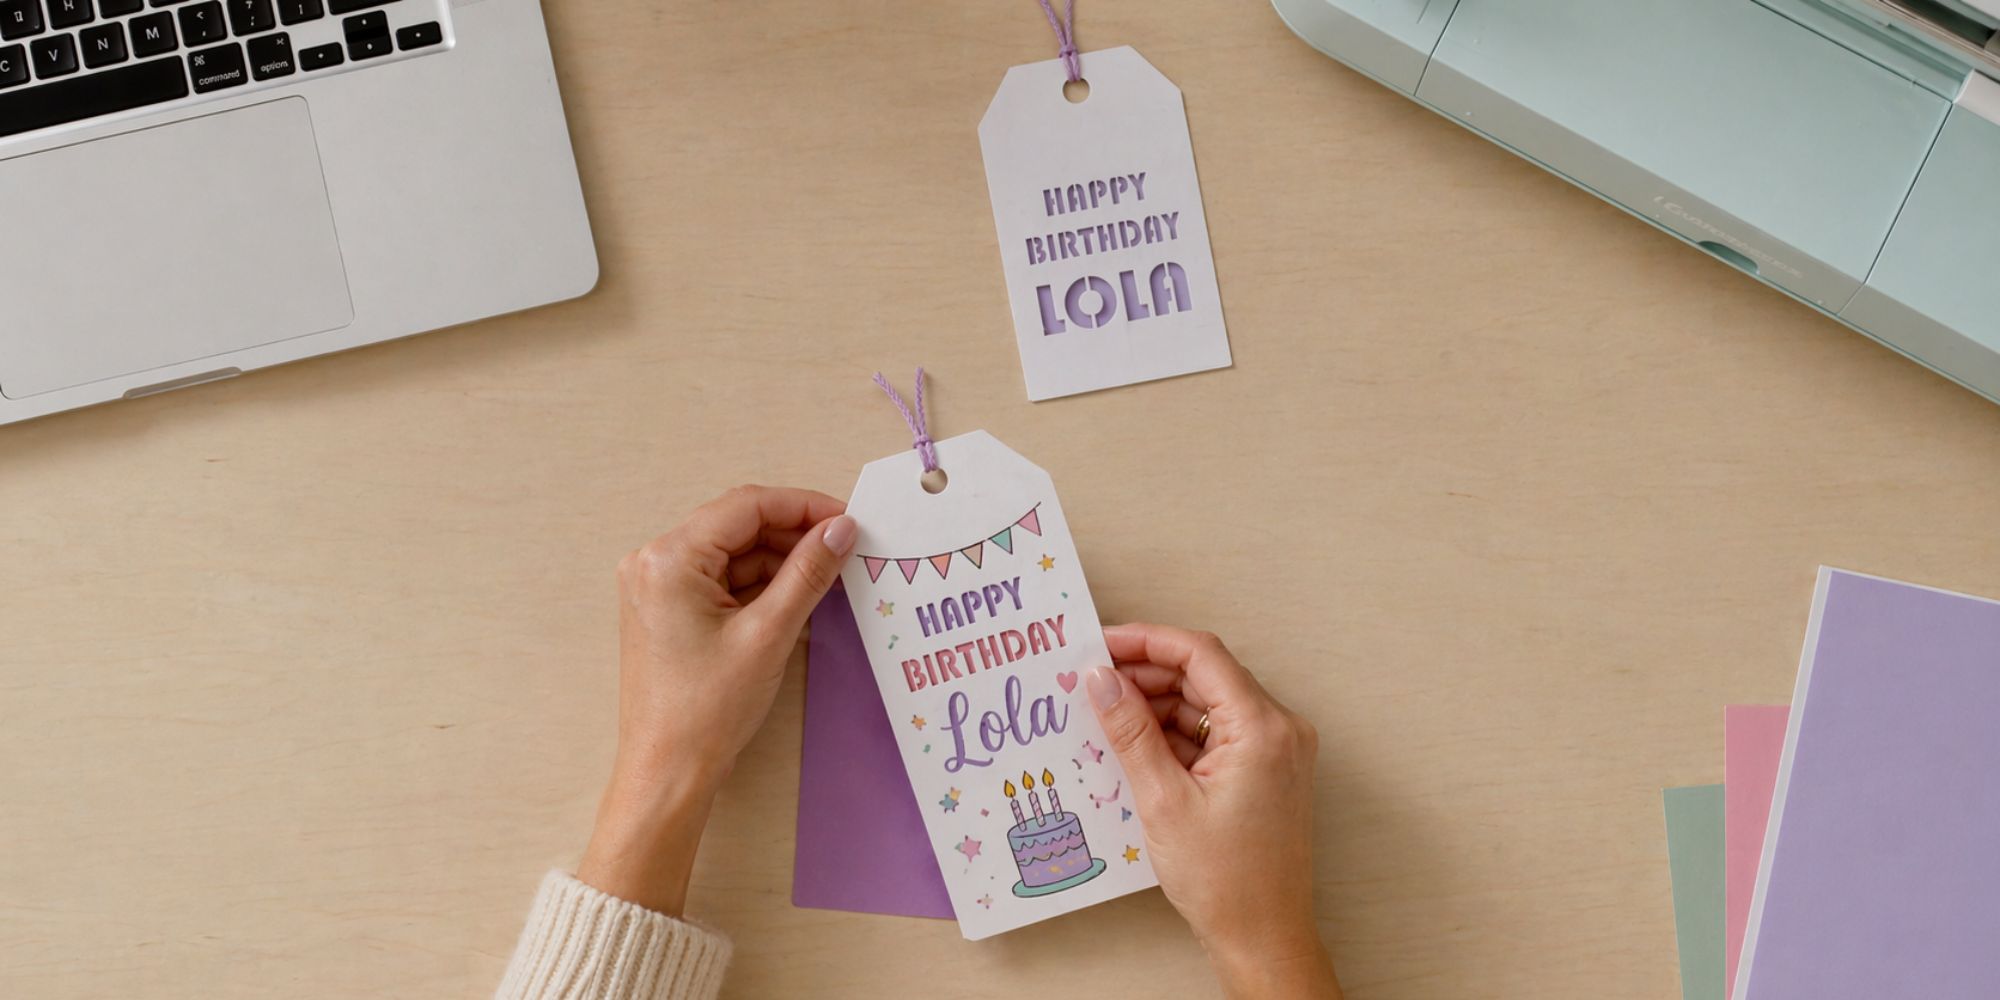
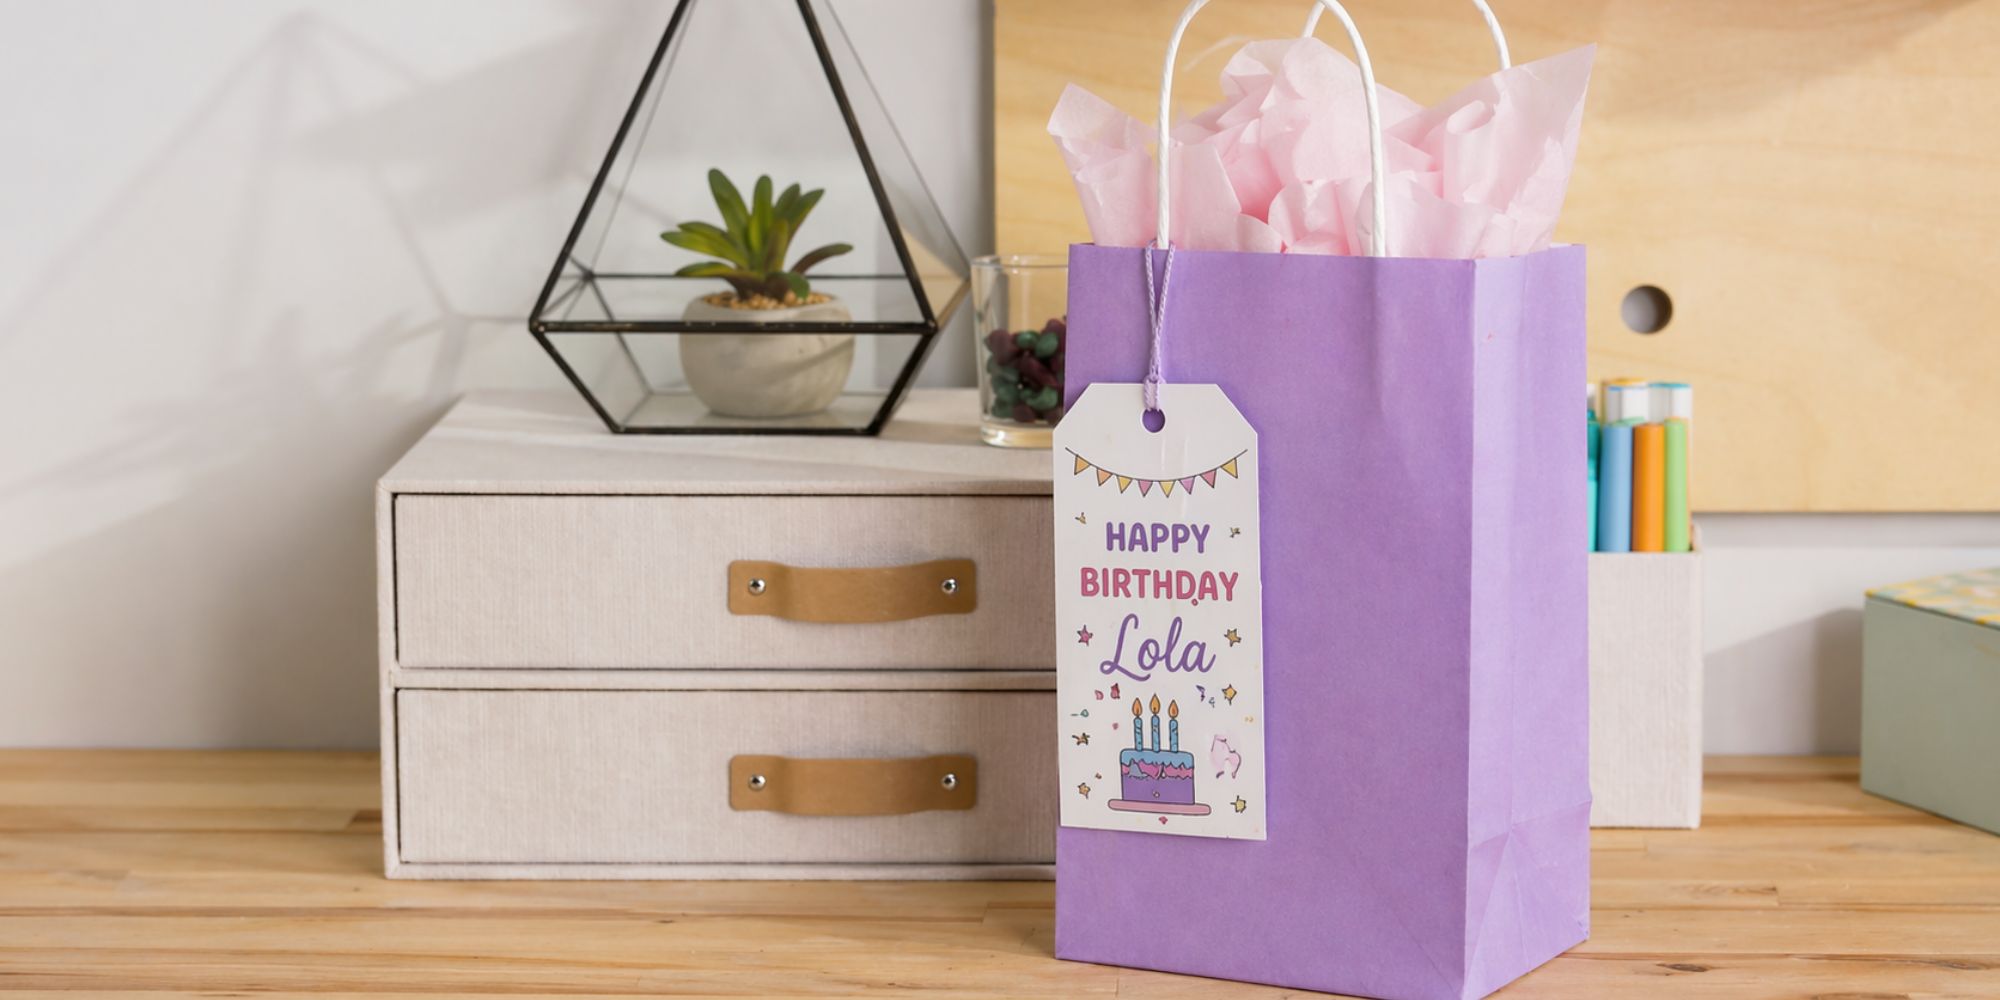
And You’re Done!
Your project is complete, and your gift tag is ready to use. Add a final touch with a gift bag or some wrapping paper to make it stand out. Attach the tag using ribbon, twine, or string. Punch a clean hole if needed, then tie it in a neat bow. This small detail adds a thoughtful feel your recipient will notice. Share your finished tag on social media with #cricut and show your work.
Learn more: How to Make a Paper Cut Gift Tag