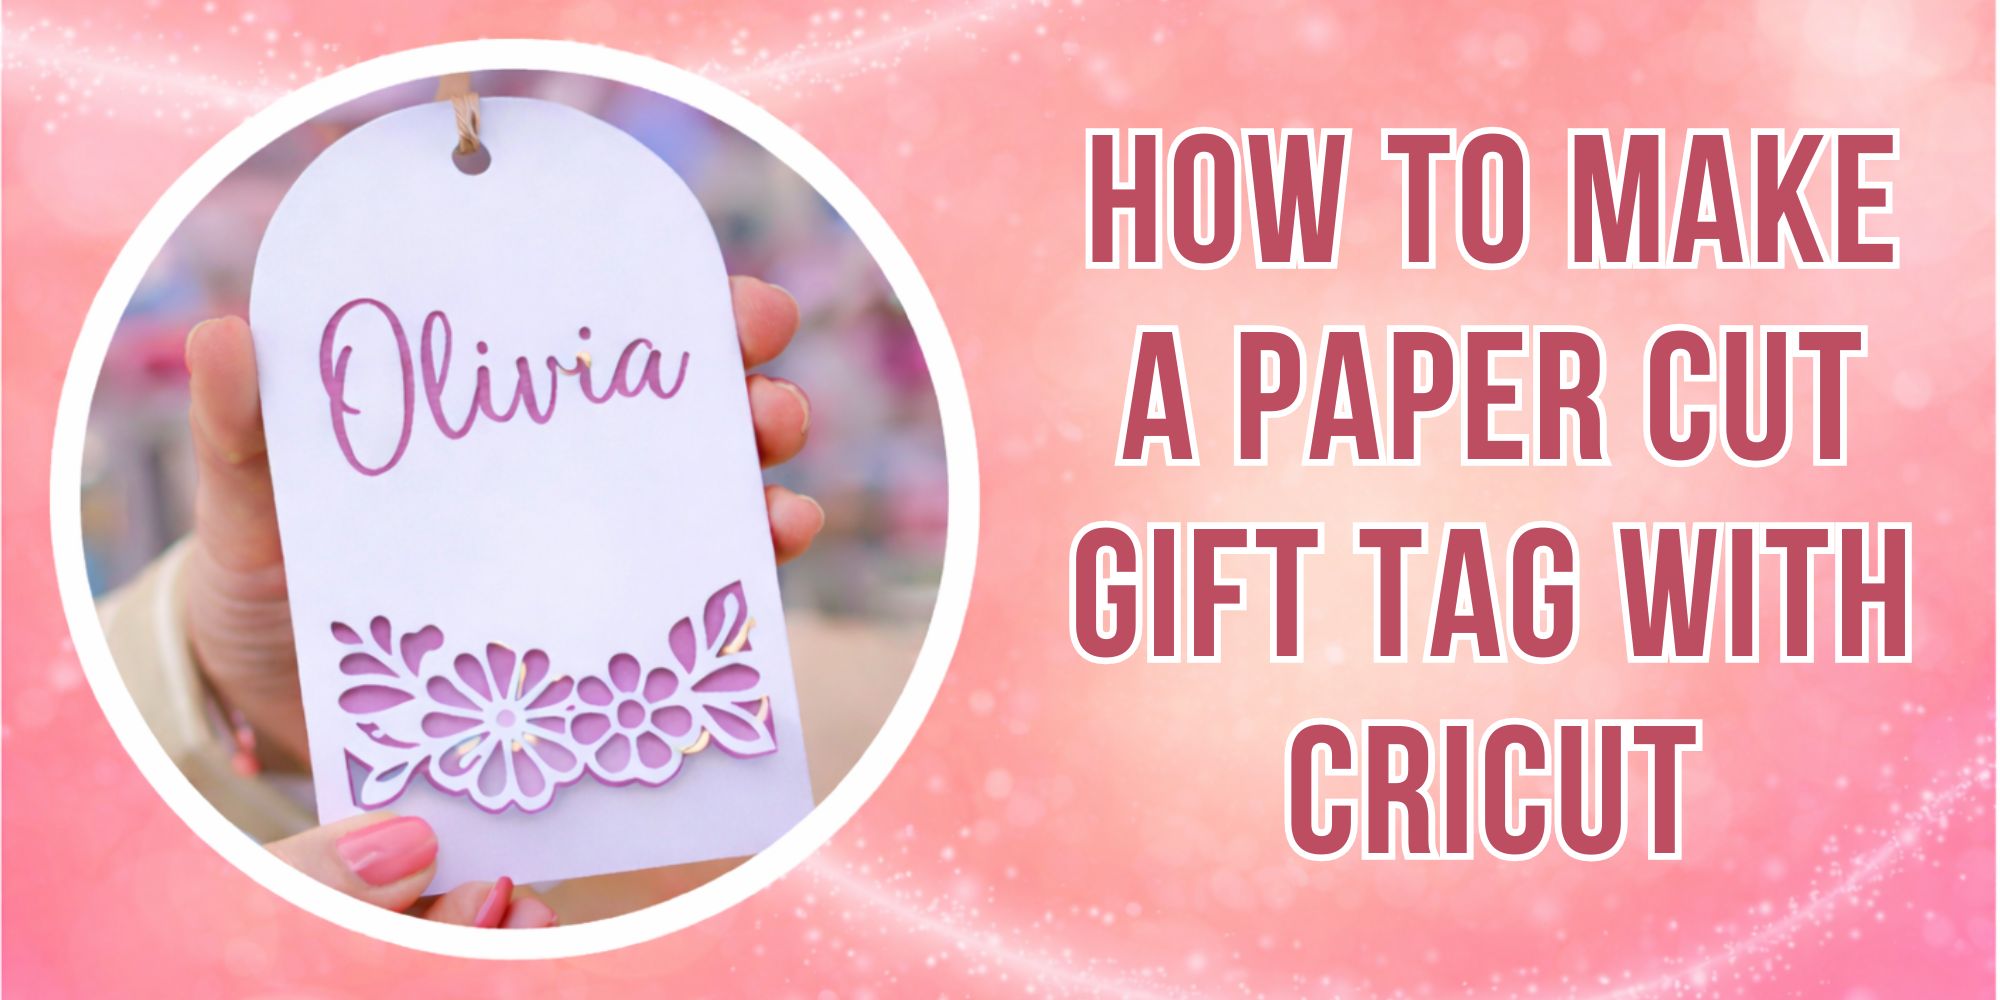
How to Make Paper Cut Gift Tags with Cricut
Cricut beginners are back in this Beginner Cricut Series. This step-by-step project starts here.
This first paper cut project focuses on a layered gift card tag. It is the first paper cut project for a layered gift card tag.
The design stays simple and practical while adding a handmade touch to gifts. It also fits many gift ideas. It brings a personal touch to any wrapped present.
Follow along and begin.
What You’ll Need
Before getting started, gather all the supplies for a smooth setup. Each item helps you complete the project without confusion.
- Design file
- Cricut machine
- Cricut Design Space software
- Standard grip mat
- Two sheets of cardstock in contrasting colors
- Pick cardstock with care. Light cardstock can bend too easily during cutting and assembly. Heavy cardstock keeps its shape better and works well for layered designs.
- Cricut pen or gel pen for optional name detailing
- Twine, glue, or another fastener to attach or tie the tag
- Spatula or scraper tool as an optional but helpful accessory
Step by Step Guide to Make Paper Cut Gift Tag
This section shows how to create a paper cut gift tag in simple steps. Each step breaks the process into clear actions you can follow with ease. Read the seven steps below to start and complete your own design.
Step 1: Upload Your Design to Cricut Design Space
Open Cricut Design Space and start a new project. Then click Upload to bring in your gift tag design file. You can use our Gift Tag design.
Next, choose your file. SVG, PNG, and JPG files all work well. This helps you avoid upload errors.
Once the design appears on the canvas, check its size. It will be about 3” x 6”. This size works well, so leave it as is.
Step 2: Add a Name Using the Pen Tool (Optional)
Personalize your tag by adding a name using these steps. Insert a text box and type the recipient’s name. Set the Operation to Pen and choose the pen color and type, such as G – Gel 1mm. Pick a clear font style. Weld the letters to stop gaps or overlaps, then place the text on the top layer.
Check that the name sits on the correct layer before attaching. This step helps avoid misalignment during cutting or printing. Select both the text and tag layer, then click Attach so everything stays fixed and aligned during the machine process.
Step 3: Visualize with Color (Optional)
Preview your project before cutting by adjusting the colors in Design Space. Change the tag layer colors to match your cardstock shades. This helps you see how the final design will look once assembled.
Check color contrast between each layer so details stay clear and easy to see. This is very helpful for layered SVG and shadow box projects. This step is optional but supports better planning and cleaner results.
Step 4: Prepare for Cutting
Click Make It in Design Space. Choose your material setting. Use Heavy Cardstock for thick paper or Medium Cardstock for lighter sheets. Check the mat grip first. Place a small scrap to see if it holds well. Clean dust from the mat for better hold. Insert your Cricut pen into Clamp A until it locks. Test the pen on a corner for color and flow. Open the design preview and check all cut lines. Place the top layer cardstock on the mat. Line it up with the grid and press it down firmly. Group layers by color or paper type before starting. This keeps setup clear and avoids mix-ups during cutting.
Step 5: Cut and Write
Load your mat into the machine, making sure the cardstock sits flat with no air bubbles or lifted edges.
Start the process and let Cricut draw and cut the first layer with steady precision.
Once finished, unload the mat carefully and gently peel off the cardstock to avoid bending or tearing.
Use a spatula, scraper, or sticky tool to clean small debris from the mat before the next cut, keeping the surface ready for smooth results.
Step 6: Cut the Second Layer
Check the layer order in your SVG file or printed guide before starting.
Load the second cardstock (bottom layer) onto the cutting mat and press it flat.
Select the correct material setting, such as medium cardstock.
Load the mat into the machine and cut the second layer using the same process as the first layer.
Step 7: Assemble the Tag
Place both layers together and check the alignment before joining. This helps keep edges even and neat.
Glue the layers for a smooth, clean finish. Or tie them with twine for a bit of movement and a decorative touch.
After assembly, trim any uneven edges with scissors or a craft knife. This gives the tag a cleaner, more polished look.
Final Touch
Tie your tag to a gift using twine, ribbon, or string. Place it neatly so it sits flat or slightly angled for a clean finish.
Add foam dots or small cardboard pieces between layers to create a raised 3D effect. This simple step gives your tag more depth and a handmade feel.
Wrap-Up
This is your first paper cut Cricut project. It helps build confidence as you learn basic Cricut skills.
Now you understand layered paper cut design, using Cricut cutting and assembly, step by step.
Learn more: How to Make a Custom Gift Tag