How to Add SVG Backgrounds in Canva for Cricut Projects
Many Cricut users want to add SVG backgrounds in Canva, but the process can feel confusing. Files may not upload the right way. Designs can lose their layout or become hard to edit. Small mistakes often lead to extra work and poor cutting results. That can make a simple craft project feel harder than expected. The good news is, the process becomes much easier with the right steps. This guide explains how to add SVG backgrounds in Canva for Cricut projects from start to finish. You will also learn helpful tips, common mistakes to avoid, and creative project ideas that help you build clean, polished designs with more confidence. If you'd like, I can also make it a little more conversational or a little more SEO-focused while keeping all of your constraints.
What Are SVG Backgrounds?
SVG backgrounds are design files that use the SVG file format as the background of a project. SVG stands for Scalable Vector Graphics. These files use shapes, lines, and paths instead of pixels. That means the design stays clear at different sizes.
In Canva, an SVG background can add patterns, textures, or simple design elements behind your main artwork. It helps create a clean layout without making the design look crowded. You can use it for cards, signs, labels, stickers, and many other Cricut projects.
A big benefit of SVG backgrounds is that they keep sharp edges after resizing. A small background can become much larger without looking blurry. This makes it a good choice for both small crafts and larger designs.
SVG backgrounds also work well with layered projects. You can place text, images, or other SVG elements on top of the background. This gives your design more depth while keeping each part easy to edit.
For Cricut users, SVG backgrounds can help create designs that are neat and ready for cutting. A simple background can make the main design stand out without adding extra detail that may affect the final cut. Choosing a clean background also makes it easier to match different colors, materials, and project styles.
What You Need Before You Start
Adding an SVG background in Canva is simple with the right tools ready. A few basic items will help you create a clean design and prepare it for your Cricut project.
Canva Account
You need a Canva account to create and edit your design. A free account works for many projects. A Pro account gives access to more design tools and elements.
SVG Background File
Choose an SVG background that fits your project style. The file should be compatible with Canva and Cricut Design Space. You can use a ready-made SVG file or create your own design.
Cricut Design Space
Cricut Design Space helps you prepare your design for cutting. You can upload your finished SVG file, adjust the settings, and send it to your Cricut machine.
Computer or Tablet
A computer or tablet makes it easier to edit your design. A larger screen helps you place layers, resize elements, and check details before saving the file.
Cricut Machine and Materials
Have your Cricut machine and materials ready for your project. Vinyl, cardstock, or other cutting materials can work with SVG backgrounds based on the design you want to create.
With these items ready, you can start adding SVG backgrounds in Canva and prepare your design for your Cricut project.
How to Add SVG Backgrounds in Canva for Cricut Projects
SVG backgrounds can help create clean and creative designs for Cricut projects. Canva makes it simple to place, edit, and prepare SVG files before cutting. Follow these steps to add an SVG background to your Canva design and move it into Cricut Design Space.
Step 1: Open a New Canva Design
Start by opening Canva and creating a new design. Choose a size that fits your Cricut project. You can select a custom size for projects like shirts, stickers, signs, cards, or other crafts.
A proper canvas size helps your SVG background fit the project area without extra adjustments later.
Step 2: Upload Your SVG Background
Open the Uploads section in Canva. Click the upload button and select your SVG background file from your device.
Canva supports SVG files, so the design will stay sharp and clear. The upload process may take a few seconds based on the file size.
Step 3: Add the SVG to Your Canvas
After uploading the SVG file, click it to place it on your Canva page. The background will appear as a new design element.
Move the SVG around the canvas to find the right placement. You can also click and drag the corners to adjust its position.
Step 4: Resize the Background
Select the SVG background and adjust its size using the corner handles. Make sure the design covers the area needed for your Cricut project.
Check the edges of the canvas to keep the background balanced. A well-sized SVG creates a cleaner final cut.
Step 5: Customize Colors and Elements
Canva allows you to change the colors of many SVG files. Select the SVG and choose a new color from the editing menu.
You can also adjust parts of the design, remove extra elements, or add new shapes. Simple edits help match the background with your project style.
Step 6: Add Text or Graphics
Add text, icons, or other graphics to complete your design. Use Canva tools to place each element in the right spot.
Keep your layout easy to cut. Small details may not work well for some Cricut projects, especially vinyl designs.
Step 7: Download the Design
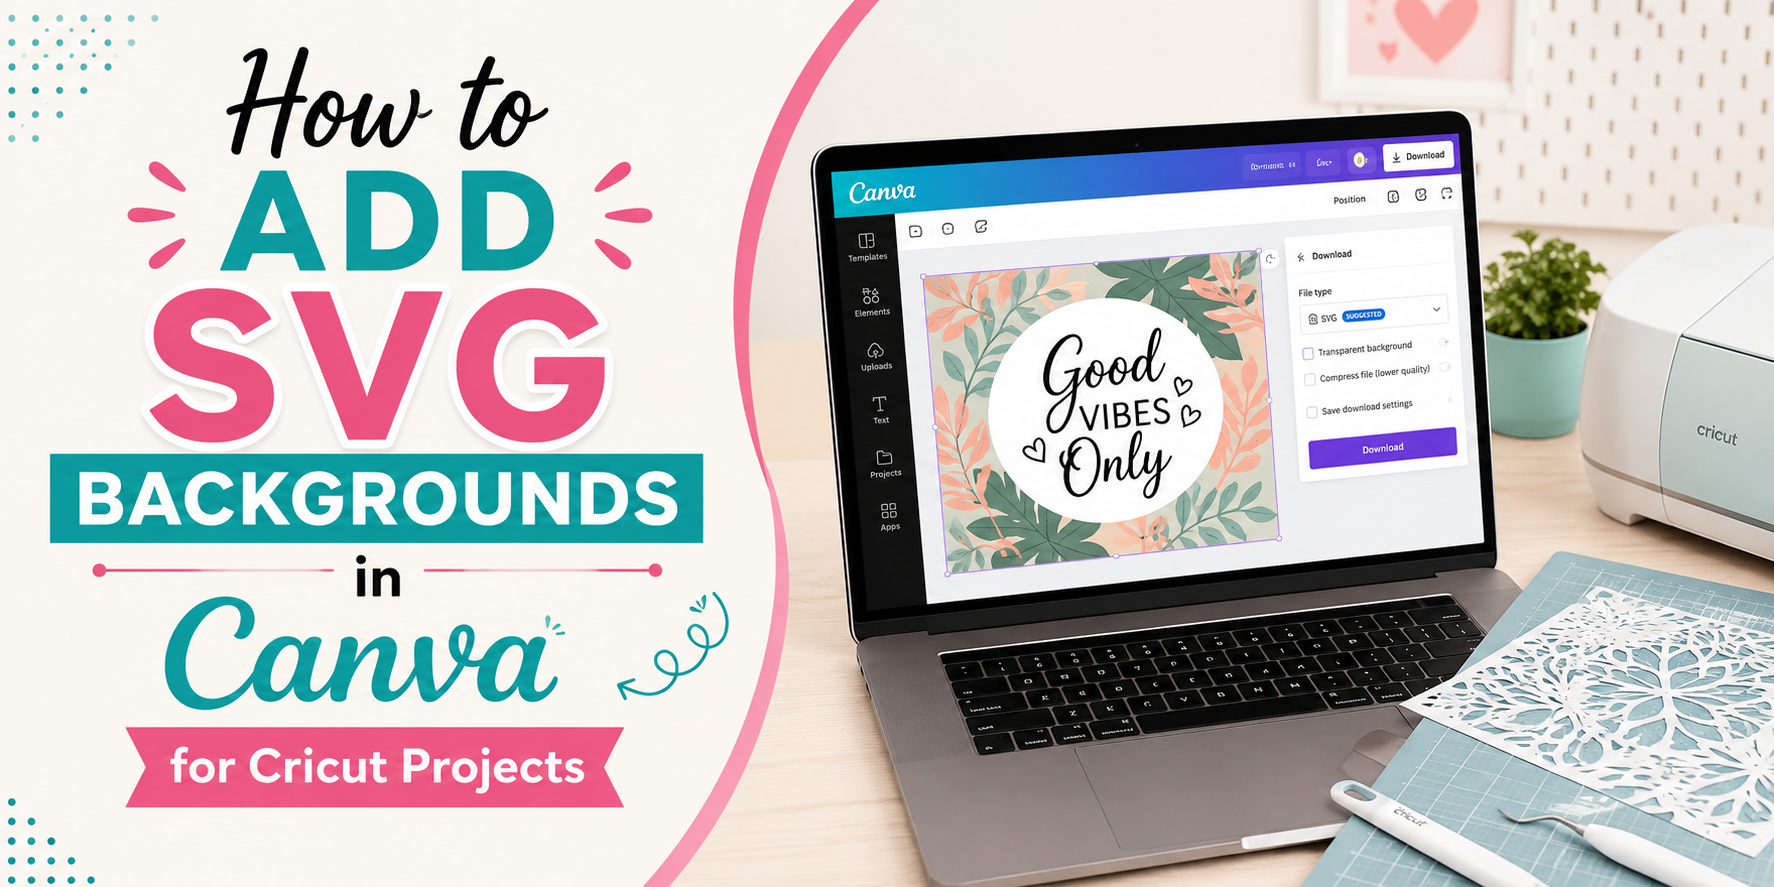
Once your design is ready, click the Share button and select Download. Choose SVG as the file type to keep the design quality.
Save the file to your device. This file will be ready for use in Cricut Design Space.
Step 8: Upload the File to Cricut Design Space
Open Cricut Design Space and start a new project. Click the upload option and select your Canva SVG file.
Place the design on your Cricut canvas and make any final changes. Check the cut lines before sending the project to your Cricut machine.
Best Practices for Using SVG Backgrounds in Canva
SVG backgrounds can help create clean and attractive Cricut projects. The right setup makes your design easier to edit, cut, and use. Follow these tips to get better results from your SVG backgrounds.
Choose High-Quality SVG Files
Start with a clear SVG file that has clean lines and smooth shapes. Low-quality files may have rough edges or extra details that create cutting problems. A well-made SVG file keeps your Canva design neat and helps your Cricut machine cut each part correctly.
Keep Important Elements Inside the Safe Area
Place key parts of your design inside the safe area of your Canva project. This keeps text, patterns, and main graphics from getting cut off or placed too close to the edges. A balanced layout gives your project a cleaner look.
Use Simple Layered Designs
Simple layers work better for Cricut projects. Too many small details can make the cutting process harder. Use clear shapes and organized layers so each part of the SVG background stays easy to manage.
Match Colors to Your Project
Choose colors that fit your project style. A good color match helps your SVG background blend well with other design parts. Use a small color palette to keep the final design neat and consistent.
Test the Design Before Cutting
Check your Canva design before sending it to Cricut Design Space. Review the size, layers, and placement of each element. A test cut with a small piece of material can help find issues before starting the full project.
Creative Cricut Project Ideas Using SVG Backgrounds
SVG backgrounds can add style and personality to many Cricut projects. They help create a clean base for text, shapes, and other design elements. A simple background can change the look of a handmade item and make it feel more personal. Here are some project ideas you can try with SVG backgrounds.
Personalized T-Shirts
SVG backgrounds work well for custom t-shirts. You can add patterns, shapes, or themed designs behind names, quotes, or images. Create shirts for birthdays, family events, holidays, or everyday wear. Cricut makes it easy to cut the design from heat transfer vinyl and apply it to fabric.
Vinyl Decals
Vinyl decals are a simple way to use SVG backgrounds. Add a background layer behind your main design to create a unique look. Use these decals on laptops, notebooks, phone cases, water bottles, or home items. Choose designs that match your style and project theme.
Greeting Cards
SVG backgrounds can make handmade greeting cards stand out. Use floral patterns, geometric shapes, or seasonal designs as a base layer. Add a message on top for birthdays, thank-you cards, or special occasions. Cricut can cut detailed layers for a neat finish.
Stickers
Create custom stickers with colorful SVG backgrounds. Add fun patterns behind icons, words, or illustrations. Stickers are great for planners, journals, packaging, and craft projects. A well-chosen background can give each sticker a finished look.
Mugs and Tumblers
SVG backgrounds can add extra detail to mugs and tumblers. Use them behind names, monograms, or artwork. Create designs for gifts, personal use, or small craft projects. Make sure the design size fits the surface before cutting.
Tote Bags
Tote bags are another great project for SVG backgrounds. Add simple patterns, bold shapes, or themed designs to create reusable bags. Pair the background with a quote, image, or name for a custom piece.
Wall Art
SVG backgrounds can help create unique wall art. Layer different shapes, patterns, and text to build a design that fits your space. Use vinyl, cardstock, or other Cricut materials to make decorative pieces for your home.
Wooden Signs
Wooden signs can look more detailed with SVG background designs. Add a background pattern behind words or images for extra style. These signs work well for home decor, seasonal displays, and handmade gifts.
Gift Tags
SVG backgrounds can turn simple gift tags into creative pieces. Add small patterns, shapes, or themed designs to match the gift. Personalized tags can make presents feel more special for birthdays, weddings, and holidays.
Cake Toppers
Create custom cake toppers with SVG backgrounds for celebrations. Use layers to add color and depth to names, numbers, or themed designs. These toppers work well for birthdays, weddings, and other events.
Scrapbook Pages
SVG backgrounds can add a creative touch to scrapbook pages. Use them behind photos, stickers, and written memories. Different patterns can help match the theme of each page.
Party Decorations
SVG backgrounds are useful for making party decorations. Create banners, signs, cupcake toppers, table pieces, and other event items. Match the background style with the party theme for a coordinated setup.
Common Mistakes to Avoid
Creating an SVG background in Canva can make Cricut projects look more personal and creative. Small mistakes during the design process can affect the final cut and overall look. Knowing what to avoid helps you create cleaner designs and better results.
Using Low-Quality SVG Files
A low-quality SVG file can cause problems during editing and cutting. The design may look blurry in Canva or create uneven cut lines in Cricut Design Space.
Choose SVG files with clean shapes and clear details. Simple designs often work better for Cricut projects. A well-made SVG keeps its quality even after resizing.
Stretching the Background Too Much
SVG backgrounds can be resized, but stretching them too far may change the design balance. Some shapes may look uneven, and patterns may lose their original style.
Resize the background carefully to fit your Canva project size. Check the design from different views before saving the final file. This helps keep the background neat and balanced.
Ignoring Cricut Cut Lines
Cricut follows the cut lines inside your SVG file. Extra lines or unclear shapes can create unwanted cuts.
Check your design in Cricut Design Space before starting the cutting process. Look for missing lines, overlapping shapes, or areas that may be hard for the machine to cut.
Adding Too Many Small Details
Tiny details can make an SVG background harder to cut. Small shapes may tear, lose their form, or become difficult to place on your project.
Keep the background simple and easy to cut. Use larger shapes and clean edges for better results. A balanced design usually works best for Cricut crafts.
Exporting in the Wrong File Format
Saving your design in the wrong format can cause issues during upload. Cricut projects need a file type that keeps the design elements clear.
Export your Canva design as an SVG file to keep the shapes and lines ready for cutting. Check the file before uploading it to Cricut Design Space to make sure everything looks correct.
Tips for Better Cricut Results
A well-prepared SVG file helps your Cricut project turn out clean and accurate. Small design checks before cutting can save time and prevent common mistakes. A few simple habits can make your workflow easier and your final project look better.
Organize Layers Before Exporting
Keep your Canva design layers neat before exporting the SVG file. Each shape, text element, and background part should have a clear place in the design.
A messy layer setup can make editing harder in Cricut Design Space. It may also create unwanted cuts or extra pieces. Arrange similar elements together and remove any parts you do not need.
Use Cricut-Friendly Fonts
Font choice plays an important role in Cricut projects. Some fonts have thin lines or small details that may not cut well.
Choose bold and simple fonts for better results. Clean letter shapes are easier for the cutting machine to follow. Check how the text looks at the final size before exporting the SVG.
Check File Size Before Uploading
Large SVG files can be harder to manage in Cricut Design Space. Too many details, layers, or design elements can make the file slower to load.
Review your Canva design and remove extra parts that do not add value. A cleaner SVG file is easier to upload, edit, and cut.
Save a Copy of the Original Canva Design
Keep an original copy of your Canva project before exporting the SVG file. This gives you a safe version to edit later.
You can update colors, change text, or adjust layers without starting from scratch. A saved copy also helps you create new versions of the same design.
Make a Test Cut Before the Final Project
A test cut helps you find problems before using your final material. This step is useful for new designs, detailed SVGs, or different materials.
Use a small piece of vinyl or paper to check the cut quality. A quick test can help you adjust the size, font, or design details for a better final result.
Final Notes
Adding SVG backgrounds in Canva can make Cricut projects easier to design and customize. With the right file, proper sizing, and clean layers, you can create designs that are ready for cutting.
Start with a simple SVG background that fits your project needs. Check your layers, colors, and cut lines before sending the file to Cricut Design Space. Small checks during the design process can help prevent problems later.
Canva gives you an easy way to edit SVG backgrounds, add new elements, and prepare your ideas for different craft projects. From shirts and stickers to cards and home decor, SVG backgrounds can help you create many types of Cricut designs.
Take time to practice with different SVG styles and layouts. Each project gives you a chance to learn new design skills and create better results.
FAQs
Yes, you can use SVG backgrounds in Canva for Cricut projects. Canva allows you to upload, edit, resize, and customize SVG files before saving them for Cricut Design Space.
Why should I use SVG files for Cricut designs?
SVG files keep their quality after resizing. They use shapes and lines instead of pixels, which helps your designs stay clear and ready for cutting.
How do I upload an SVG background to Canva?
Open Canva and go to the Uploads section. Select your SVG file from your device, add it to your canvas, and adjust the size and placement based on your project.
Can I change the color of an SVG background in Canva?
Yes, many SVG files allow color changes in Canva. Select the SVG element and use the editing tools to adjust the colors to match your design.
What file format should I use for Cricut projects from Canva?
SVG is the preferred file format for Cricut projects because it keeps the design shapes and lines clear. This format works well for cutting machines.
Use clean SVG files with simple designs. Check the layers, remove extra details, and review the cut lines in Cricut Design Space before starting your project.
Yes, SVG backgrounds can be used for many crafts. You can add them to shirts, stickers, cards, signs, mugs, tote bags, and other Cricut projects.
Do I need Canva Pro to add SVG backgrounds?
No, a free Canva account can work for many SVG projects. Canva Pro offers more tools and design options, but basic SVG editing is possible with a free account.