How to Make a Snow Globe Tumbler - 14 Simple Steps
Snow globe tumblers are more than just drink holders - they bring a little magic to your everyday routine. These fun, sparkling cups catch the eye and add a touch of winter charm no matter the season.
Many people think making one is too tricky or expensive. But with the right steps, you can create your own unique tumbler at home without any hassle. This project is easier than you might expect, even if you’ve never crafted before.
This guide will walk you through 13 simple steps to build a snow globe tumbler that’s both beautiful and durable. You’ll get tips on choosing materials, assembling parts, and making your tumbler shine. By the end, you’ll have a custom cup that’s perfect for gifts or personal use.
Ready to add some sparkle to your drinkware? Keep reading and start crafting your very own snow globe tumbler today. Let’s get started!
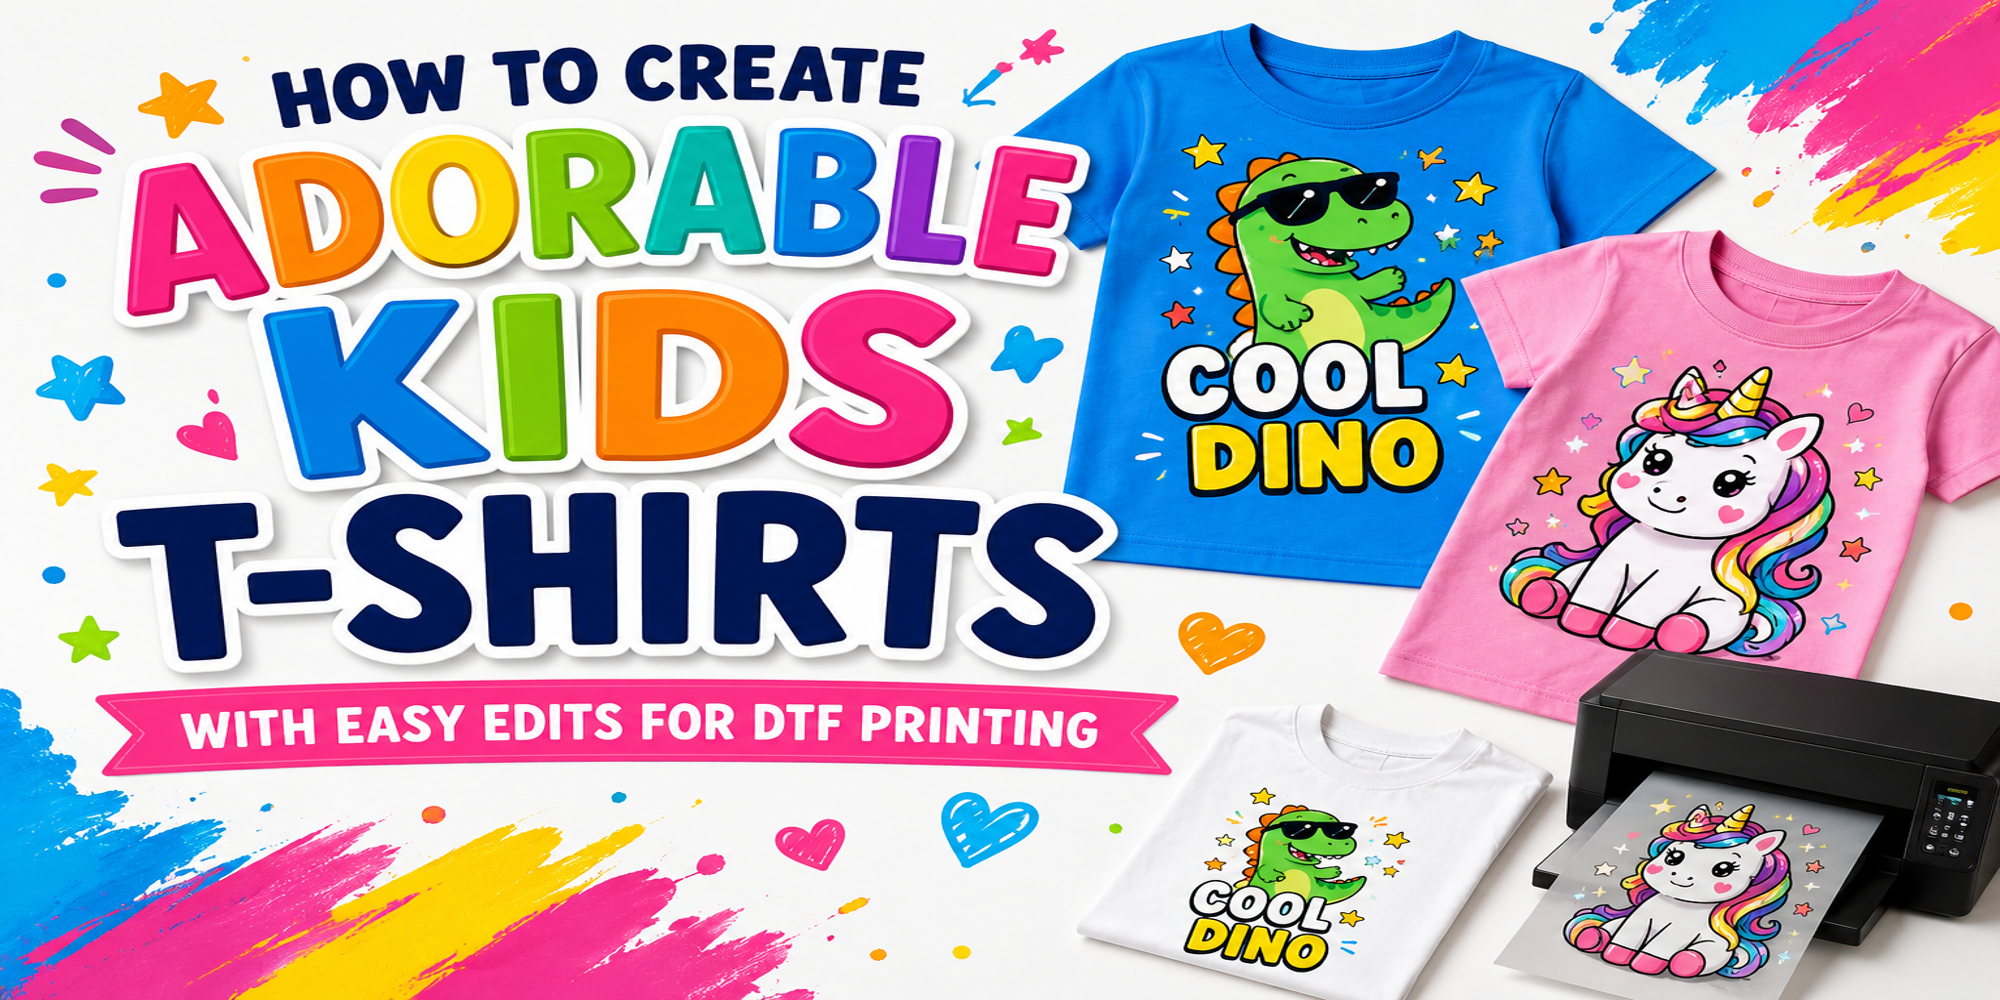
What You'll Need To Make Your Snow Globe Tumbler
To start your snow globe tumbler project, you need a few key items. A clean tumbler with a lid works best, especially double-walled tumblers sealed at the top to prevent leaks. Chunky glitter or straight glitter will give your tumbler that classic snow effect. UV epoxy or another clear epoxy will seal your tumbler, while a UV light helps cure it quickly.
Other useful tools include a syringe or pipette for precise epoxy and glitter application, plus a funnel to avoid spills. You’ll also need rubbing alcohol and paper towels to keep your workspace and tools clean. Distilled water is important, it keeps your snow globe clear and prevents mold. Mixing tools like a whisk and bowl will help blend epoxy with glitter and glycerin.
Here’s the full list of supplies you’ll need:
- Clean tumbler with lid: Double-walled and sealed at the top to prevent leaks.
- Chunky glitter mix or straight glitter: Creates the snow-like sparkle inside the globe.
- UV epoxy or clear epoxy: Seals and hardens your snow globe to keep it safe.
- UV light (or other light): Used to cure and harden the epoxy fast.
- Syringe or pipette: Helps add epoxy and glitter in small amounts with precision.
- Funnel: Makes filling the syringe neat and easy.
- Rubbing alcohol: Cleans tools and workspace before and after crafting.
- Paper towels: For wiping off excess glue or spills.
- Distilled water: Keeps the snow globe clear and mold-free.
- Whisk and bowl: For mixing glitter, epoxy, and glycerin smoothly.
- Drill and drill bit: To make a hole at the tumbler’s bottom to add liquids.
- Measuring cup: To measure water and glycerin accurately.
- Hot glue gun and glue sticks (optional): To seal the tumbler if preferred over epoxy.
- Vegetable glycerin or clear glue: Mixes with water and glitter for the snow effect.
- Double-walled skinny tumbler: Another tumbler style option.
- Gorilla glue epoxy: Strong adhesive option.
- Pipette, mixing cup, wooden stirrer: For applying and mixing materials.
- Vinyl: For decorating your tumbler’s surface.
- Transfer tape: To apply vinyl designs cleanly.
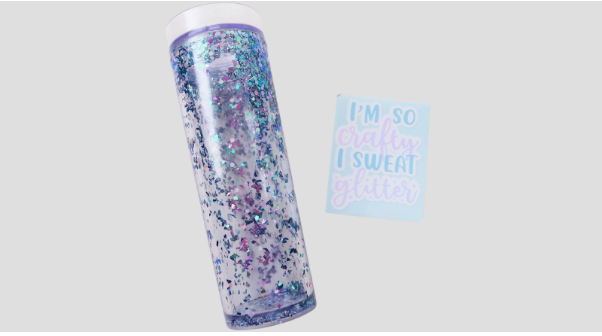
SVG file: A design file you can cut with a machine, like the “I’m so crafty I sweat glitter” file.
Gather all these items before you begin. Having everything ready will save time and keep your project smooth. When you’re set with your supplies, you’re ready to start making your snow globe tumbler.
14 Steps To Make a Snow Globe Tumbler
Making a snow globe tumbler can seem tricky, but breaking it down makes it easy. This guide covers 14 clear steps that take you from start to finish. Each step builds on the last, helping you create a beautiful, personalized tumbler. Follow along, and you’ll have a fun project to show off in no time.
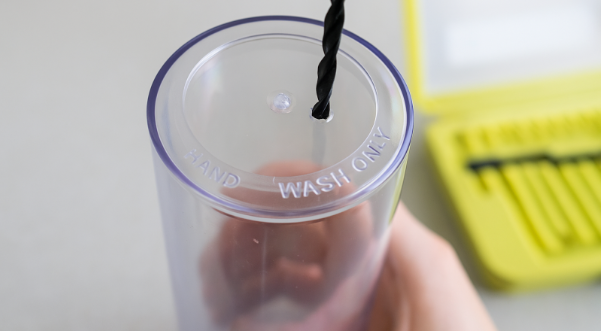
Step 1: Drill a Hole in the Outer Wall of the Tumbler
Begin by choosing the spot on the tumbler’s outer wall where you want to drill. Place a piece of painter’s tape or masking tape over this area. This helps keep the drill bit steady and lowers the chance of chipping around the hole.
Start drilling slowly with low speed and light pressure. Be careful not to press too hard, or the acrylic could crack. Watch your progress closely to avoid drilling through the inner wall. Once you see a small dent forming, you can gently increase pressure and speed.
If you plan to add chunky or shaped glitter, use a larger drill bit to widen the hole slightly. Also, secure the tumbler by clamping it down to prevent any movement. Avoid using scissors or glass cutters, as they can chip or crack the tumbler.
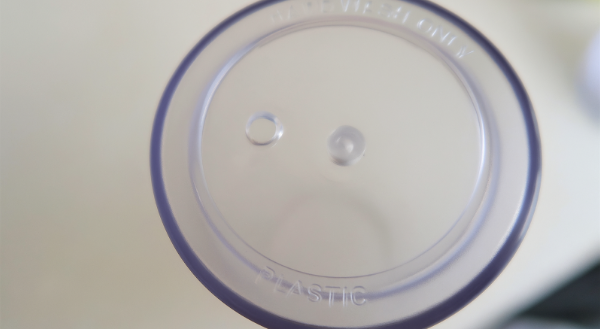
Step 2. Clean Up the Hole
After cutting the hole in your bottle or tumbler, it’s important to clean up the edges. Use a small craft knife blade to carefully scrape away any fluffy or rough acrylic bits around the hole. Then, turn the bottle upright and shake it to remove any loose acrylic debris inside.
For a smoother finish, gently sand the hole edges with fine-grit sandpaper. This step helps prevent cuts or damage later and gives your project a cleaner, polished look. Taking time here improves both safety and appearance.
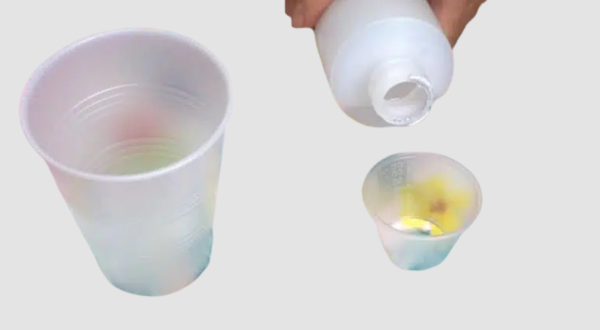
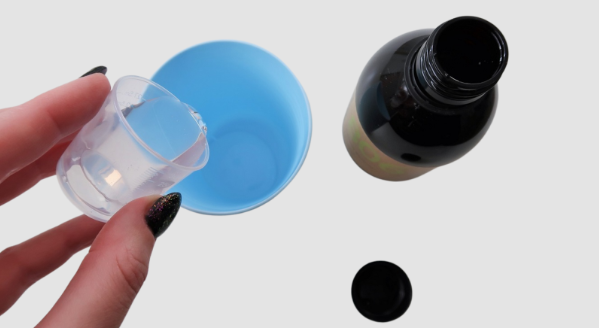
Step 3: Mix Glycerin and Warm Water
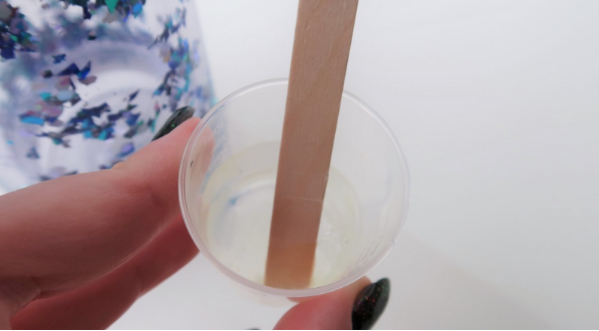
Mix glycerin and warm water in a small plastic cup using a ratio of 1 part glycerin to 3 parts warm water. Use warm water around 100°F (38°C), as hotter water can break down the glycerin and lower its effectiveness. To avoid spills, first fill the mixture in a separate container, then carefully pour it into the tumbler to prevent leaks and keep your workspace clean.
Step 4: Pour the Mixture of Glycerin and Water into a Tumbler
Pour the mixture into the hole drilled in the tumbler base. Use a syringe or pipette to carefully add the mixture, especially for larger projects. Squeeze about half an inch (1 cm) of the water mixture at a time until the tumbler is about half full. Be sure to leave space at the top to avoid spills when placing it in the incubator.
Place the tumbler on a flat, level surface while filling. This helps the mixture settle evenly and prevents uneven curing. Taking this step ensures a smooth finish and stronger results in your project.
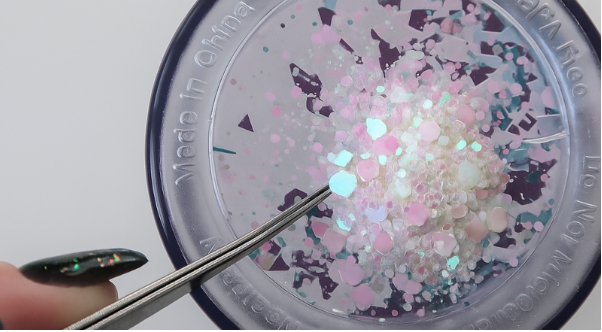
Step 5: Adding Glitter to Your Tumbler
Before adding glitter, make sure to clean and dry the inside of your tumbler well. Removing any dust or moisture helps prevent the glitter from clumping or sticking in unwanted spots. A clean surface lets the glitter spread evenly for a smooth, clear look.
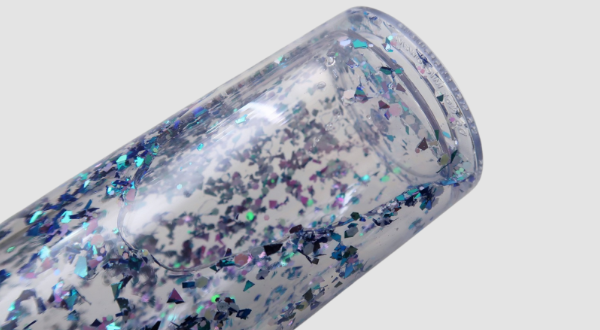
Add the glitter slowly through the hole at the base. Pour some glitter in, then tap the tumbler gently to help it settle along the sides. Use tweezers to push glitter into tight spots if needed. After the first layer, cover the hole and give the tumbler a gentle shake to spread the glitter evenly. Leave enough space so the glitter floats freely without clumping. This slow, careful method ensures a beautiful finish every time.
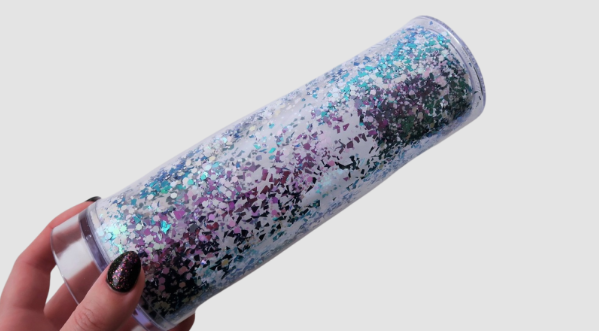
Step 6. Glitter Quality Control
To check if you have enough glitter in your snow globe tumbler, shake it gently with the hole covered. This shows how well the glitter spreads inside. The amount you use depends on your personal taste, but aim for an even coverage. Another way is to cover the hole with tape, stand the tumbler upright, and tap it so the glitter settles at the bottom. A 1-2 cm layer of glitter usually gives a nice effect.
Avoid adding too much glitter, as it can clump or stick together. Overfilling stops the glitter from flowing smoothly inside the tumbler. Keeping the amount moderate helps the glitter move freely for a better look.
Learn more: How to Make a Glittery Snow globe Tumbler.
Step 7. Making Your Liquid Mix
Mix equal parts of water and vegetable glycerin, about 50ml each, in a clean cup. Stir well until fully combined.
For a smoother mix, warm the water slightly before adding the glycerin. Warm water helps it dissolve better and makes the liquid blend easier.
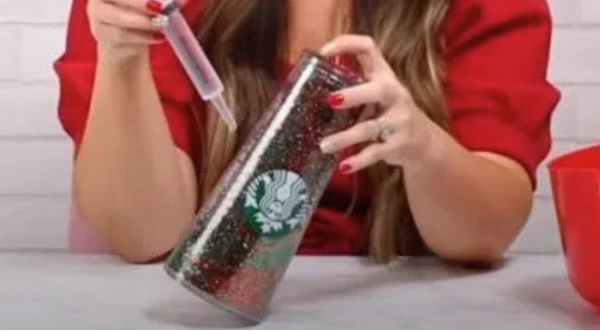
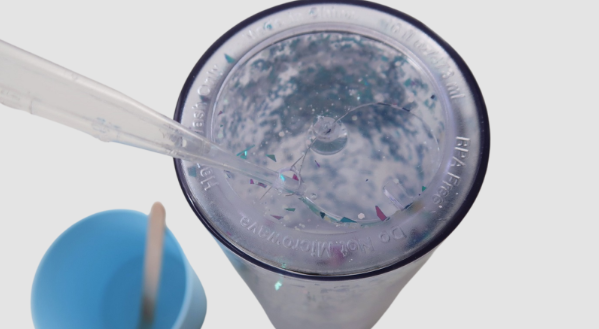
Step 8. Filling Your Cup
Use a pipette to add liquid slowly into your cup. Angle the pipette between the acrylic instead of squirting directly. This helps prevent splashing and overflow caused by hitting air bubbles. Tilting the tumbler slightly lets the liquid run down the sides, reducing bubbles by avoiding pooling on the surface.
Before filling, check the liquid temperature. Warmer liquid flows more smoothly and lowers bubbles. However, avoid too hot liquid, as it can cause early curing and affect the final result.
Step 9: Fill Levels
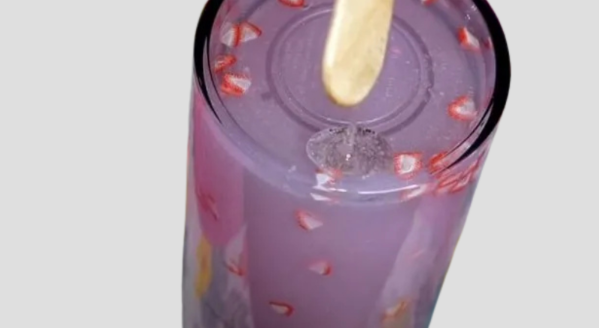
When filling your snow globe tumbler, leave a small gap to create an air bubble inside. Fill the liquid until it just covers about half the base and reaches the sides. Place your finger over the hole and gently shake the tumbler to release any trapped air pockets. This helps avoid unwanted bubbles that can spoil the effect.
For best results, use fine glitter instead of chunky pieces. Fine glitter moves smoothly and won’t clump, keeping your tumbler looking clear and beautiful longer. Check the fill level and glitter amount before sealing.
Step 10. Preparing the Epoxy
Mix a small amount of epoxy glue following the instructions on the packaging. Always follow safety precautions to protect yourself. Use a disposable measuring cup or syringe for exact resin and hardener amounts. This avoids sticky errors and weak bonds.
Learn More: How to Make a DIY Epoxy Tumbler.
Step 11. Sealing the Tumbler
Before sealing the hole in your tumbler, make sure the area is completely dry. Tilt the tumbler so the air pocket sits over the hole, and wipe around it to remove any moisture. This step helps the resin stick better and prevents leaks later on.
1. Apply the Resin Carefully
Use a thickened resin, like epoxy or UV resin, to cover the hole. Dab it on gently with a wooden stirrer or similar tool so it does not pour inside the tumbler. If using UV resin, cure it immediately with a UV lamp. This creates a strong seal that keeps the water inside.
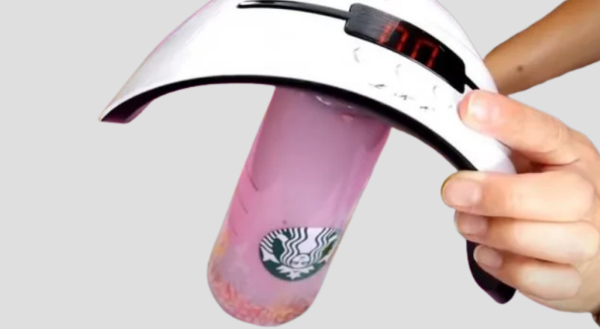
2. Remove Air Bubbles and Cure
Air bubbles can weaken the seal. Use a heat source like a lighter or heat gun to quickly move over the resin surface and pop bubbles. If needed, add more resin and repeat this process. Let the resin cure fully, about 24 hours for epoxy or 30 minutes per UV resin layer.
Common mistakes to avoid include sealing before the tumbler is fully dry, applying too much resin, and rushing the curing time. Taking time to prepare and seal carefully will give you a long-lasting, watertight finish that protects your snow globe tumbler.
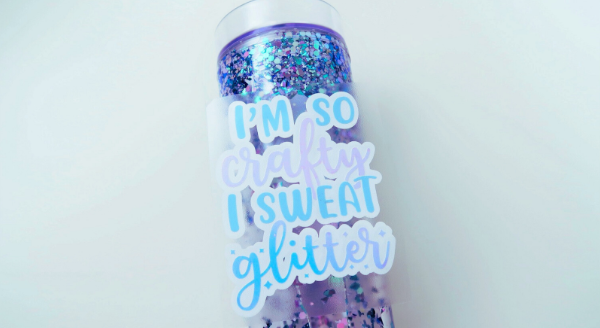
Step 12: Adding a Vinyl Design
After sealing your tumbler, it’s time to add a vinyl design. You can choose from fun glitter quotes like “I’m so crafty I sweat glitter” or explore other SVG files available for instant download. To make your design pop, use the offset function in Cricut Design Space to add a white background behind your quote.
When selecting vinyl, consider the type that suits your project best. Permanent vinyl is ideal for long-lasting use, while removable vinyl works for temporary designs. Glitter and holographic vinyl add sparkle and shine, perfect for tumblers that stand out. Choosing the right vinyl ensures durability and style.
Step 13. Positioning Your Design
Before applying your vinyl, clean the tumbler using an alcohol wipe or spray to remove oily residue like vegetable glycerine. This step ensures the vinyl sticks well. Smooth the design carefully from the center outward to avoid air bubbles.
Keep in mind the tumbler’s surface texture affects adhesion. Matte finishes can grip vinyl better, while glossy surfaces may need extra care to position the design precisely without slipping.
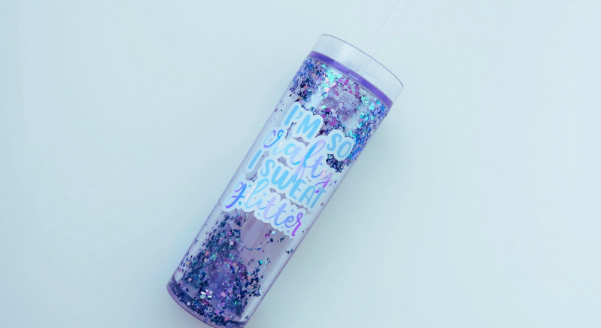
Step 14. Admire Your Handiwork and Protect Your Tumbler
Your snow globe tumbler is now complete. Let the vinyl cure for 72 hours before washing, and avoid submerging it in water. This helps keep your design safe and lasting longer.
Keep in mind, extreme temperatures and sunlight can affect the vinyl’s finish over time. Store your tumbler in a cool, shaded place when not in use to protect it from fading or peeling.
How to Make a Snow Globe Tumbler without Drilling?
If you want to make a snow globe tumbler but don’t have a drill, there are easy alternatives you can try. This method avoids drilling completely while still helping you get a beautiful, functional tumbler.
One popular option involves using strong adhesives and clever sealing techniques. These steps help keep the tumbler sturdy and leak-proof without the need for tools.
For a detailed guide on these no-drill methods, check out the full article. It offers simple instructions to get your tumbler ready quickly and safely.
How to Make a Snow Globe Tumbler with Glue?
Glue helps seal the tumbler and hold the glitter mix in place. After you fill the tumbler with water and glitter, clear glue slows the swirl and makes the shimmer last longer. It’s easy to work with and adds thickness to the liquid mix inside.
You’ll want to use clear glue only. Start with a small amount and shake the tumbler to test the flow. If it moves too fast, add more glue slowly until you like the look.
What is the Best Liquid for a Snow Globe Tumbler?
The best liquid for a snow globe tumbler is usually a mix of water and either glycerin or baby oil. Water helps keep the snow floating, while glycerin or baby oil slows down the movement, making the snow fall gently. This creates a nice, smooth effect.
Glycerin is popular because it’s clear, non-toxic, and thickens the water. Baby oil can also work but may make the liquid cloudy over time. The key is finding the right balance for a clean look and good snowfall.
Using just water will make the snow fall too fast, while too much glycerin or oil can make the liquid thick and cloudy. Experimenting with small amounts can help find the perfect mix for your tumbler.
Conclusion
Making a snow globe tumbler is a fun and creative project anyone can try. By following these 14 simple steps, you can create a unique tumbler that adds charm to your drinkware collection. This hands-on craft lets you customize colors and decorations to fit your style. With patience and care, you’ll end up with a beautiful, personalized tumbler that’s perfect for gifts or everyday use.
Visit ArtBubbles.com for amazing tumbler wrap inspiration.
FAQs:
How to make a snow globe tumbler with baby oil?
Start by filling your tumbler almost full with baby oil. Leave some space at the top so you can add the "snow" and seal the lid without spilling. Baby oil is thicker than water, so it helps slow the falling snow.
Next, add your snow pieces. These can be glitter, fake snow, or small beads. Make sure they float well in the oil and don’t sink immediately to the bottom.
Finally, seal the tumbler tightly to avoid leaks. Shake it gently to see how the snow moves. If it falls too slowly, try mixing a bit of water with the oil to thin it out.
How much glycerin do I add to water for a snow globe tumbler?
Add about one to two tablespoons of glycerin for every cup of water. This ratio helps the snow float nicely without making the liquid too thick or cloudy.
How do you mix water and glue for a snow globe tumbler?
Mix a small amount of clear craft glue with water to create a slightly thick liquid. The glue helps slow down the snow’s movement, making it fall gently instead of quickly.
Start with one part glue to about ten parts water, then adjust if needed. Stir well to make sure the glue dissolves evenly in the water. Avoid using too much glue because it can make the liquid cloudy or sticky.
How do you make a snow globe not cloudy?
There are a few ways to get the clearest effect when making your snow globe.
- Use distilled water instead of tap water to reduce minerals that cause cloudiness.
- Avoid adding too much glue or glycerin, as excess can thicken the liquid and make it cloudy.
- Make sure to stir mixtures well so ingredients blend evenly and do not clump.
If your snow globe looks cloudy, try shaking it gently or letting it sit for a day. Sometimes bubbles or particles settle down and clear the liquid. Also, double-check that you are using clean materials and sealed containers.
What is the ratio of glycerin to water for a snow globe tumbler?
A common ratio is about one part glycerin to three parts water. This mix thickens the water enough to slow the snowflakes without making the liquid too thick or cloudy.
Some people use slightly more glycerin for slower snowfall or less for faster movement. Start with this ratio and adjust based on how you want the snow to fall inside your tumbler.