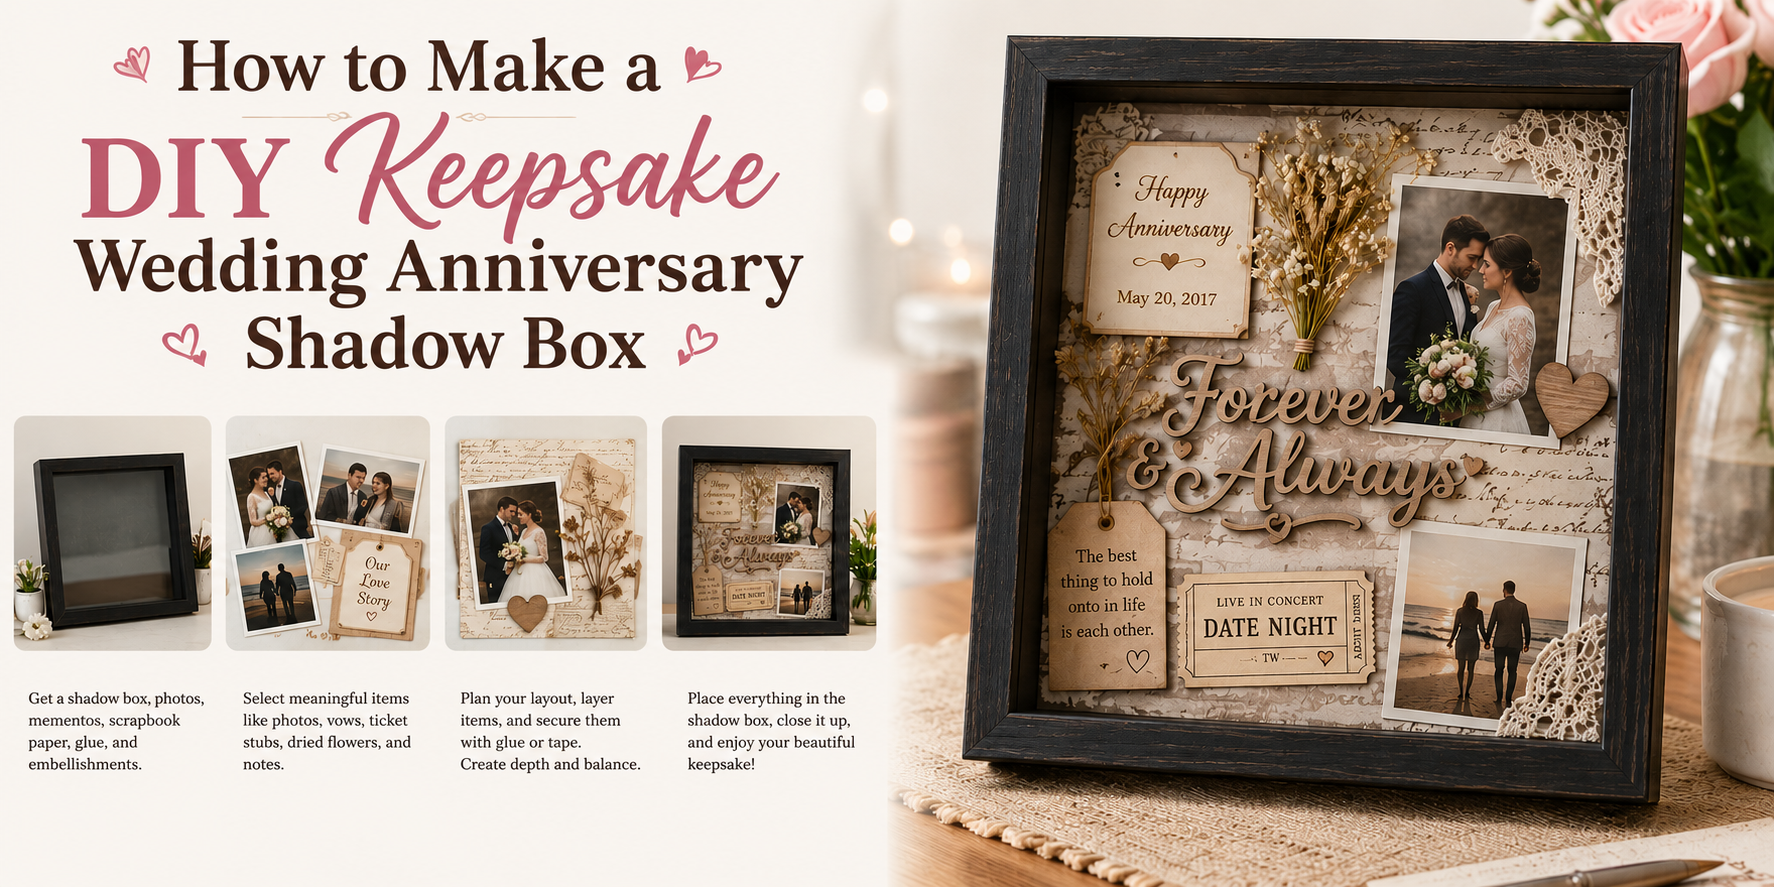
How to Make a Flower Shadow Box from Start to Finish
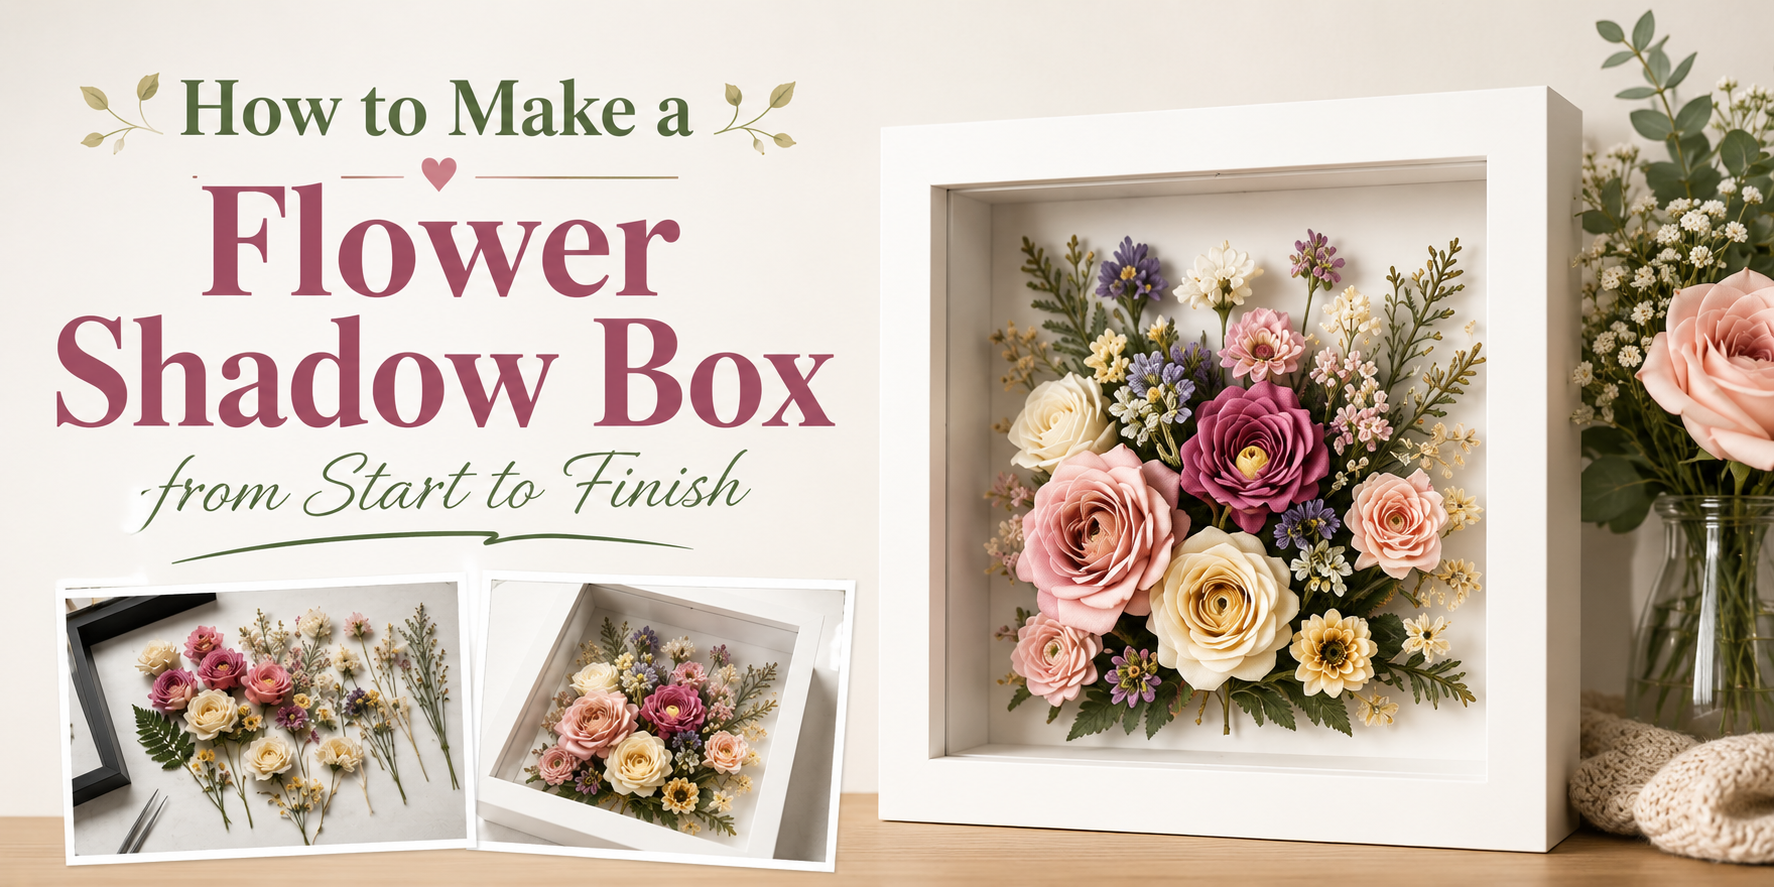
Fresh flowers often fade quickly after special moments. People want to keep them, but they lose shape and color. Bouquets from weddings, gifts, or events end up stored away or thrown out. The memory stays, but the flowers do not last. That can feel disappointing and a little empty over time. Important moments start to feel less visible in daily life. A flower shadow box gives those flowers a new form. It helps you arrange and preserve them in a frame. This guide shows each step from start to finish. You will learn how to dry flowers, design layouts, and build a display that lasts.
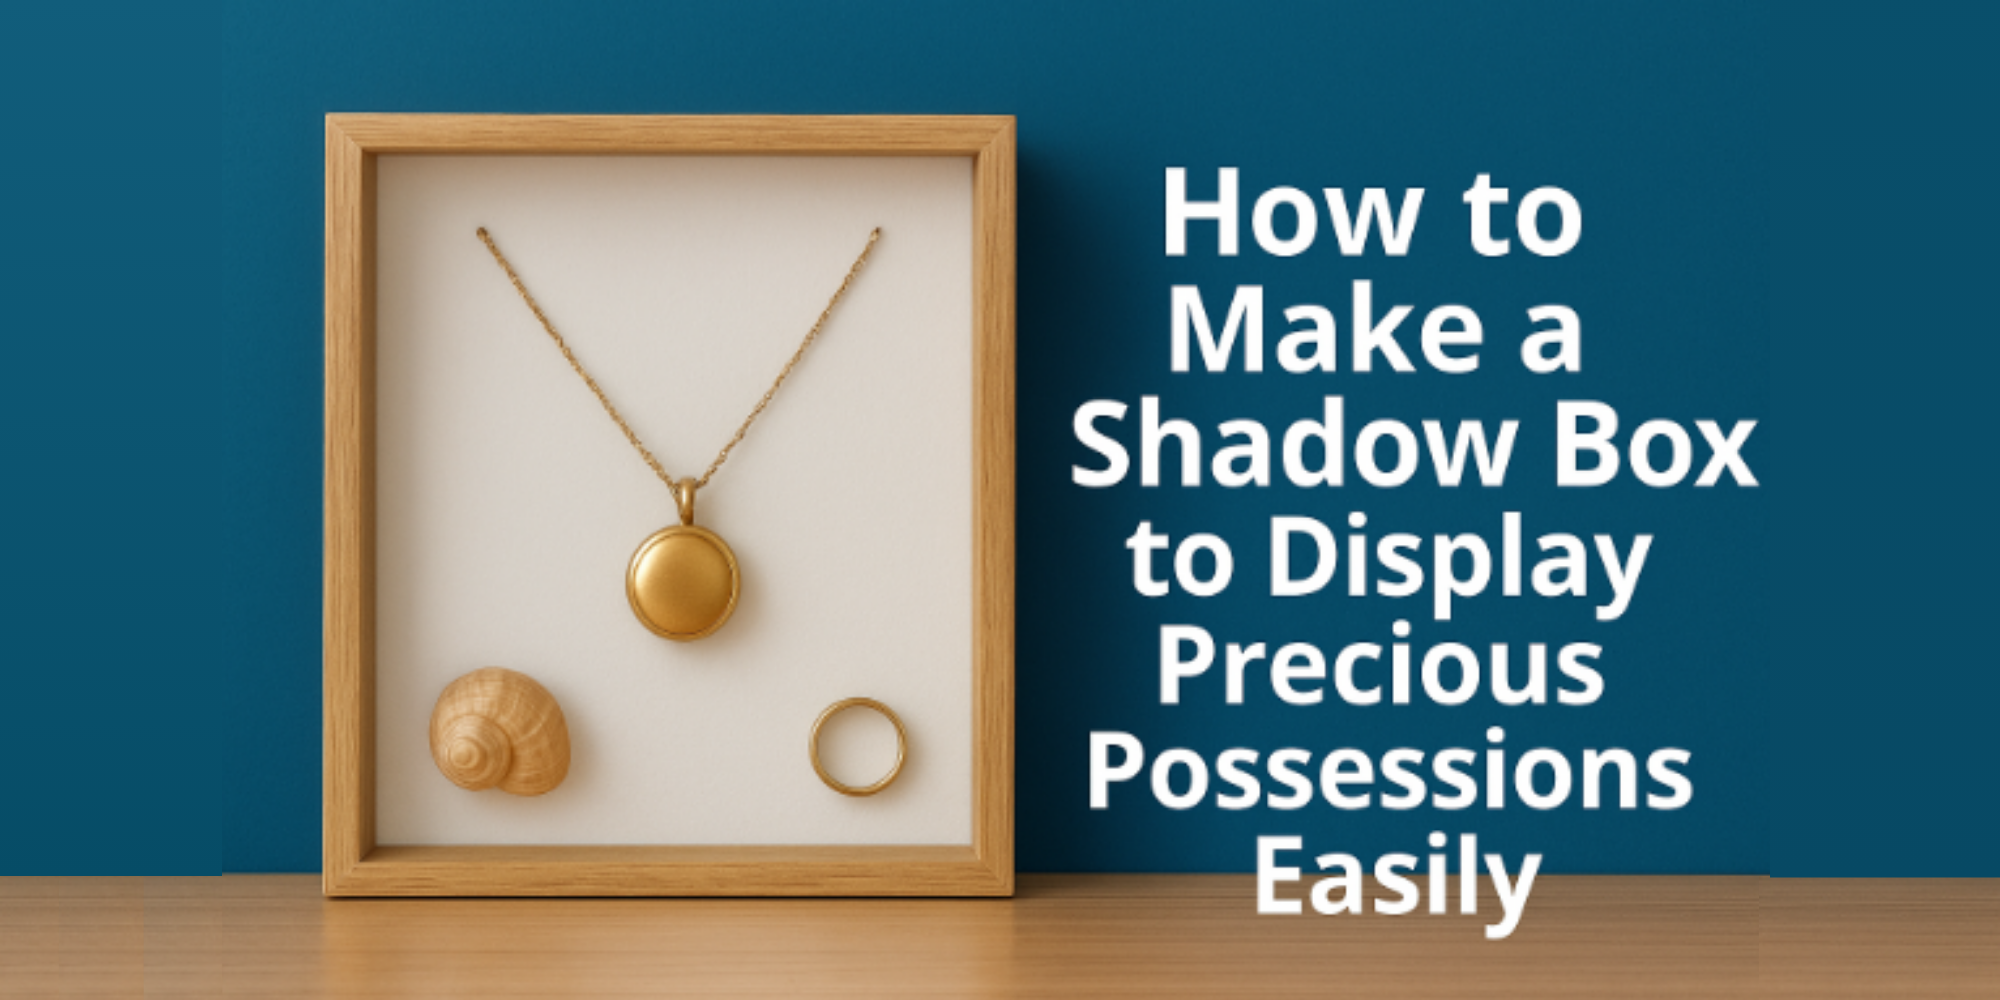
What Is a Flower Shadow Box?
A flower shadow box is a deep framed display. It holds flowers inside a closed frame with glass in front. The frame gives space between the glass and the back board. People use dried flowers or fake flowers for this craft. The flowers stay fixed inside the frame so they do not move or fall out. A flower shadow box can hold memories. It can show flowers from a wedding, a gift, or a special day. It can also be used for home decor on a wall or shelf.
Materials and Tools You'll Need
Every flower shadow box starts with the right set of supplies. The base frame, flowers, and simple craft tools set the foundation. A few extra items can help add depth and detail, depending on your design style.
Essential Supplies
You will need a shadow box frame. Pick a size that fits your design. You also need dried or faux flowers. Paper flowers also work well. Cardstock helps build layers in the design. Foam board adds depth inside the frame. A ruler helps keep things straight. Scissors help cut shapes cleanly.
Optional Decorative Elements
Small pearls can add detail to the flowers. Glitter gives a light shine to the background. Colored paper can add extra depth. Ribbon can also be used for small accents. Some people like tiny photo prints inside the box. Others use name cutouts or simple shapes. These small items help make each piece feel more personal.
Recommended Adhesives and Tools
A hot glue gun works well for strong hold. Glue sticks can help with lighter pieces. Double-sided tape helps with flat layers. Tweezers help place small items with care. A craft knife helps with detailed cuts. Cutting mats protect your table while you work.
Choosing the Right Flowers for Your Shadow Box
Start with flowers that stay strong after drying. Roses work well. So do daisies and baby’s breath. These flowers hold shape and color better than soft petals. Pick colors that match the room or memory you want to show. Soft pink, white, and light yellow give a calm look. Bright red or deep purple adds stronger contrast.
Size also matters. Small blooms fit better in tight spaces. Large flowers can take over the frame and block other details. Mix different textures for balance. Pair smooth petals with tiny filler flowers. This creates depth inside the box without making it look crowded.
Dry condition affects the final result. Fresh flowers with firm petals usually keep their form longer after pressing or drying. A simple mix often works best. A few main flowers and light fillers keep the design clean and easy to arrange.
How to Dry Flowers Properly
Fresh flowers need gentle care before drying. Clean them first. Remove dust and dirt with a soft brush. Cut the stems at an angle. This helps water leave the stem faster. Take off extra leaves from the lower part of each stem. Leaves hold moisture that slows drying. Tie small groups of flowers together. Keep the bunch loose so air moves between stems. Hang the flowers upside down in a dry space. A closet or quiet corner works well.
Air should move around the flowers. Still air slows the process. Keep the area away from direct sunlight. Strong light can fade colors. Another method uses silica gel. Place flowers in a container and cover them fully with the gel. Leave space between petals so shape stays natural. Close the container and leave it undisturbed. Check the flowers after several days. Petals should feel dry and firm. Stems should feel stiff instead of soft. Dry flowers stay ready for a shadow box once they feel light and crisp.
Planning Your Flower Shadow Box Design
Planning sets the base for your flower shadow box. It helps you avoid mistakes later. A clear plan also saves time and keeps your design neat. Start by deciding how you want the final piece to look.
Selecting a Theme and Color Palette
Start with a clear theme. A theme sets the mood for your box. It can be simple like spring flowers or soft pastels. Pick colors that work well together. Two or three colors often look clean. Too many colors can feel messy. Stick with shades that feel calm and steady. Look at your flowers together before starting. Place them on a flat surface. This helps you see how they fit as a group.
Arranging Flowers for Visual Balance
Place larger flowers first. Put them in different spots, not all in one area. This helps the design feel even. Add medium flowers next. Fill open spaces without crowding the design. Leave small gaps so each flower stands out. Use small flowers at the end. They help fill tiny spaces and tie the design together. Step back and check the overall look as you go.
Testing Layouts Before Gluing
Lay everything inside the frame before adding glue. Move pieces around until the layout feels right. Try a few different positions. Small changes can improve the full look. Take a photo of a layout you like. This helps you remember the setup before you start gluing.
Preparing the Shadow Box Background
The background sets the base for the flower shadow box. It holds the design in place and shapes the final look. A clean and steady setup helps the flowers stand out clearly.
Choosing the Right Backing Material
The backing material needs to stay firm inside the frame. Cardboard, thick paper, or foam board works well. The surface should stay flat without bending. A smooth texture helps the flowers sit evenly on top.
Adding Personalized Elements
Small details can go onto the background before placing flowers. Names, short notes, or simple shapes can sit lightly on the surface. These details should not cover too much space. The focus stays on balance between design and empty space.
Measuring and Fitting the Background
The background must match the inside size of the frame. A ruler helps set clear edges before cutting. The piece should fit without gaps or pressure. A snug fit keeps everything stable and neat inside the shadow box.
Arranging and Securing the Flowers
This step brings the whole shadow box to life. The way flowers are placed changes how the final piece looks. Careful arrangement helps the design feel balanced and clean. A steady hand and simple order make the process easier.
Positioning Flowers for the Best Appearance
Start with a clean shadow box base. Lay out all flowers before placing them inside. This helps you see how each piece fits. Place the largest flowers first. Put them slightly off center for a natural look. Keep space between each bloom so they do not look crowded. Move smaller flowers around the larger ones. Fill open spots without blocking the main flowers. Keep the front layer clear so key flowers stand out. Step back often while arranging. This helps you see balance and spacing more clearly.
Layering Techniques for Depth
Build depth by working from back to front. Place some flowers closer to the back of the box. Add another set in the middle area. Keep the smallest pieces near the front. Mix flower sizes to create natural depth. Large flowers give structure. Medium flowers connect the space. Small flowers fill gaps and soften edges. Slight overlaps help the design feel full. Avoid covering important petals or shapes. Each layer should still be easy to see.
Attaching Flowers Without Damage
Use light adhesive to hold flowers in place. A small drop is enough for most stems and petals. Press gently to secure each piece. Hold flowers steady for a few seconds after placing them. This helps them stay in position. Work slowly to avoid bending or crushing petals. Place one flower at a time for better control. Check each section as you go. Adjust loose pieces before moving forward.
Read also: How to Make a Perfect DIY Shadow Box
Adding Decorative Details
Small details bring the whole shadow box together. Flowers alone look nice, but extra pieces add depth and meaning. These touches guide the eye and help the design feel complete without feeling crowded.
Incorporating Greenery and Fillers
Greenery helps flowers stand out. Small leaves and soft stems fill empty spaces. They make the design feel full and natural. Place them between flowers for balance. Do not crowd one area. Spread them across the frame so the eye moves around the box. Some people use dried grass or tiny buds. These small pieces bring texture. They also help different flower shapes work well together. A light touch keeps the focus on the main blooms.
Using Ribbons, Labels, and Embellishments
Small extras can change the look of the shadow box. Thin ribbons can sit near corners or edges. Soft colors keep the design calm. Bold colors add contrast. Labels can hold short notes or dates. A name or special word adds meaning. Stick them in a clear spot so they are easy to read. Tiny charms or paper cut shapes also work well. Keep each piece simple. Too many items can make the box feel busy.
Creating a Personalized Keepsake
A flower shadow box can hold memories. Each flower may link to a moment or event. A birthday, wedding, or trip can live inside the frame. Some people add a short message card inside the box. Others include a small photo behind the flowers. These small choices make the piece more personal. Place each item with care. Step back often and check the balance. The final look should feel calm and meaningful.
Assembling the Flower Shadow Box
Lay out all the pieces on a flat table. Keep everything easy to see. This helps the process stay clear. Start with the shadow box frame. Open the back panel and place it aside. Clean the inside glass with a soft cloth. Dust can affect the final look. Place the background sheet inside the frame. Press it down so it sits flat. This becomes the base for the design.
Arrange the flowers on top of the background first. Move them around until the layout looks balanced. Leave small spaces between larger blooms for a natural look. Start fixing the flowers one by one. Add glue to the back of each piece. Press each flower gently into place. Hold for a few seconds so it sticks well.
Build layers for depth. Place some flowers slightly higher than others. This adds a soft 3D effect inside the box. Check the edges of the design. Make sure nothing overlaps the frame border. Adjust small pieces to keep everything neat. Place the back panel on the frame. Close it carefully. Secure all fasteners so the box stays firm. Set the shadow box upright. The flowers should now sit neatly inside, with clear depth and balance.
Displaying and Maintaining Your Flower Shadow Box
A flower shadow box looks best in a clean and safe spot. A wall space in a bedroom or living room works well. Keep it away from direct heat. Strong heat can damage dried flowers over time. Sunlight can also change the colors of the flowers. A shaded wall keeps the colors steady for longer. A stable room temperature helps the frame stay in good shape.
Dust can build up on the glass. A soft dry cloth works for regular cleaning. Light wipes keep the glass clear without scratches. Avoid using strong cleaners. They can leave marks or streaks. Moist areas are not good for dried flowers. Bathrooms and kitchens can hold too much humidity. Dry spaces help the flowers stay firm and clean.
Handle the frame with care during cleaning or moving. Hold it from both sides for better balance. This helps avoid pressure on the glass or frame corners. Over time, flowers may fade or become brittle. A simple update with fresh dried flowers keeps the box looking nice. The frame can be reused again for new designs.
Read also: How to Make a DIY Shadow Box Frame
Common Mistakes to Avoid
Some small mistakes can change how your flower shadow box turns out. A little care at each step helps a lot. Using flowers that are too thick often causes trouble. They may not sit flat inside the frame. The glass may not close properly. Skipping layout planning can also lead to problems. Flowers may look crowded or uneven. Take a moment to place them before you glue anything.
Too much glue is another common issue. It can leak out and stain the flowers or the background. A small amount is enough for each piece. Not letting glue dry fully can shift the design. Pieces may move out of place later. Give each section time to set before moving on. A weak or thin frame may bend under pressure. That can ruin the shape of your display. A sturdy frame keeps everything in place. Rushing the process often leads to mistakes. Slow steps give better control and cleaner results.
Creative Flower Shadow Box Ideas
Flower shadow boxes hold dried flowers in a framed display. They help keep memories and designs in one place. Each box can tell a different story.
Wedding Bouquet Preservation
A wedding bouquet can be saved in a shadow box. The flowers are dried first. Then they are arranged inside a frame. Many people place the bouquet with small items like ribbon or a name card. The final display can sit on a wall or shelf.
Memorial Flower Displays
Flowers from a special person or event can be kept in a shadow box. These displays often use soft colors and simple layouts. Some people add a photo or a short note. The goal is to keep a clear memory in one place. The flowers stay safe behind glass.
Seasonal and Holiday Designs
Seasonal flowers work well in shadow boxes. Spring flowers can bring light colors. Autumn leaves can add warm tones. Holiday themes can include small decorations like dried pine or simple ornaments. Each design reflects a time of year.
Personalized Gift Ideas
A shadow box can be made as a gift. Names, dates, or small objects can be added. Some people use flowers that match a special moment. The design can match the person who will receive it. The result feels personal and meaningful.
Final Verdict
Fresh flowers fade after special moments. A flower shadow box keeps them in one place behind glass. The shape and memory stay visible. Drying flowers takes steady air and enough time. Dry space helps petals stay firm. Strong sunlight and moisture reduce color and shape. Planning the layout keeps the design clear. A simple color group creates balance. Large flowers set the base. Small flowers fill open gaps.
A solid background keeps everything steady inside the frame. Foam board and thick paper work well. A tight fit keeps the design from shifting. Flower placement shapes the final look. Large blooms go in first. Smaller pieces fill space around them. Clear spacing keeps each flower visible. Glue use stays light. Small drops hold petals in place. Slow placement helps protect shape and detail.
Extra details like leaves, ribbons, or small notes add depth. These pieces stay light so the flowers remain the focus. Clean glass and a dry space help the display last longer. Dust removes easily with a soft cloth. Moist areas affect dried flowers over time. Rushing leads to uneven placement and messy results. Steady steps keep the frame clean and balanced. Each shadow box holds a moment from life inside a simple frame.
FAQs:
What is a flower shadow box?
A flower shadow box is a deep frame with glass. It holds dried or faux flowers in place. It keeps flowers safe and on display.
How long do dried flowers last in a shadow box?
Dried flowers can last for years. Dry air and low sunlight help them stay in good shape.
What flowers work best for drying?
Roses, daisies, and baby’s breath work well. These flowers keep their shape after drying.
Can fresh flowers go inside a shadow box?
Fresh flowers do not work well. They need to be dried first so they do not rot or lose shape.
What glue works for flower placement?
Hot glue works for stronger hold. Small craft glue also works for light pieces.
How do I stop flowers from falling inside the frame?
Place small drops of glue on stems or petals. Hold each piece still for a few seconds.
Where should a shadow box be placed?
A dry wall space works best. Keep it away from heat and strong sunlight.
Can a shadow box be changed later?
Yes. The frame can be opened. Old flowers can be removed and replaced with new ones.