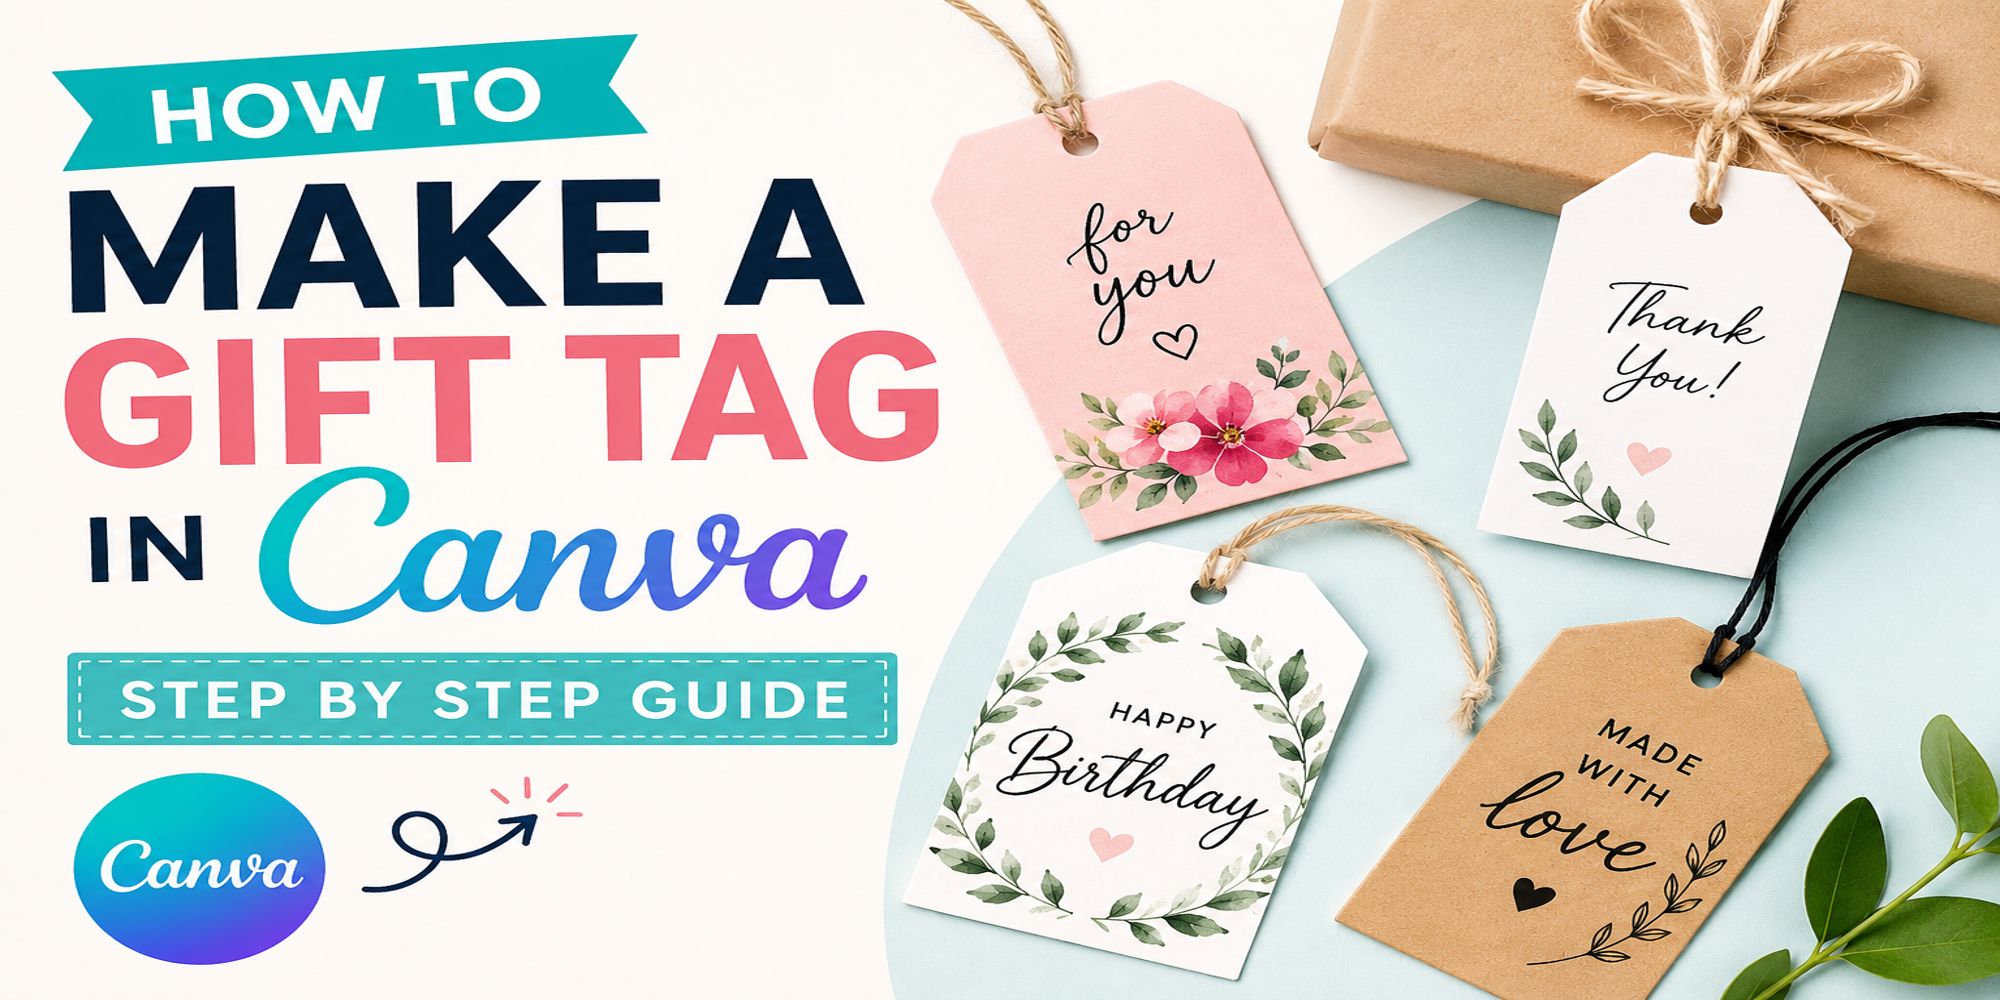
How to Make a Gift Tag in Canva: Step by Step Guide
Making gift tags that look clean and personal can feel tricky without design skills. Many people end up using plain store-bought tags that do not match the gift or the moment.
Canva makes the process simple with ready-made layouts, colors, and text options. You can build a tag that matches any style in just a few minutes. You can see our gift tag designs here.
Custom gift tags add a thoughtful touch to birthdays, holidays, and special events. A small design choice can make your gift stand out in a meaningful way.
This guide walks you through each step to create gift tags in Canva, from choosing a template to preparing your final design for print.
Add an extra special touch to your gifts with an original gift tag design
Custom gift tags add a special touch that makes any gift feel more personal. They bring extra sparkle to presents for holidays, birthdays, and anniversaries. You can pick your favorite colors and artwork to match your style. This helps your gifts stand out and feel more thoughtful for the person receiving them. Small design choices can change the whole look of a simple gift.
Canva makes this process simple for beginners. You can create gift tags or even short video greetings with easy tools. Drag and drop elements onto your design and adjust text or size in seconds. You can also choose different print options like cardstock or regular paper. A matte or glossy finish changes the final look. Hole punches with ribbon or sticker-style tags give more ways to finish your design with a clean result.
5 Steps of How to Make a Gift Tag
Here are five simple steps to make a gift tag in Canva. Each step shows a clear action from start to finish. Read the steps below to begin your design and follow along as you build it.
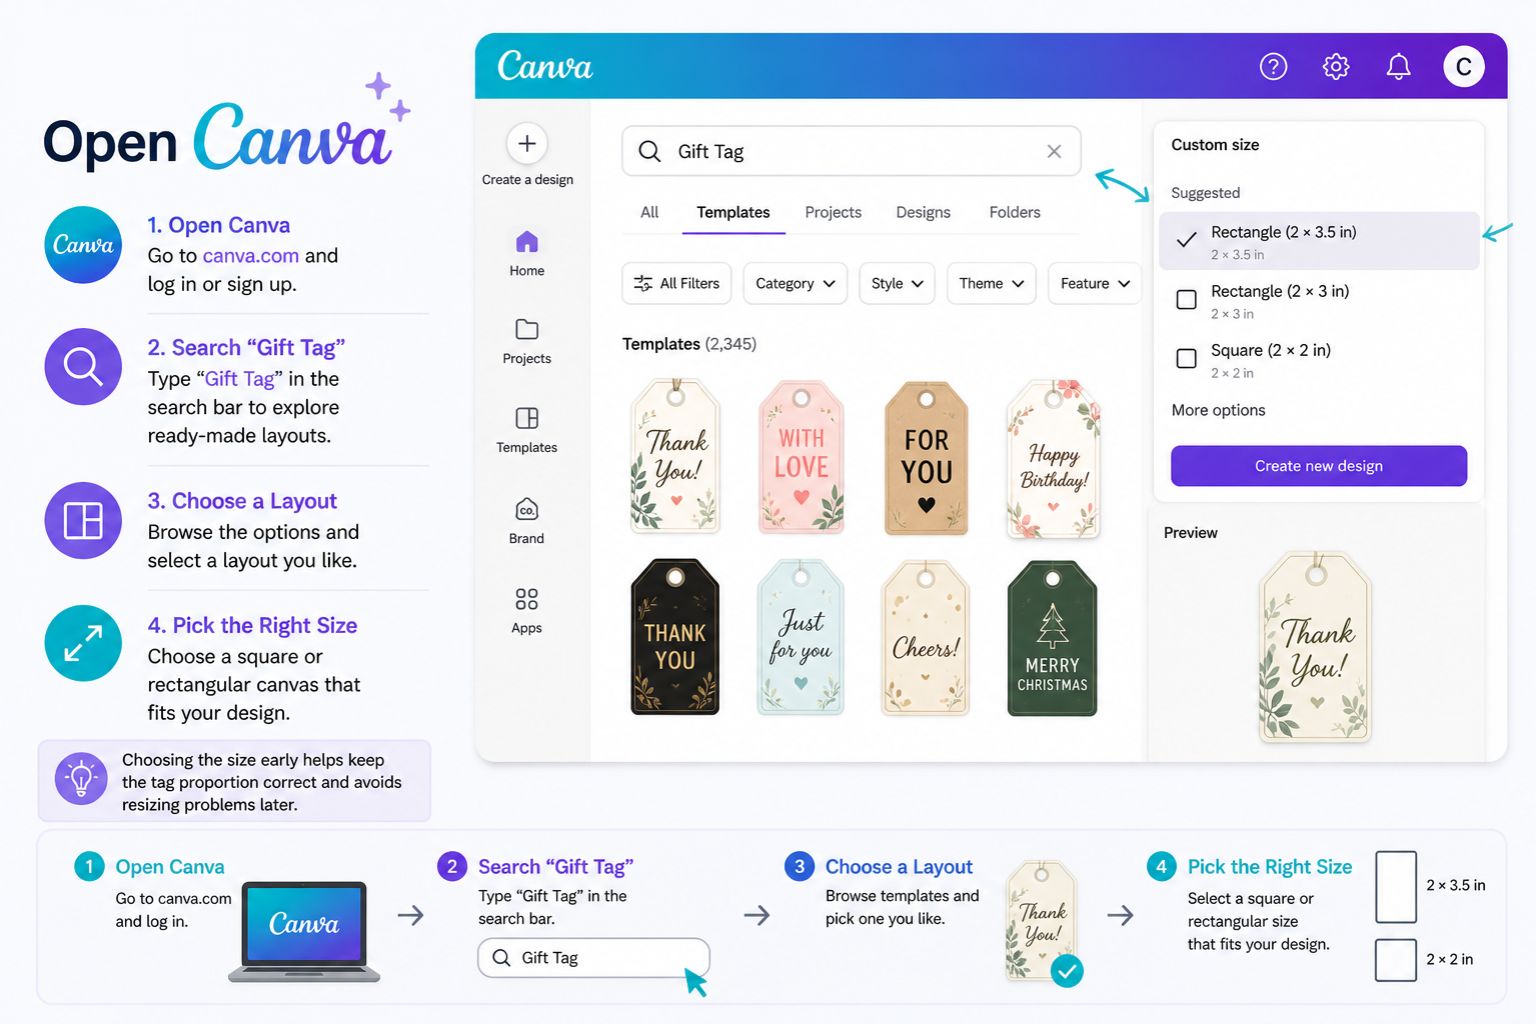
Step 1: Open Canva
Open Canva and search “Gift Tag” to see layout options. Pick a square or rectangular canvas that fits your design. Choosing the size early helps keep the tag proportion correct and avoids resizing problems later in the process.
Step 2: Browse Templates
Open the template library and skip starting from scratch. Browse gift tag templates made for different themes like holiday, birthday, anniversary, and wedding designs. Each category gives ready-made layouts to fit your project. Use the search tool to narrow results by color, layout, or style. After picking a template, adjust text, colors, and small design elements to match your needs.

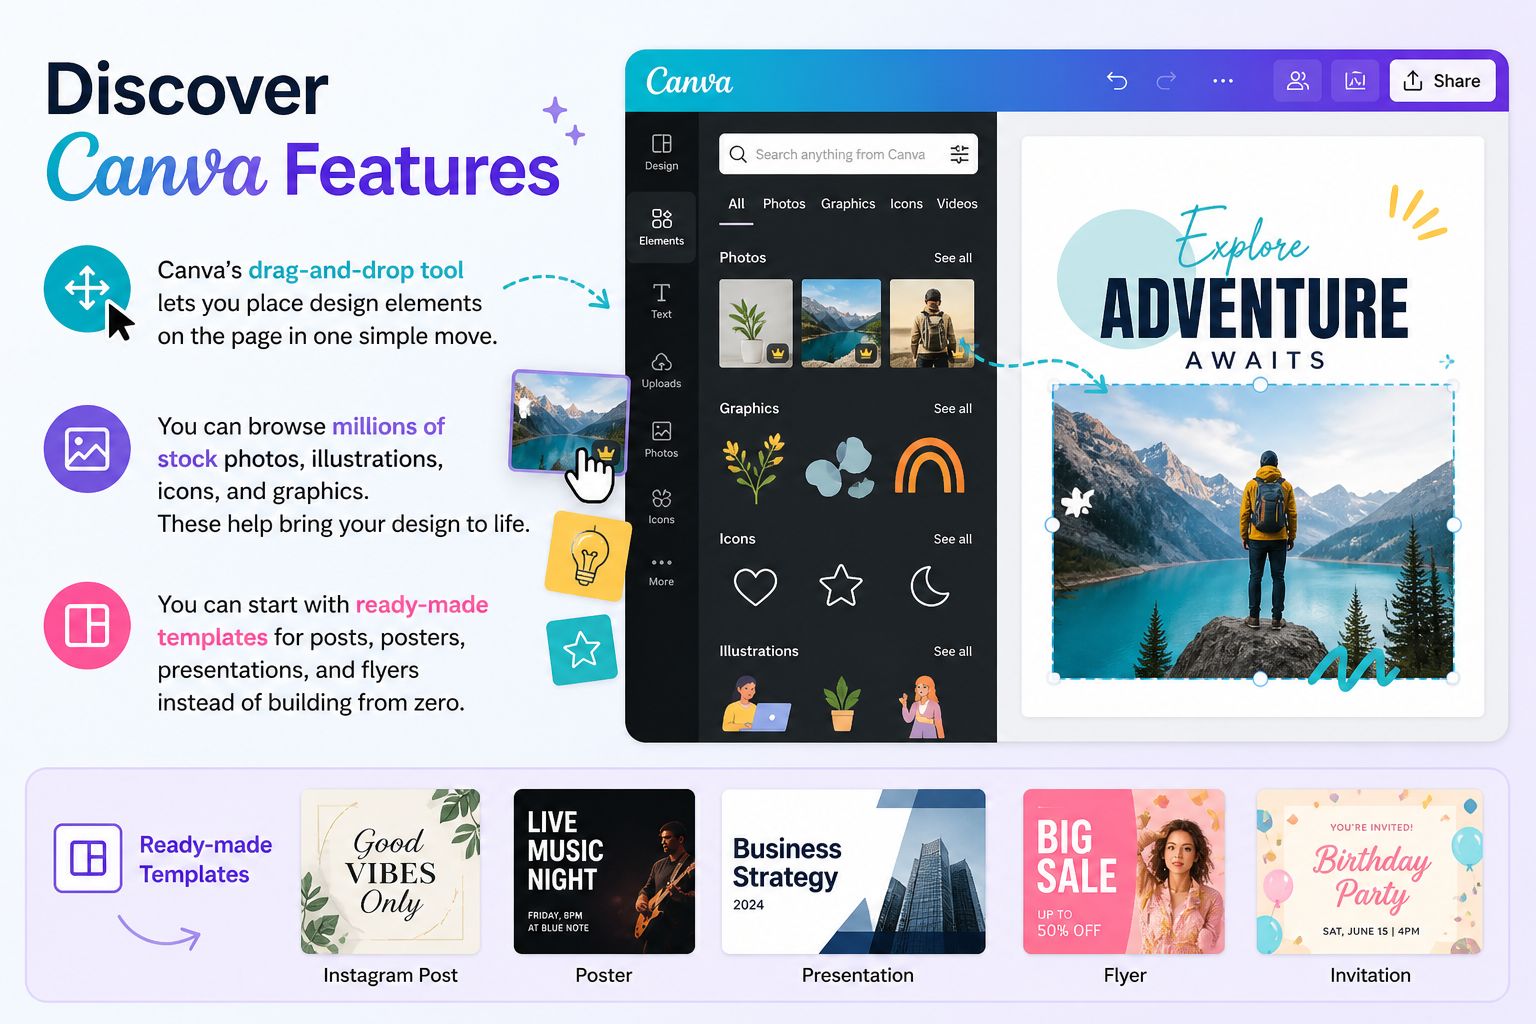
Step 3: Discover Features
Canva’s drag-and-drop tool lets you place design elements on the page in one simple move. You can browse millions of stock photos, illustrations, icons, and graphics. These help bring your design to life. You can start with ready-made templates for posts, posters, presentations, and flyers instead of building from zero.
Step 4: Customize Your Design
Choose your color scheme, background, and font style to set your design look. Use Canva photo effects to brighten or improve images. Upload your own photos, artwork, or branding elements. Arrange layers to place items in front or behind others for a clean and balanced layout.

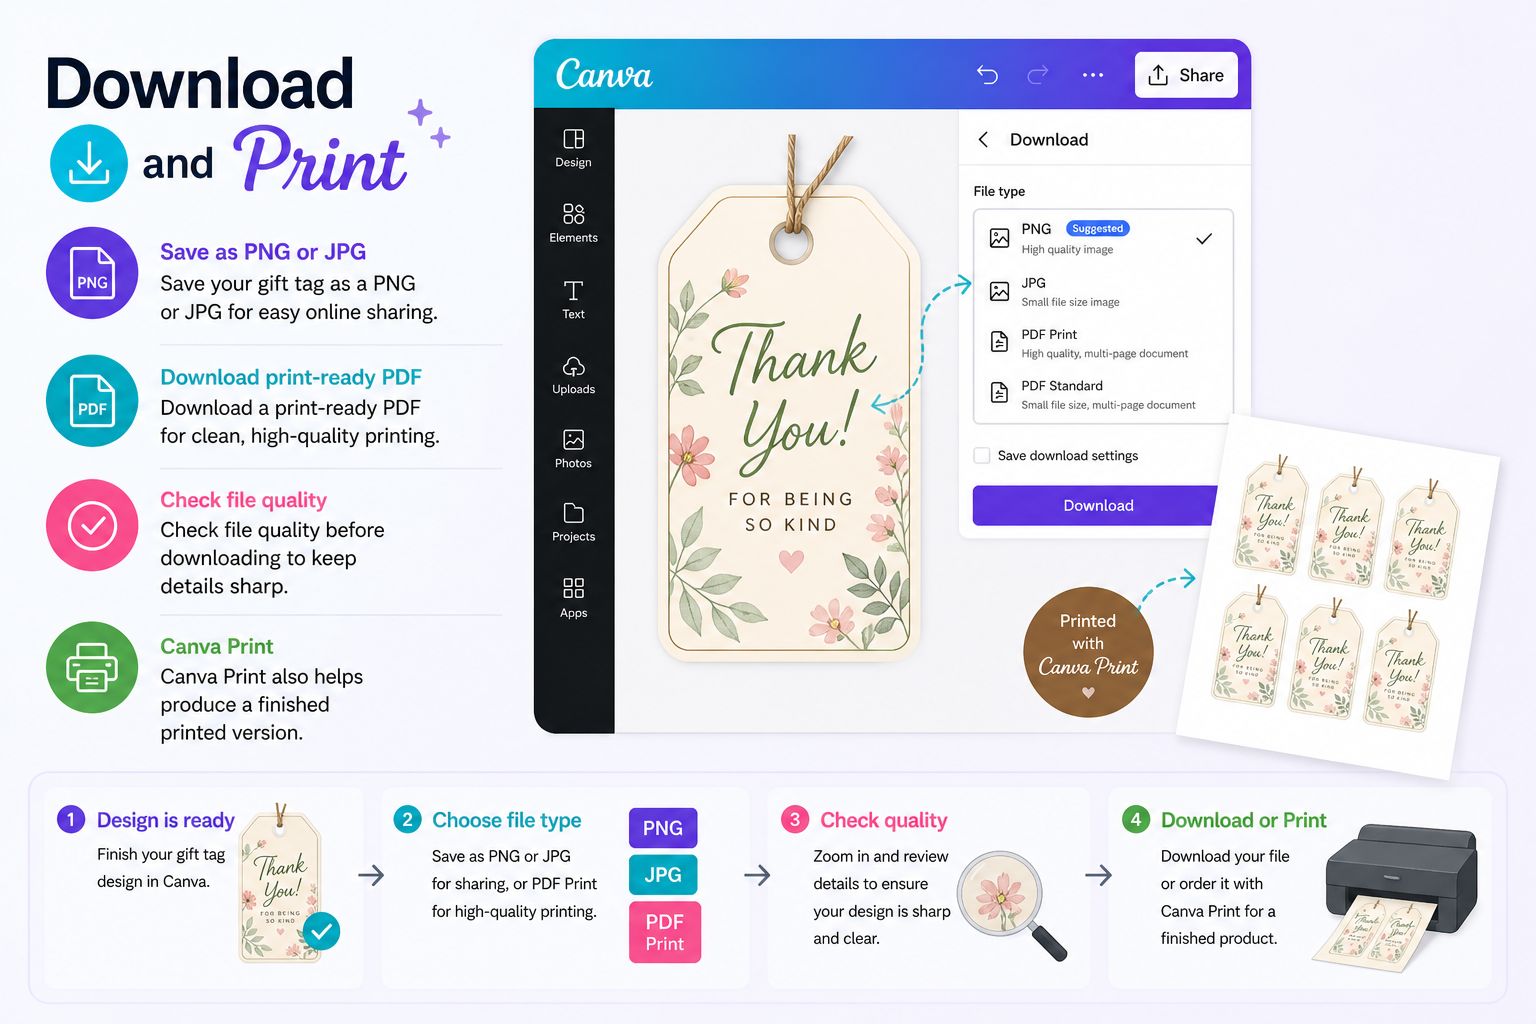
Step 5: Download and Print
Once your design is ready, save the gift tag as a PNG or JPG for easy online sharing. Download a print-ready PDF for clean, high-quality printing. Check file quality before downloading to keep details sharp. Canva Print also helps produce a finished printed version.
Browse through Canva’s amazing media library
Open Canva and head to the media library to find free design elements. Click “Elements” to explore lines, illustrations, shapes, and icons for gift tags. Use the search bar with simple words like “flower,” “frame,” or “badge” to find items faster. Filters help sort free and paid options so you can choose what fits your project. Each photo and illustration is curated for quality, so your design looks clean when printed or shared online. You can change colors to match your gift theme or style.
Stack elements for layered designs, then use “Arrange” to control which items sit in front or back. Move text above images for clear and balanced layout control.
Create elegant typographic art using textholders
Use Canva’s text holder tool in Canva to write messages with clear and stylish typography. Text holders are ready-made font pairs that you can drag and drop into your design. They help set a clean structure where main text stands out first, and smaller text supports it below. You can also build your own text using free-form tools. Choose from many fonts, then adjust color and size to match your style. Place each text holder where it fits best so your message stays easy to read and visually balanced.
Print and share your gift tags
Choose a file type before printing your gift tags. You can pick PDF, high-resolution JPEG, or PNG. Each format gives crisp, clear, and colorful results for both printing and sharing. PDF works well for sharp prints. JPEG and PNG are great for digital use and quick viewing.
Print using high quality settings for best results. Select “fit to page” or “actual size” based on your design. Use thicker paper or cardstock for stronger tags. Check your printer color settings before printing. You can also share your gift tags online by attaching them to emails or posting them on social media. Canva makes it easy to share your designs in different ways.
Final Thoughts
Making gift tags in Canva is simple once the steps are clear. You start with a template, then adjust colors, fonts, and shapes. Each choice changes the feel of the tag. Small details like spacing and font size matter. A clean layout helps the design stay easy to read and ready for printing.
After the design is ready, printing brings it to life. Choose clear paper settings and check alignment before printing. Many people also save the file for digital sharing. A simple gift tag can add a personal touch to any present. Small edits before printing help avoid mistakes and keep the final result neat. This keeps every tag consistent and ready.
FAQs
What to write on gift tag?
Write the recipient’s name so the gift feels personal. Add a short note like “Happy Birthday” or “Thank You.” You can also include your name so they know who it is from.
What size are gift tags?
Most gift tags are small. Common sizes are 2 x 3 inches and 2 x 4 inches. Some tags are a bit larger for longer messages, but they usually stay easy to attach to a gift.
What is a good font for a gift tag?
Simple fonts work best because they are easy to read. Fonts like Arial, Helvetica, or Times New Roman are clear choices. Script fonts can also work for a soft style, but they should still stay readable.
How do you attach a gift tag?
Most gift tags come with a small hole at the top. You can tie them with ribbon, string, or twine. Some people also use tape or sticker dots for quick attachment.
Can you print gift tags at home?
Yes, you can print gift tags at home using regular paper or cardstock. Cardstock works better because it is thicker and holds up well. After printing, just cut them out and punch a small hole for tying.
Learn more: How to Make a Paper Cut Gift with Cricut?
Learn more: How to Make a Custom Gift Tag with Cricut?