How to Make Greeting Cards at Home: Easy DIY Ideas for Every Occasion
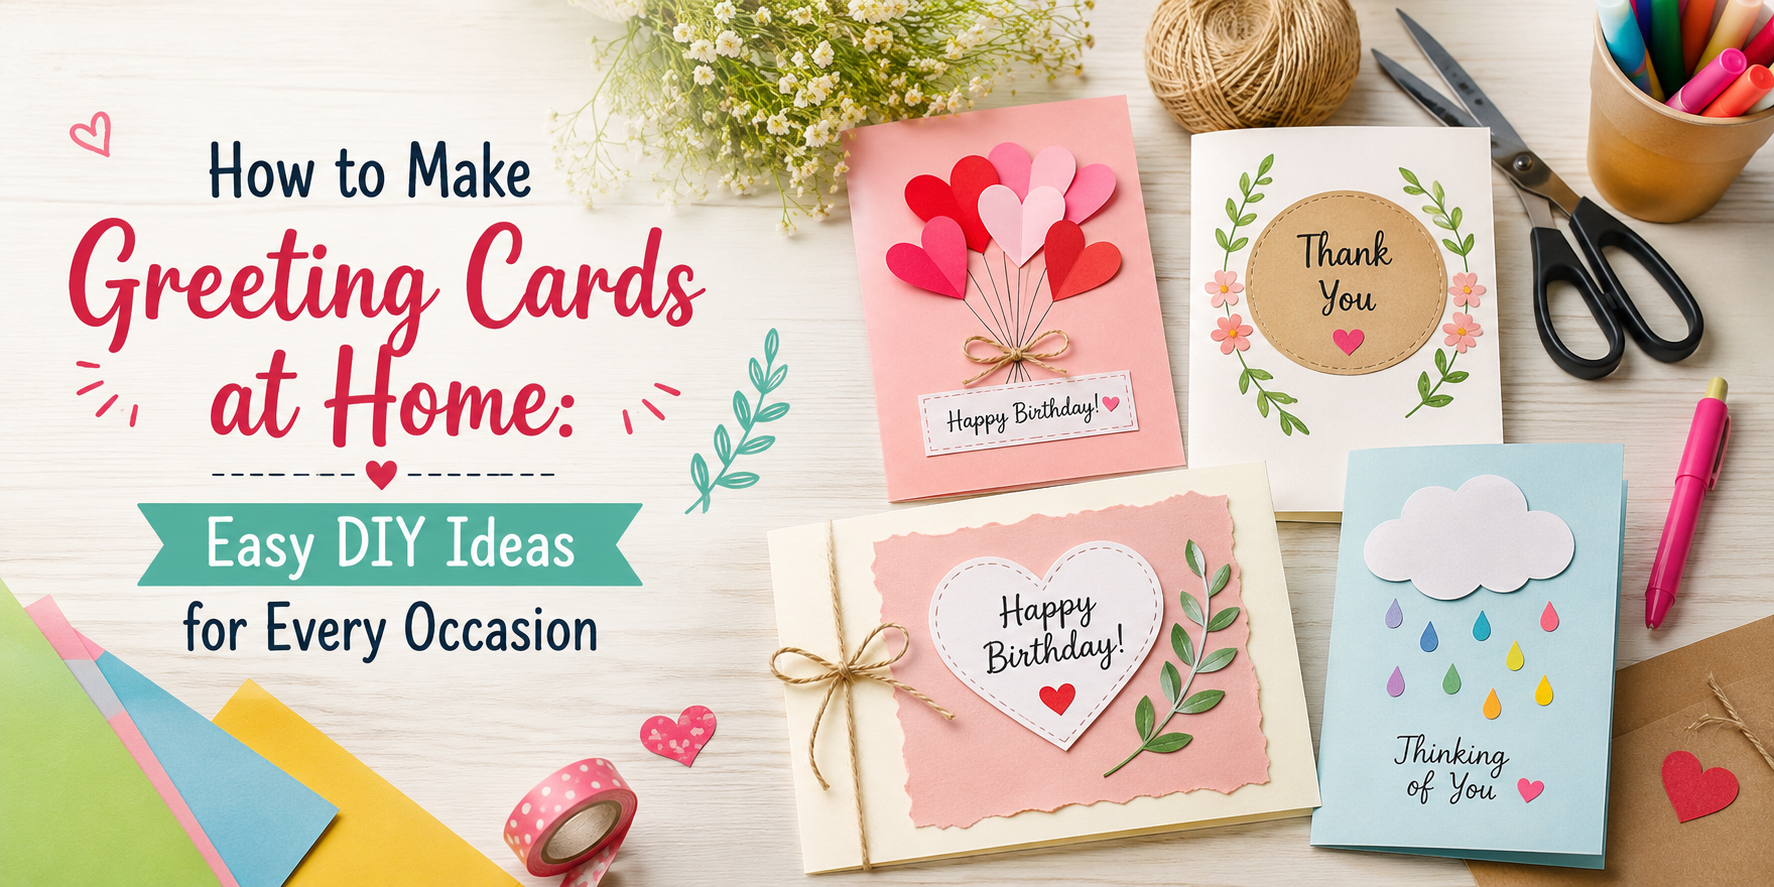
Store-bought greeting cards can feel simple and less personal. A handmade card adds a special touch with your own words, colors, and creative choices. Many people want to share kind messages but do not know where to start. Simple steps can make the process easier.
This guide explains how to make greeting cards at home using basic supplies and easy ideas. Each section shares tips for choosing materials, creating designs, and adding personal messages for different events. You can follow the steps to create cards for birthdays, holidays, and other special occasions. The article also covers design methods and simple techniques to help you make handmade cards with more confidence and care.
Why Make Greeting Cards at Home?
Making greeting cards at home adds a personal touch to every message. A handmade card shows extra care because you choose the design, colors, and words yourself. It turns a simple note into a special keepsake. Store-bought cards often have common designs and messages. A DIY card gives you the freedom to create something that matches the person and the occasion. You can make a birthday card, thank-you card, holiday card, or any other style you need.
Creating cards at home can also be a fun craft activity. You can use paper, stickers, ribbons, drawings, and other supplies to build your own designs. Each card becomes a small piece of creativity made with your own hands. Homemade greeting cards can also help save money. A few basic craft supplies can create many different cards for family, friends, and special events. The process is simple and works for both beginners and experienced crafters. A handmade greeting card carries a message that feels more thoughtful. The time spent creating it makes the card feel more meaningful for the person receiving it.
Supplies You Need to Make Greeting Cards at Home
Making greeting cards at home does not require a large collection of tools. A few basic supplies can help you create cards for birthdays, holidays, thank-you notes, and other special moments. Choose items that fit your design style and the type of card you want to make.
Cardstock or Thick Paper
Cardstock is a strong choice for handmade greeting cards. It keeps the card firm and helps it hold decorations better. You can choose different colors, textures, and sizes to match your card design. Thick paper also works well for simple card projects.
Scissors or Paper Cutter
A good pair of scissors helps you cut paper into clean shapes. A paper cutter can make straight cuts for card bases, layers, and paper details. Keep your cutting tools sharp for smoother results.
Glue and Adhesive Tools
Glue helps attach paper pieces, stickers, and other decorations to your card. A glue stick works well for flat paper pieces. Double-sided tape and adhesive dots can help attach small items without making a mess.
Markers, Pens, and Colored Pencils
Markers, pens, and colored pencils help you add messages, drawings, and small details. Use different colors to create fun designs or simple handwritten notes. These tools are useful for adding a personal touch to each card.
Decorative Paper and Stickers
Decorative paper adds color and patterns to your greeting cards. You can use printed paper, textured paper, or scrapbook paper for backgrounds and shapes. Stickers make it easy to add small designs, letters, or themed details.
Ribbons, Buttons, and Embellishments
Ribbons, buttons, and other small decorations can add texture to your cards. These items work well for handmade designs with a raised look. Pick decorations that match the theme and keep the card easy to handle.
Stamps and Ink
Stamps and ink help you create repeated designs, shapes, and messages. They are useful for making neat patterns without drawing every detail by hand. Try different ink colors to match your card style.
Printable Greeting Card Templates
Printable greeting card templates can help you start a project with a ready-made design. They are useful for beginners who want guidance with layouts and sizes. You can print a template, add your own details, and make the card feel personal.
How to Make Greeting Cards at Home Step by Step
Making a greeting card at home starts with a simple idea and a few basic supplies. Handmade cards give you a chance to add your own style, colors, and words. The process is easy to follow, and each step helps create a card that feels personal.
Step 1: Choose a Greeting Card Theme
Start by choosing a theme that matches the occasion. A birthday card may use bright colors and fun designs. A thank-you card may have a simple and warm style. A holiday card can include seasonal shapes, colors, or patterns. The theme helps guide your design choices. It also makes it easier to pick decorations, paper, and message ideas. Think about the person receiving the card and choose a style that fits their taste.
Step 2: Select the Right Paper
Pick paper that is strong enough to hold decorations and writing. Cardstock is a good choice because it keeps its shape and feels sturdy. Colored paper, patterned paper, and textured paper can add more style to your design. Choose colors that match your theme. Keep the paper size large enough to fold into a card with space for your message inside. Good paper makes the card look neat and helps it last longer.
Step 3: Create the Card Base
Fold the paper in half to create the main card shape. Use a ruler to mark the center line before folding for a cleaner edge. Press the fold firmly with your fingers or a flat tool. A simple rectangle shape works well for most cards. You can also create square cards or smaller designs based on your idea. Make sure the card opens easily before adding decorations.
Step 4: Plan the Card Layout
Plan where each part of the design will go before attaching anything. Choose a spot for the main image, decorations, and any extra details. A quick sketch can help you arrange the pieces. Keep enough empty space so the design does not feel crowded. A clear layout helps each part of the card stand out. It also prevents mistakes during the decorating stage.
Step 5: Decorate the Card Cover
Add decorations to the front cover based on your theme. Use items like stickers, ribbons, paper shapes, drawings, stamps, or cutout designs. Mix different textures to create more interest. Place the largest design element first. Then add smaller details around it. Simple decorations often create a clean and attractive look.
Step 6: Add a Personal Message
Write a message inside the card that feels honest and thoughtful. A few kind words can make a handmade card feel special. Match the message style with the occasion and your relationship with the person. Use a pen color that is easy to read. Leave enough space between lines so the message looks neat. A handwritten note adds a personal touch that printed words cannot replace.
Step 7: Add Final Details
Check the card and add any last details that improve the design. Small touches like a border, extra paper layer, or tiny drawing can complete the look. Make sure all decorations are attached well. Remove any extra glue marks or loose pieces. A quick review helps the card look clean and ready.
Step 8: Prepare the Card for Gifting
Place the finished card in an envelope that fits its size. Add the name of the person receiving it on the envelope. You can decorate the envelope with small matching details for an extra touch. Store the card in a safe place until it is time to give it. A handmade greeting card carries the time and care put into creating it, making the gift feel more meaningful.
DIY Greeting Card Ideas for Every Occasion
Handmade greeting cards can add a personal touch to special moments. A simple card with the right colors, words, and small details can make someone feel cared for. Each occasion offers a chance to create a design that matches the mood and message.
Birthday Greeting Cards
Birthday cards can be bright, fun, and full of cheerful details. Use colorful paper, balloons, candles, or cake shapes to create a happy design. Add a handwritten message to make the card feel more personal. A photo card is another sweet idea. Add a favorite picture, a short memory, or a kind note that the birthday person can keep.
Christmas Greeting Cards
Christmas cards often use classic holiday colors like red, green, white, and gold. Create simple designs with trees, snowflakes, stars, or gift boxes. Paper layers can add depth to the design. A small folded tree or a handmade ornament shape can turn a plain card into a festive greeting.
Valentine’s Day Greeting Cards
Valentine’s Day cards are a great way to share love and kindness. Heart shapes, soft colors, and handwritten notes work well for this occasion. You can add paper flowers, cute drawings, or a short message that shares your feelings. A handmade card can show care without needing a complicated design.
Mother’s Day Greeting Cards
Mother’s Day cards can include flowers, family photos, and loving messages. Soft colors and simple decorations create a warm look. Add a personal note about a favorite memory or a reason you appreciate your mother. Small details can make the card more meaningful.
Father’s Day Greeting Cards
Father’s Day cards can match hobbies, interests, or favorite activities. Use designs with tools, sports, cars, or simple patterns. A handwritten message can share thanks and love. Even a basic card design can feel special with thoughtful words.
Thank You Greeting Cards
Thank you cards are a simple way to show appreciation. Use clean designs with flowers, stars, or hand-drawn patterns. The message is the main part of this card. A few honest lines can make the person feel valued.
Wedding Greeting Cards
Wedding cards can feature elegant paper colors, flowers, rings, or soft patterns. A simple design often works well for this special event. Add a warm message for the couple. You can also include their names, wedding date, or a short wish for their future.
Anniversary Greeting Cards
Anniversary cards can celebrate love and shared memories. Add photos, hearts, or designs that match the couple’s style. A message about a favorite moment can make the card feel personal. Small decorations can help tell the story of their relationship.
Baby Shower Greeting Cards
Baby shower cards can use gentle colors, cute animals, stars, or baby-themed shapes. Pastel paper and simple drawings create a sweet look. Add a message that shares happiness for the new baby. A handmade card can become a keepsake for the family.
Graduation Greeting Cards
Graduation cards can use school colors, caps, diplomas, and celebration designs. Create a card that matches the graduate’s achievements. A few encouraging words can make the card more memorable. Add their name, graduation year, or a personal message for an extra touch.
Halloween Greeting Cards
Halloween cards can use pumpkins, ghosts, bats, and spooky patterns. Orange, black, and purple paper can help create a fun design. Try adding cut-out shapes or playful drawings. A simple handmade card can bring a little Halloween fun to friends and family.
Easter Greeting Cards
Easter cards can feature eggs, flowers, bunnies, and spring colors. Use paper cutouts, stickers, or hand-drawn designs. A cheerful message can bring a smile to the receiver. Soft colors and simple artwork work well for this holiday.
Creative Techniques for Making Beautiful Greeting Cards
Handmade greeting cards become more special with small creative details. Simple changes in paper, colors, and decorations can give each card a personal touch. Try different techniques to create cards that match birthdays, holidays, thank-you notes, or other special moments.
Create Layered Paper Designs
Layered paper designs add depth to a handmade card. Use different paper colors, patterns, and shapes to build a unique look. Cut circles, flowers, hearts, or other shapes from cardstock and place them on top of each other. Foam tape can help lift some layers and create a raised effect. A mix of flat and raised pieces makes the card feel more interesting. Keep the layers balanced so the design stays clean.
Add Hand Lettering
Hand lettering can make your message stand out. Write the main words with different styles, sizes, or simple decorative touches. A handwritten phrase can make the card feel more personal. Practice your lettering on scrap paper before adding it to the card. Use pens, markers, or brush pens that match your card colors. Small details like curved lines or simple dots can add extra style.
Use Stamping Techniques
Stamps make it easy to add shapes, patterns, and images to greeting cards. You can use ready-made stamps or create simple designs with household items. Ink colors can change the mood of the card. Try stamping flowers, stars, leaves, or small messages. Test the stamp on extra paper first to check the ink amount and placement. A mix of stamped images and handwritten details can create a balanced design.
Make Pop-Up Card Designs
Pop-up cards add a fun surprise inside the card. Paper shapes can rise from the center and create a 3D effect. Simple designs like hearts, flowers, cakes, or gift boxes are easy to try. Use strong paper for the pop-up parts so they hold their shape. Fold and cut carefully to make sure the design opens and closes smoothly. A pop-up feature can turn a simple card into a special keepsake.
Add Paper Flowers and Decorations
Paper flowers and small decorations can give greeting cards a handmade look. Create flowers using colored paper, tissue paper, or patterned sheets. Add leaves, ribbons, buttons, or small stickers to complete the design. Place decorations around the edges or near the main message. Leave enough open space so the card does not feel crowded. A few well-placed pieces can make the design look neat and creative.
Include Photos and Custom Images
Photos can make greeting cards more meaningful. Add a favorite picture, family moment, pet photo, or custom drawing to create a personal design. Print the image in a size that fits the card layout. Add a simple border or paper frame around the photo for a finished look. Custom images work well for birthdays, anniversaries, and memory cards.
Try Watercolor Card Designs
Watercolor designs create soft colors and artistic backgrounds. Paint simple shapes, flowers, skies, or abstract patterns on thick paper. Let each layer of paint dry before adding more details. You do not need advanced painting skills to create a nice effect. Small brush strokes and gentle color mixes can create beautiful results. Add a handwritten message after the paint dries to complete the card.
Tips for Making Beautiful DIY Greeting Cards
Creating a handmade greeting card is a fun way to share a kind message. A few design choices can help your card look neat, creative, and thoughtful. These tips can help you create cards that fit birthdays, holidays, thank-you notes, and other special moments.
Choose a Matching Color Theme
A good color theme helps your card look organized. Pick two or three colors that work well together. Use colors that match the event or the person receiving the card. Soft shades can create a calm look, while bright colors can make the card feel cheerful.
Keep the Design Simple
A simple design often looks clean and attractive. Too many shapes, stickers, or decorations can make the card feel crowded. Pick one main idea and build your design around it. A clear layout gives each detail space to stand out.
Mix Different Paper Textures
Different paper types can add more style to your greeting card. Try using smooth paper with patterned paper or textured sheets. Small changes in paper feel can make the card more interesting. Keep the mix balanced so the card does not look too busy.
Balance Text and Decorations
The message is the heart of your card. Leave enough space for your words and add decorations around them. Place flowers, shapes, ribbons, or stickers in areas that support the message. A balanced layout helps the card look polished.
Use High-Quality Materials
Strong paper and good craft supplies help your card last longer. Thick cardstock can give the card a sturdy feel. Clean cuts, strong glue, and neat details can improve the final look.
Add Personal Details
Small personal touches can make a greeting card feel special. Add a handwritten note, the person's name, a favorite color, or a small drawing. These details show care and make the card feel made just for them.
Common Mistakes to Avoid When Making Greeting Cards
Making greeting cards at home can be simple and enjoyable. A few small mistakes can affect the final look of your card. Knowing what to avoid helps you create clean, neat, and thoughtful designs.
Using Low-Quality Paper
Thin or weak paper can make a greeting card look unfinished. It may bend easily or fail to hold decorations properly. Choose sturdy cardstock or thick paper for a stronger base. Good paper also helps colors and designs look cleaner.
Overcrowding the Design
Adding too many details can make the card feel messy. A card needs enough open space so each part of the design can stand out. Pick a main idea and build the design around it. A simple layout often creates a better result.
Using Too Many Colors
Too many colors can make the card look busy. Try using a small color group that matches the occasion. A few well-chosen shades can create a balanced and pleasant design.
Adding Decorations Without Planning
Random decorations may make the card lose its main style. Plan the placement of stickers, ribbons, shapes, or other items before attaching them. A quick sketch can help you arrange each piece in the right spot.
Forgetting to Leave Writing Space
A handmade card should have room for a personal message. Filling every area with designs can leave little space for your words. Keep a clear section inside or on the front for your greeting.
Using Too Much Glue
Too much glue can leave marks and make paper wrinkle. Apply a small amount and spread it evenly. Let each piece dry before adding more layers or decorations. A clean finish makes the card look more polished.
How to Store Handmade Greeting Cards and Craft Supplies
Making greeting cards at home is easier with a clean storage system. Proper storage keeps cards neat and protects craft materials from damage. A few simple habits can help your handmade cards and supplies stay ready for your next project.
Keep Finished Cards Flat
Store finished greeting cards on a flat surface to help them keep their shape. A storage box, drawer, or folder works well for this purpose. Place cards in small stacks and avoid adding heavy items on top. This helps prevent bends, wrinkles, and marks on the paper.
Store Cards in Protective Covers
Protective covers help keep handmade cards clean and safe. Clear sleeves or plastic folders can protect cards from dust and scratches. They also make it easier to sort cards by occasion, such as birthdays, holidays, or thank-you notes.
Organize Supplies by Category
A simple supply system saves time during card-making projects. Keep paper, pens, stickers, ribbons, and tools in separate groups. Small containers or labeled boxes can help you find each item quickly. A tidy craft area makes it easier to start new designs.
Protect Paper From Moisture
Paper can lose its quality if it gets wet. Store cardstock, decorative paper, and envelopes in a dry place. Keep supplies away from areas with high humidity. Sealed containers or storage bins can help keep paper smooth and ready for use.
Final Notes
Making greeting cards at home is a simple way to share kind messages with family and friends. With basic supplies, a clear idea, and a little creativity, you can create cards for many occasions. Each handmade card can show your own style through colors, designs, decorations, and words. Small details like a handwritten message, a favorite photo, or a custom drawing can make the card feel more special. Start with simple designs and try new techniques as you gain more confidence. Keep your supplies organized, protect your finished cards, and enjoy the process of creating something made by hand. A DIY greeting card is more than paper and decorations. It carries the time, care, and thought you put into making it.
FAQs
What supplies do I need to make greeting cards at home?
You only need a few basic supplies to start making greeting cards. Cardstock, scissors, glue, markers, decorative paper, stickers, and pens are helpful for many card designs. You can add more craft items as you try new styles.
Is making greeting cards at home difficult for beginners?
No, making greeting cards can be simple for beginners. Start with easy designs and basic decorations. Simple paper layers, handwritten messages, and small details can create a nice handmade card.
What type of paper is best for handmade greeting cards?
Cardstock or thick paper works well for handmade greeting cards. It creates a strong base and can hold decorations better than thin paper. You can also use colored, patterned, or textured paper to match your design.
How can I make my greeting cards look more personal?
Add details that match the person receiving the card. A handwritten note, favorite colors, photos, drawings, or custom decorations can make the card feel more personal and thoughtful.
Can I make greeting cards without special craft tools?
Yes, you can create greeting cards with simple supplies from home. Paper, scissors, glue, pens, and basic decorations are enough to make many creative designs.
How do I keep handmade greeting cards from getting damaged?
Store finished cards flat in a folder, box, or drawer. Protective covers can help keep them clean and safe. Keep cards away from moisture to protect the paper and decorations.
What are some easy greeting card ideas for beginners?
Beginners can try simple designs like birthday cards, thank-you cards, holiday cards, or photo cards. Paper shapes, stickers, stamps, and handwritten messages are easy ways to decorate a card.
How can I avoid mistakes while making greeting cards?
Plan your design before adding decorations. Avoid using too many colors, too many decorations, or too much glue. Leave enough space for your message and choose strong paper for better results.