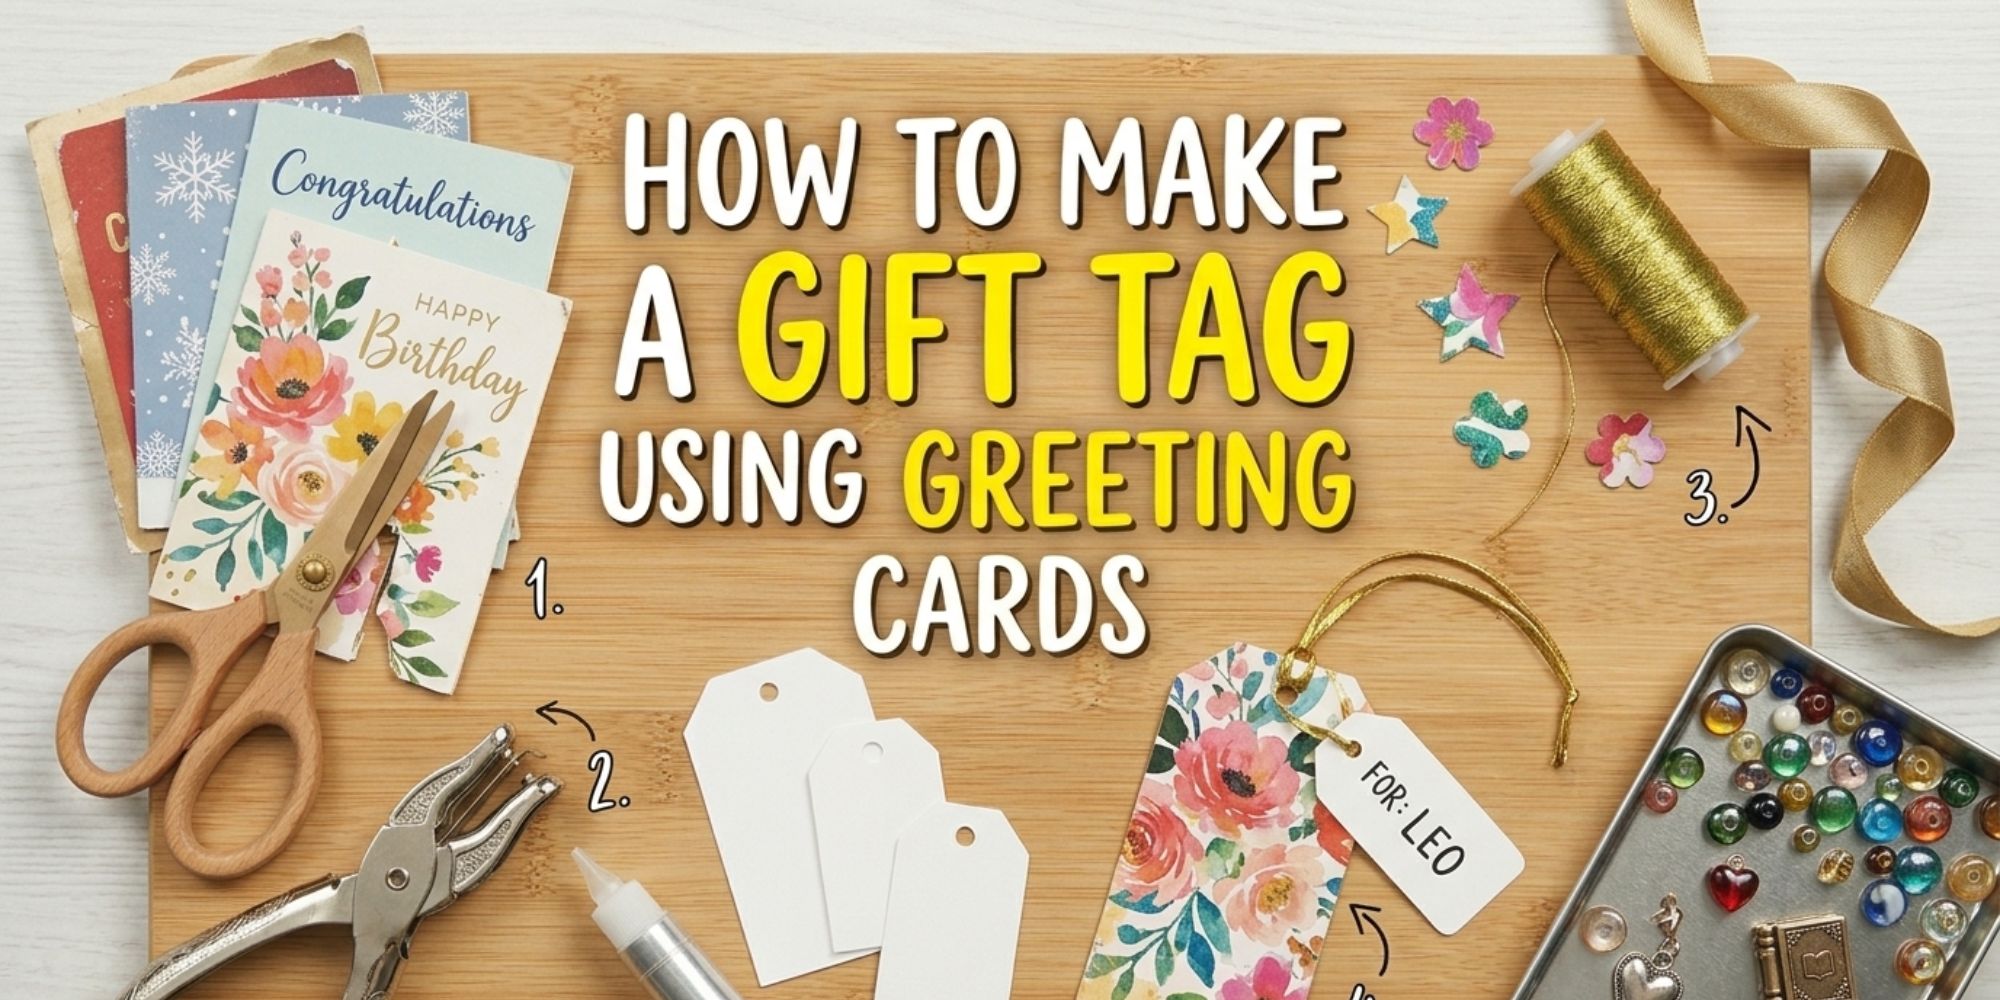
How to Make a Gift Tag Using Greeting Cards
Old greeting cards often sit in drawers or boxes after special days. They take up space and go unused. Many people forget to give them a second life.
Store-bought gift tags can feel plain and cost extra money. Many gift wraps look the same. A small change can make a gift feel more personal and thoughtful.
Old greeting cards can turn into unique gift tags. This saves money and reduces waste. Each tag adds a personal touch that stands out on any wrapped gift. You can also use our greeting cards.
Follow the steps below to make your own gift tags from greeting cards. The process is simple and works well for birthdays, holidays, and other special moments easily.
Things You'll Need
This project starts with a few simple supplies from home or craft drawers. You will need a small set of items to turn greeting cards into gift tags. Gather everything below before you begin:
- Greeting cards
- Hole puncher
- String
- Scissors
- Metallic pens, glitter glue, sequins, etc (optional)
8 Steps to Make a Gift Tag Using Greeting Cards
Old greeting cards can turn into nice gift tags with just a few simple steps. This guide shows an easy way to cut, shape, and finish your own tags at home. Read the steps below to start making your own gift tags.
Step 1: Choose a Greeting Card
Find a greeting card with a pretty image on the front. If you want, you can use our Greeting Card.The full card will not be used. Smaller shapes will be cut from it instead. Cards with bold colors work better. Simple designs are easier to cut. Avoid thin or faded prints. Holiday cards often have strong images.
Step 2: Cut the Gift Tag Shape
Pencil a light outline on the card before cutting. This keeps edges neat and helps guide your scissors. Cut a shape from the greeting card. Shapes can be square, heart, or circle. Scrapbook punches also create decorative edges. Keep the tag small, no larger than the palm of your hand.
- For a standard tag, start with a rectangle shape. Trim two corners from one narrow end to form a point. Keep cuts smooth for a clean look.
- For a folded tag, cut a square shape. Align one edge with the fold of the card. Press lightly on the fold line before cutting to keep shape steady. Work slowly for better control.
Step 3: Add Embellishments
Make the gift tag more detailed with simple decorations. Trace the design edges using metallic pens or glitter glue for shine. Add rhinestones or sequins for extra detail. Place small paper cut shapes like stars, hearts, or leaves for a layered look. Let everything dry fully before you continue ahead.
Step 4: Add Your Message
Write a message on the back of the gift tag. Use a simple To From format or write your own words. Holiday messages work well too, like Happy Valentine’s Day. For events, use Happy Birthday or Congratulations for graduations. Keep the message short so it fits neatly and stays easy to read.
- For folded tags write the message inside instead of the back. This keeps the note clear and easy to see. A short message also helps avoid crowding and keeps the design clean for better presentation and balance clearly.
Step 5: Punch a Hole in the Gift Tag
Pick up your hole punch and place it at the top of the gift tag. Keep the hole centered so it looks neat. Leave a small space from the edge to stop tearing later. Press the punch down in one firm motion to make a clean hole. For a folded tag, line up both layers and punch through them at the same time. This keeps the holes even and ready for string or ribbon.
Step 6: Cut the String
Cut a piece of string about twice the length of your finger. Choose the type based on your style. Use yarn or twine for a rustic look. Pick ribbon or metallic thread for a clean finish. Match the color with your tag or wrap. Check the hole size. Thick ribbon may not fit small holes. Thin string works better. Rough twine grips well, while smooth ribbon may need a tighter knot.
Step 7: Attach the String
Cut a 6–8 inch string for easy handling. Check that the hole is wide enough for threading. Fold the string in half, then push the folded end through the hole to form a loop. Pull both loose ends through the loop. Hold the ends even, then gently tighten to secure a neat knot.
Step 8: Attach the Tag to Your Gift
Tie the loose ends of the string around a gift bag handle to secure the tag. You can also use ribbon, twine, or thin cord. Tape it on boxes, loop it on bottles, or place it under clear tape for a clean finish.
Final Thoughts
Making a gift tag from greeting cards is a simple craft. Old cards can become something new and useful. Cut shapes, add holes, and write a short message. Each step stays easy and quick. This craft saves money and reduces waste. It also adds a personal touch to gifts. The result feels special for any occasion. It works well for birthdays, holidays, and simple gift giving.
These handmade tags also make gifts feel more personal. A small detail can change the look of a wrapped present. Greeting card designs bring color and style without extra cost. You can keep a few tags ready for future gifts. This small craft fits any skill level and takes little time. It is a simple way to add care to every wrapped gift at home.
Learn more: How to Make a Gift Tag Using Magazines