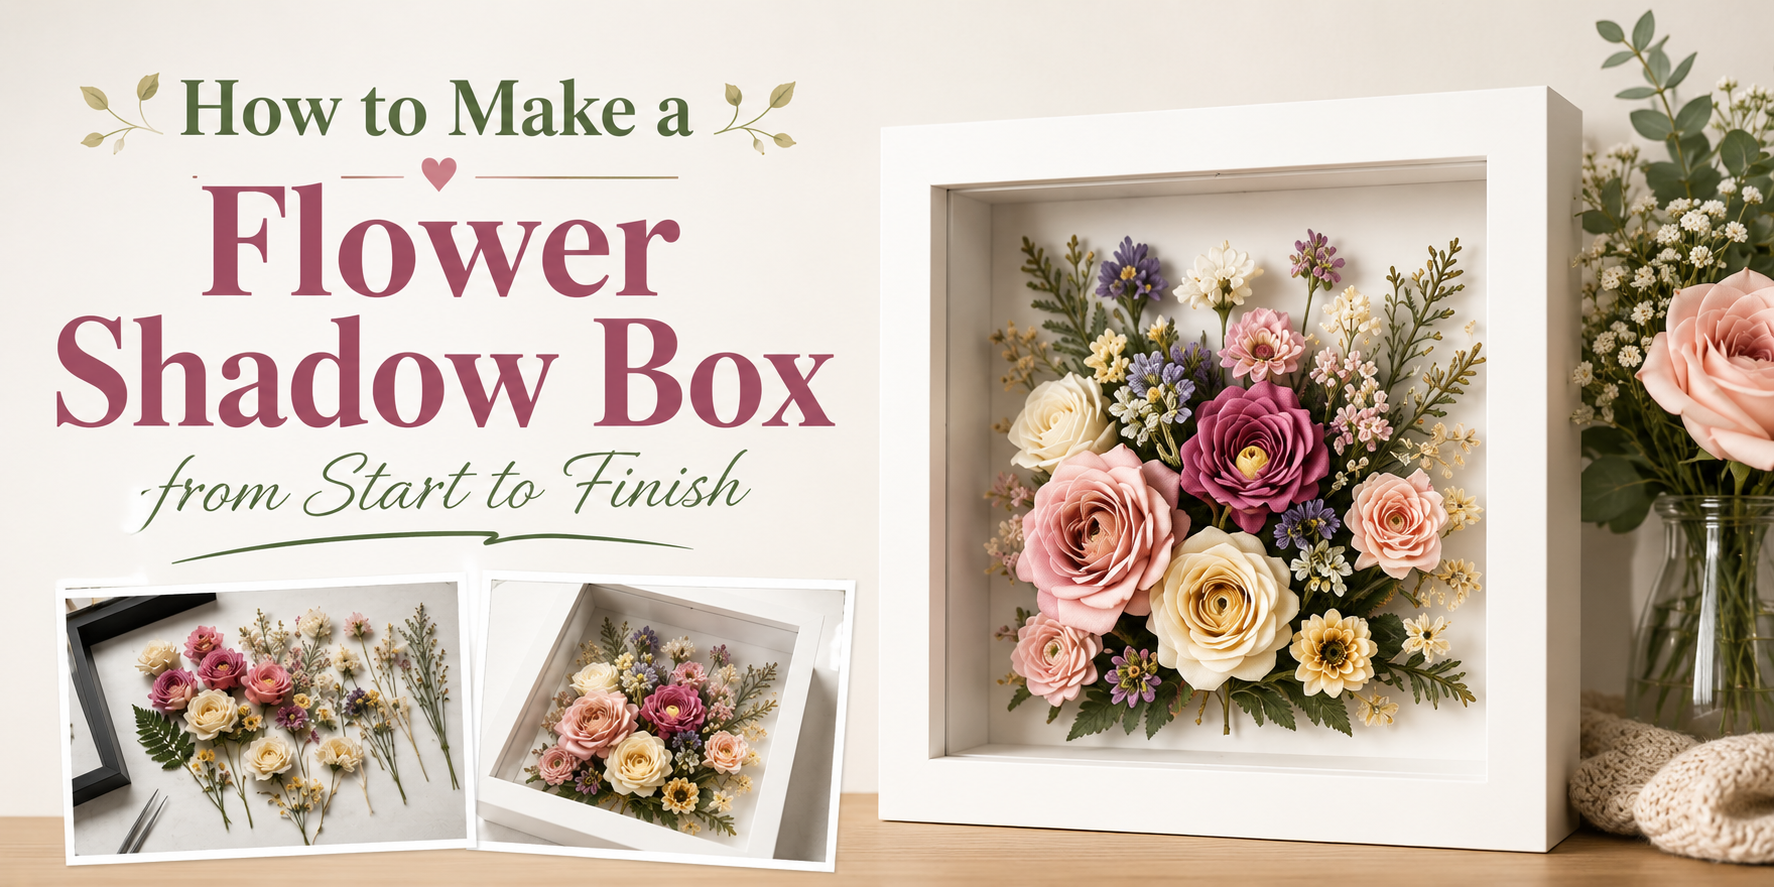
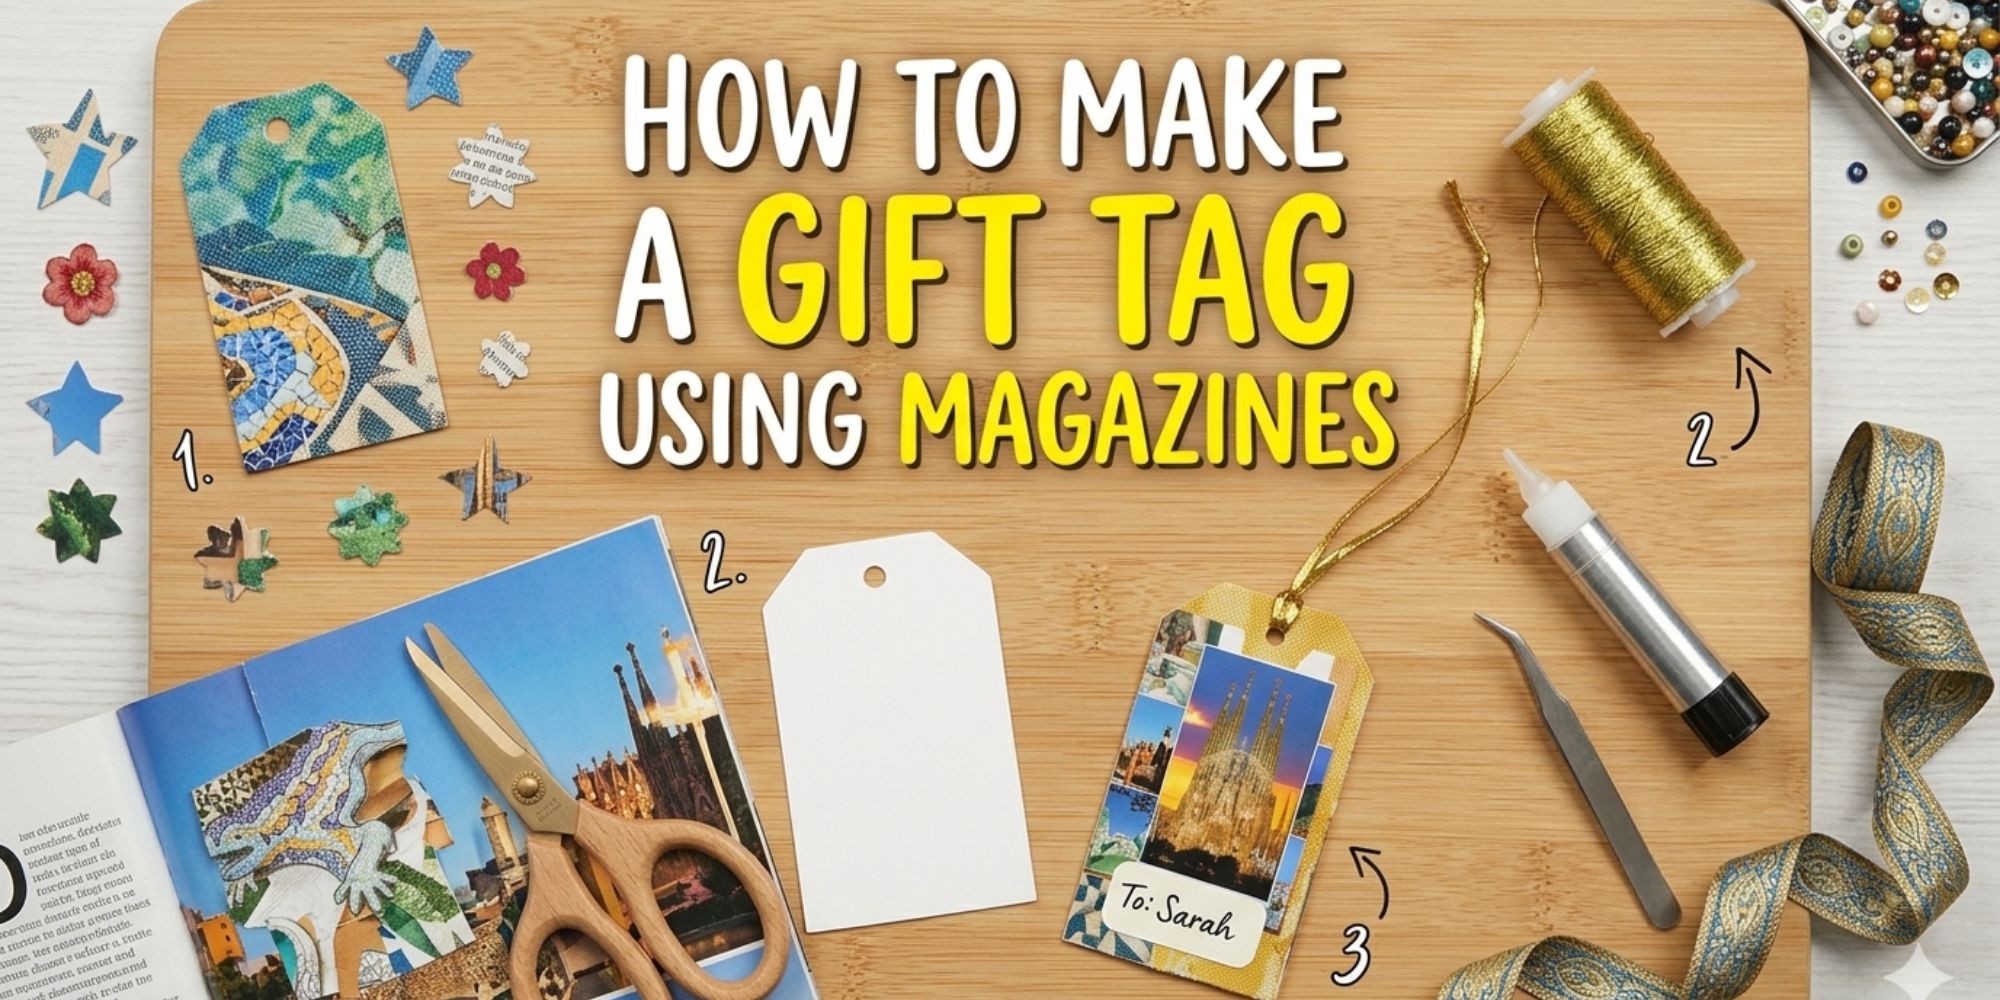
How to Make a Gift Tag Using Magazines
Gift wrapping often feels plain when store-bought tags look the same on every present. Old magazines usually pile up at home with no real use. Many people want something personal but do not know where to start.
This makes gifts feel less special and more forgettable. The unused magazine stacks grow over time and take space. People often feel stuck between throwing them away or keeping them with no purpose. Creative ideas are missed even though materials are already available.
Making gift tags from magazine pages solves both problems. It turns waste into creative designs and adds a personal touch to any gift. With a few simple steps, anyone can create unique tags at home.
Things You’ll Need
To make a gift tag using a magazine, gather a few simple supplies first. You will use basic paper tools and a few fun extras to build your tag step by step.
- Magazines, wrapping paper, or scrapbook paper
- Cardstock
- Glue
- Hole pluncher
- String
- Scissors
- Pencil
- Ruler
- Paint brush
- Embellishments like glitter, wash tape, stickers, and mini pom poms
Step by Step Guide of How to Make a Gift Tag Using Magazine
Making a gift tag using a magazine is a simple way to reuse old pages in a creative way. You can turn colorful prints into something personal for any gift. The steps below will show you how to create your own tag from start to finish.
Step 1: Choose Your Image
Pick a small, high-quality image with no text or writing. The design should be sharp, clear, and not blurry or pixelated. Keep the size small, no bigger than the palm of your hand. It can be a single image or part of a larger design. This step works with different materials you already have at home.
- Printed images on smooth, non-glossy paper work best
- Photographs, scrapbook paper, or wrapping paper also fit this method
- Avoid glossy prints since they can tear or slip while cutting
- Smooth paper helps the blade cut clean edges without dragging. This keeps your final design neat and easy to assemble.
Step 2: Cut Out the Image
Use a pair of scissors to carefully cut out the image. If the image sits inside a box, cut along the full box shape. If it is part of a larger design, cut only around the specific shape you need. Lightly trace the outline with a pencil first. This helps guide your cuts and keeps edges neat and accurate.
Step 3: Glue the Image to Cardstock
Place the cut-out image face down on a sheet of scrap paper. This keeps your work area clean and steady. Apply glue evenly across the full back of the image. Make sure every corner gets coverage so it sticks well later.
- Flip the image over and press it onto a sheet of cardstock. Start from the center and move outward. This helps push out air and keeps the surface flat. Smooth out any bubbles or wrinkles using firm, even pressure. A ruler or old gift card can help press it down clean.
- A glue stick works best for this step. Rubber cement or spray adhesive also works well. If you use liquid glue, apply a thin layer of white or clear-drying glue with a paintbrush. Heavier cardstock between 65–110 lb gives better support and helps prevent bending or wrinkling.
Step 4: Cut Out the Pasted Image
Cut out the image after it is glued onto cardstock. Follow the original outline for irregular shapes like a rolling pin so the design stays natural. A simple square or circle shape can also be cut around the image for a clean look. The cardstock color becomes part of the final gift tag design. Square designs look nice with zigzag scissors for a decorative edge. For layered projects, cut each layer separately, keep pieces in order, and label them to avoid confusion later.
Step 5: Add Your Message
Write your message on the back of the gift tag with care. Start with a simple format like “To… From…” so it stays clear and neat. You can also make it personal by using names such as “Beloved Wife,” “Doting Date,” “Beautiful Daughter,” or “Wonderful Son.” For holidays or special moments, add greetings like “Happy Holidays” or “Happy Birthday.” You may also include a short nickname or initials for a cleaner, more personal touch.
Step 6: Punch a Hole in the Gift Tag
Use a single-hole punch to make a clean hole at the top of the gift tag. A standard office punch works for cardstock. Keep it away from the written message to avoid damage.
Step 7: Cut the String
Cut a piece of string about twice the length of your finger. This string helps hold pieces together, hang decorations, and add support to your craft. You can use twine, ribbon, yarn, or metallic thread based on the look and strength you need for your project.
Step 8: Attach the String to the Tag
Fold the string in half. Push the folded end through the gift tag hole to make a small loop. Pull both loose ends through the loop. Tighten gently to hold the knot in place. Do not pull too hard since thin paper can tear. Even string length keeps the tag straight. Loose knots may come apart during use for a neat finish.
Step 9: Attach the Tag to Your Gift
Tie the two loose ends of the string around the handle of a gift bag to attach the tag. Use a thin ribbon for a cleaner look and a more decorative finish. Self-adhesive labels on the back keep the tag neat and finished. This method works for bags and gift boxes.
Final Thoughts
Making gift tags from magazine pages brings a simple way to reuse old materials. You cut shapes, add small details, and create something personal. Each tag can show different colors and patterns from printed pages. The process stays easy and fun for any craft project.
Leftover paper scraps still hold value for future projects. A small piece can become a new tag or decoration. Personal notes or names make each piece stand out. Using what is already available keeps crafting simple and reduces waste in your creative work.
Learn more: How to Make Custom Gift Tags with Cricut