How to Make SVG Cut Files for Cricut and Silhouette
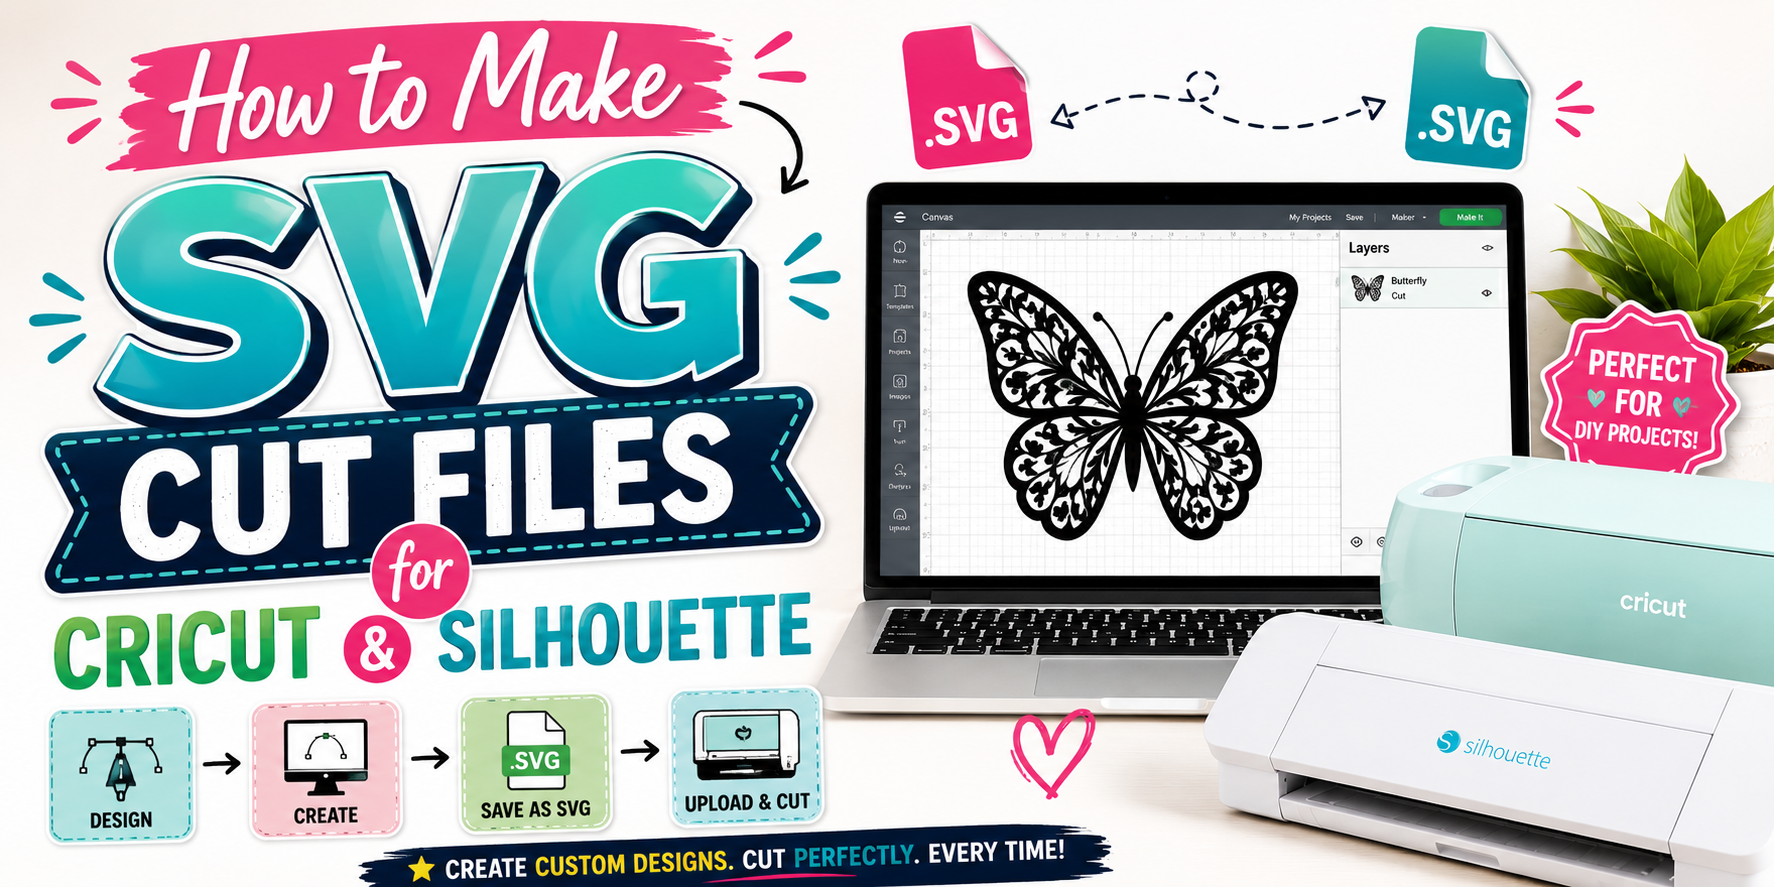
Creating SVG cut files for Cricut and Silhouette projects can help turn creative ideas into ready-to-cut designs. Many crafters want more control over their projects but may not know how to build files that work well with cutting machines. This guide explains the basics of SVG files and the steps needed to make them. You will learn how to create clean designs, prepare layers, save the correct file type, and use your files in Cricut Design Space or Silhouette Studio. The process becomes easier with the right tools and simple techniques. Follow this guide to start making SVG cut files for your next craft project for personal crafts, gifts, and creative home projects.
What Is an SVG Cut File?
An SVG cut file is a digital image file used with cutting machines like Cricut and Silhouette. SVG stands for Scalable Vector Graphics. This file type stores designs as lines and shapes instead of pixels. The main benefit of an SVG file is that it can be resized without losing quality. A small design can become larger for a sign, shirt, sticker, or wall project while keeping clean edges.
SVG cut files are made for crafting projects. A cutting machine reads the file and knows where to cut each shape. This makes it easier to create detailed designs with materials like vinyl, paper, cardstock, and fabric. An SVG file usually contains different layers. Each layer can represent a separate color, shape, or part of the design. This helps crafters cut each piece and put the design together step by step. Many SVG files are ready to use with Cricut Design Space or Silhouette Studio. Crafters can upload the file, adjust the size, choose materials, and send the design to their machine. SVG cut files are useful for many DIY projects. They can be used to make custom decals, greeting cards, home decorations, labels, apparel designs, and many other handmade items.
Why Use SVG Cut Files for Cricut and Silhouette?
SVG cut files make crafting projects easier and more flexible. These files store designs as shapes and lines instead of fixed pixels. This helps cutting machines read the design with better accuracy. Cricut and Silhouette users can create signs, stickers, shirts, decals, and many other projects with SVG files.
Clean and Precise Cuts
SVG files help cutting machines follow clear paths. Each line and shape stays sharp during the cutting process. This gives your project smooth edges and neat details.
Small parts of a design also stay more accurate. This is helpful for projects with letters, patterns, or small decorative pieces. A clean cut gives your finished craft a more polished look.
Easy to Resize Without Losing Quality
SVG files can be made larger or smaller without making the design blurry. The shapes keep their quality because they are not built from pixels.
This feature gives you more options for your projects. A small design for a sticker can become a larger design for a wall sign. The same SVG file can work for different craft sizes.
Compatible with Popular Cutting Machines
SVG files work well with many popular cutting machines, including Cricut and Silhouette models. They are a common file type used for digital cutting projects.
You can upload an SVG file into your cutting software and prepare it for your project. The machine can read the design paths and cut the material based on your settings.
Great for Layered Designs
SVG files are a good choice for layered crafts. Each part of the design can be placed on a separate layer. This makes it easier to work with different colors, materials, and shapes.
Layered designs add depth to many projects. You can create detailed signs, paper crafts, stickers, and apparel designs with multiple pieces.
Simple to Edit and Customize
SVG files are easy to adjust before cutting. You can change colors, remove parts, resize sections, or add new elements based on your project needs.
Customization gives you more control over your designs. A basic SVG file can become a personal creation with a few simple edits. This makes SVG files useful for both beginners and experienced crafters.
Tools and Software You Will Need
Creating SVG cut files requires the right tools to design, edit, and prepare your files. Each tool has a specific role in the process. A simple setup helps you create clean designs that work well with Cricut and Silhouette machines.
Vector Design Software
Vector design software helps you create and edit SVG files. These programs allow you to draw shapes, add text, and adjust design details without losing quality. Popular options include Adobe Illustrator, Inkscape, and CorelDRAW. Choose software that feels easy to use and matches your skill level.
A vector program gives you control over every part of your design. You can create simple shapes or detailed artwork for different craft projects.
A Computer or Laptop
A computer or laptop is needed to run design software and manage your SVG files. A device with enough storage and good performance makes the design process smoother.
You do not need the most expensive computer for basic SVG projects. A reliable device with a clear screen and enough space for your software and files is a good choice.
Cricut Design Space or Silhouette Studio
Cricut Design Space and Silhouette Studio help you prepare SVG files for cutting. These programs allow you to upload your designs, check the size, adjust settings, and send the file to your cutting machine.
After creating your SVG file, you can use these programs to make sure the design looks right before cutting. They also help you choose materials and set cutting options.
Fonts and Design Elements
Fonts and design elements add personality to your SVG files. You can use different fonts for quotes, names, labels, and custom projects. Shapes, icons, and decorative pieces can also help build a complete design.
Choose fonts that are easy for your cutting machine to handle. Simple designs with clear lines often create better cuts.
SVG File Converter (If Needed)
An SVG file converter helps change other file types into SVG format. This tool can be useful if your design starts as a JPG, PNG, or another format.
A converter can save time during the design process. Check the converted file before using it to make sure the lines and shapes are ready for cutting.
How to Make SVG Cut Files for Cricut and Silhouette
Making your own SVG cut files gives you more control over your craft projects. You can create designs that match your ideas, adjust sizes, and prepare files that work well with Cricut and Silhouette machines. The process starts with a simple idea and moves through design, editing, saving, and testing.
A well-made SVG file helps the cutting machine understand each shape and line. Each step plays a role in creating a file that is ready for different materials, such as vinyl, paper, cardstock, or fabric.
Step 1: Choose Your Design Idea
Every SVG file starts with a design plan. Pick the type of project you want to create. It can be a name design, holiday shape, sticker, logo, quote, or decorative element.
Start with a basic sketch or note your main design parts. This helps you decide the size, shape, and number of layers needed for the file.
Simple designs are often easier to cut and edit. If the design has many tiny parts, the cutting process may become harder. Plan the main shapes first, then add extra details only where needed.
Think about the final use of the design. A design for a small sticker may need different details than a large wall sign. The material choice also affects how detailed your SVG should be.
Step 2: Create a Vector Design
SVG files are built with vector shapes. These shapes use paths instead of regular image pixels. This allows the design to stay clear after resizing.
Use vector design software to create your artwork. Draw each shape with clean lines and smooth curves. Keep each part organized so you can edit the file later.
Create separate shapes for different parts of the design. For example, a flower design may have separate layers for petals, leaves, and the center. This makes it easier to change colors or adjust the layout.
Check the size of your design during this step. A design that looks good on your screen should also fit the material you plan to cut.
Step 3: Convert Text to Outlines
Text is a common part of many SVG cut files. Fonts can cause problems if they are not converted before saving the file.
Convert your text into outlines or vector paths. This turns each letter into a shape that the cutting software can read.
After converting the text, check each letter carefully. Some letters may have small gaps or extra points that need editing. Fix these areas before moving forward.
Keep the original text layer saved separately if you want to make changes later. A copy allows you to edit the wording without rebuilding the design.
Step 4: Clean Up the Design
A clean SVG file helps your cutting machine follow the correct paths. Take time to review every part of your design before exporting.
Remove extra shapes, hidden objects, and unused layers. These items may not be visible but can affect how the machine reads the file.
Look closely at small details. Tiny gaps, broken lines, or overlapping shapes can create cutting problems. Adjust the paths so each section connects properly.
Check the overall layout as well. Make sure all design parts are placed correctly and there are no unwanted spaces between shapes.
Step 5: Combine or Separate Layers
Layers help control how your design is cut. They are useful for projects that use different colors, materials, or sections.
Combine shapes that should become one piece. This works well for designs that need a single cut shape.
Keep layers separate for multi-color projects. Each layer can represent a different part of the design. This makes it easier to cut and assemble the final project.
Name your layers clearly before saving. Simple layer names help you find each part quickly inside Cricut Design Space or Silhouette Studio.
Step 6: Set Cut Lines Correctly
Cut lines tell the machine where the blade should move. Each shape needs clear paths for accurate cutting.
Review the outline of every object. Remove extra lines that may create unwanted cuts. Check that the design does not contain duplicate paths.
Pay attention to overlapping shapes. Extra cut lines can make the final project look uneven. Adjust the paths so the machine cuts only the areas you need.
A quick review of the cut lines saves time later. It also helps your materials stay clean after cutting.
Step 7: Save and Export as an SVG File
Once your design is complete, save the file in SVG format. Select settings that keep your vector paths, layers, and design details.
Use a clear file name so you can find it easily later. A good file name may include the design type or project name.
Open the saved SVG file after exporting. Check that the shapes, text, and layers still appear correctly.
A final file check helps catch export issues before the file reaches your cutting software.
Step 8: Upload the SVG to Cricut Design Space or Silhouette Studio
After saving the SVG, upload it to your cutting software. Cricut Design Space and Silhouette Studio allow you to prepare the design before cutting.
Place the SVG on the canvas and check the size. Adjust the width and height based on your project needs.
Review each layer after uploading. Some files may need small changes, such as grouping shapes or changing layer settings.
Use the preview screen to see how the machine will cut the design. This gives you a chance to fix issues before starting the project.
Step 9: Test the Cut Before Starting Your Project
A test cut is a useful step before using your final material. It helps you check if the design and machine settings work well together.
Use a small piece of material for the test. Check the edges, small details, and overall shape after cutting.
If the result is not correct, adjust the SVG file or cutting settings. Small changes can improve the final result.
Testing first helps protect your materials and gives you more confidence before creating the finished craft. A few extra minutes can help you avoid mistakes during the final cut.
Read also: Why Use SVG? Pros and Cons You Should Know
Best Practices for Creating SVG Cut Files
Creating a good SVG cut file takes more than adding shapes to a design. A well-made file helps cutting machines read the design correctly. These tips can help create files that are easier to cut, edit, and use for Cricut and Silhouette projects.
Keep Shapes Simple and Clean
Simple shapes often create better cutting results. Too many extra lines or uneven edges can make the design harder for the machine to follow.
Use clear outlines and smooth edges. Remove extra points or unwanted parts before saving the SVG file. A clean design gives the cutting machine a clear path to follow.
Avoid Tiny Details
Small details can look nice on a screen, but they may not cut well. Very thin lines, tiny spaces, or small pieces can tear or lose their shape during cutting.
Create details that match the size of the final project. Larger designs can handle more details than smaller projects.
Weld Overlapping Objects
Overlapping shapes may cause problems during cutting. Separate pieces can create extra cut lines or unwanted gaps.
Use the weld feature to join shapes that should become one piece. This creates a single shape and helps the machine cut the design as planned.
Use Proper Layer Organization
Layers help keep an SVG file easy to manage. Each layer should have a clear purpose, such as text, background shapes, or design pieces.
Name layers clearly and place related items together. A good layer setup makes editing faster and helps with layered craft projects.
Check for Open Paths
Open paths can cause issues during cutting. A shape with a missing connection may not cut as a complete design.
Review all lines and shapes before exporting the file. Close any open paths so the cutting machine can read the design properly.
Test Different Material Sizes
A design may look different on various material sizes. A small cut may need fewer details than a large wall sign or banner.
Test the SVG file with different sizes before making the final project. This helps find any areas that need changes and improves the final result.
Common Mistakes to Avoid
Creating SVG cut files for Cricut and Silhouette takes some practice. Small errors in a design can affect the cutting result. Knowing common mistakes helps you create cleaner files and smoother projects.
Using Low-Quality Images
Low-quality images often create rough edges and unclear shapes. Cutting machines work best with clean designs that have clear lines. A blurry image may need extra editing before it becomes a usable SVG file.
Choose images with good resolution and simple shapes. Clean designs help the machine follow the cut lines with better accuracy.
Forgetting to Convert Text to Paths
Text can cause problems if it is not converted into paths before saving the SVG file. Different programs may not read fonts the same way. This can change the look of your design.
Converting text to paths keeps the letters in the correct shape. Your design will stay the same after it is uploaded to your cutting software.
Leaving Duplicate Cut Lines
Duplicate cut lines can make the machine cut the same area more than once. This may waste material and create messy edges.
Check your design before exporting the file. Remove extra lines and make sure each shape only has the cuts you need.
Creating Designs That Are Too Detailed
Very detailed designs may be hard for cutting machines to handle. Small pieces can tear or lose their shape during the cutting process.
Simple designs often give better results. Keep small details balanced with the size of your project. This helps create a clean final piece.
Exporting with Incorrect Settings
Incorrect export settings can change how your SVG file works. The file may open with missing parts, wrong sizes, or unwanted changes.
Check the file type, size, and other settings before saving. Proper settings help your SVG work smoothly in Cricut Design Space, Silhouette Studio, or other cutting programs.
Skipping a Test Cut
A test cut helps you find problems before using your final material. Skipping this step can lead to wasted vinyl, paper, or other supplies.
Make a small test cut with your design. It gives you a chance to check the size, lines, and details before starting the full project.
Creative Project Ideas Using SVG Cut Files
SVG cut files give you many ways to create handmade projects. They work well with Cricut and Silhouette machines because you can cut designs from different materials. A simple SVG file can become a useful item, a gift, or a decoration with a few creative changes.
Vinyl Decals
Vinyl decals are one of the easiest projects to make with SVG cut files. You can create custom designs for laptops, water bottles, phone cases, car windows, and storage boxes. Choose a simple shape, add text, or create a fun pattern that matches your style.
Custom T-Shirts
SVG files make it easy to create custom shirts for events, hobbies, and everyday wear. You can cut heat transfer vinyl and press the design onto fabric. Names, quotes, logos, and seasonal graphics are popular choices for shirt designs.
Greeting Cards
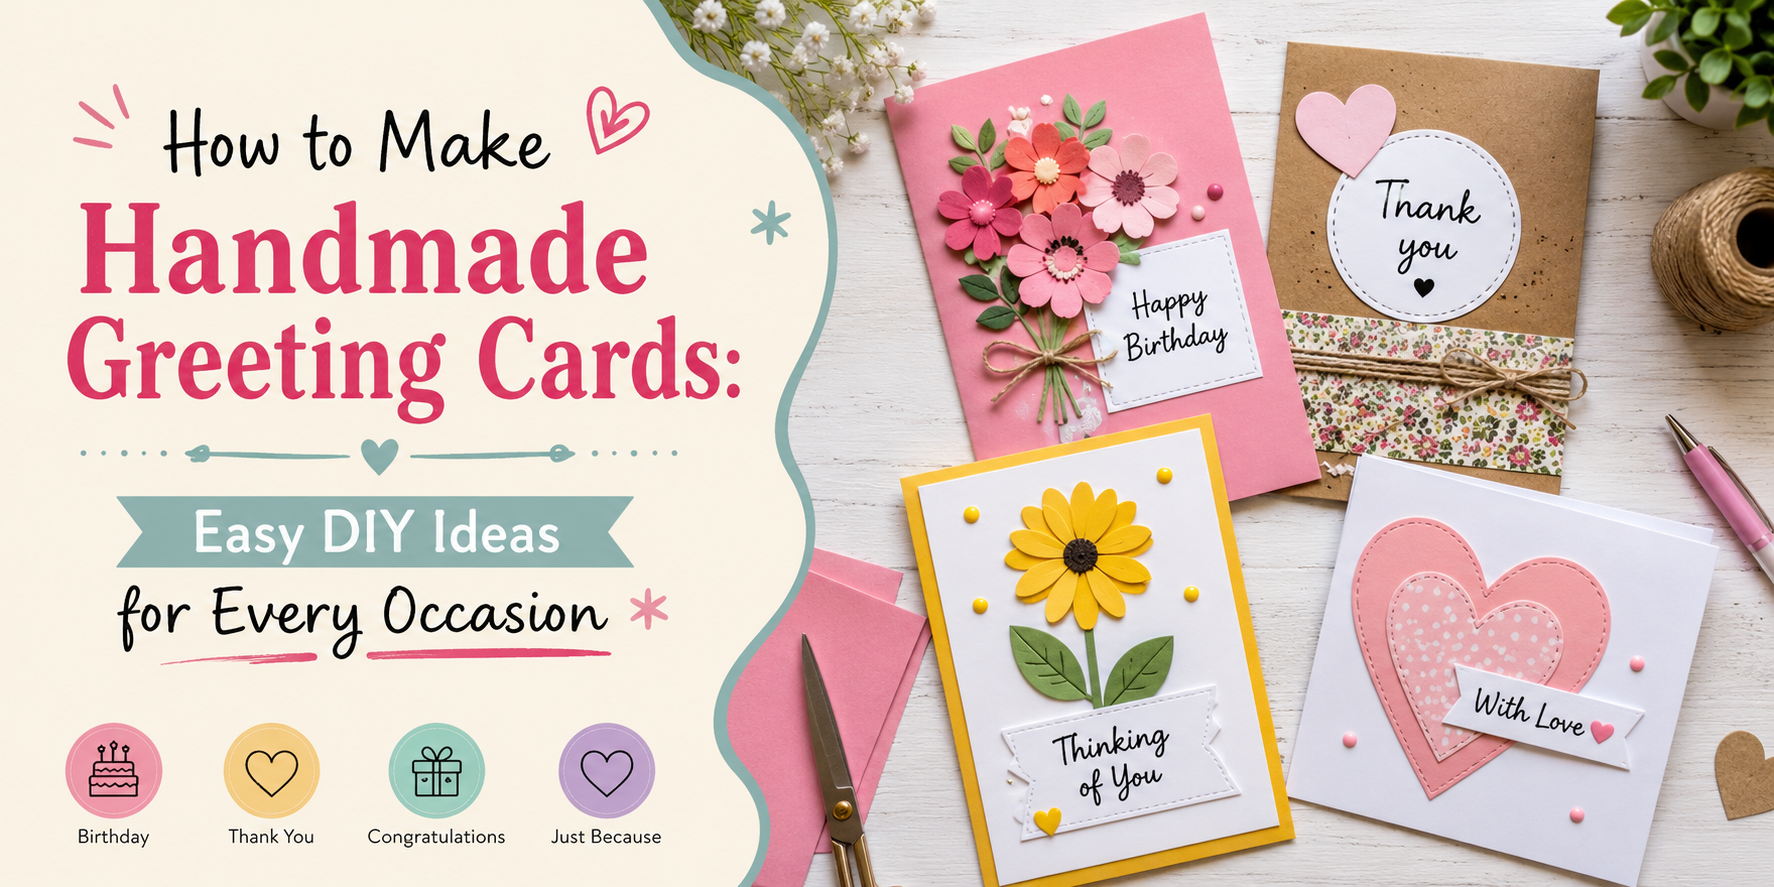
Handmade greeting cards become more personal with SVG cut files. You can cut detailed shapes, layered designs, and decorative elements from cardstock. Create cards for birthdays, holidays, thank-you notes, or special moments.
Paper Flowers
Paper flowers are a beautiful craft project using layered SVG designs. The cutting machine helps create smooth petals and matching shapes. You can use these flowers for wall decorations, gift wrapping, party displays, or table decor.
Wooden Signs
SVG cut files help create clean designs for wooden signs. You can use the file as a stencil or guide for painting and engraving. Add names, quotes, or seasonal designs to make signs for different rooms in your home.
Stickers
Custom stickers are simple to make with SVG designs. Create fun shapes, labels, planner stickers, or decorative stickers for personal items. Use printable materials and a cutting machine to create neat sticker edges.
Gift Tags
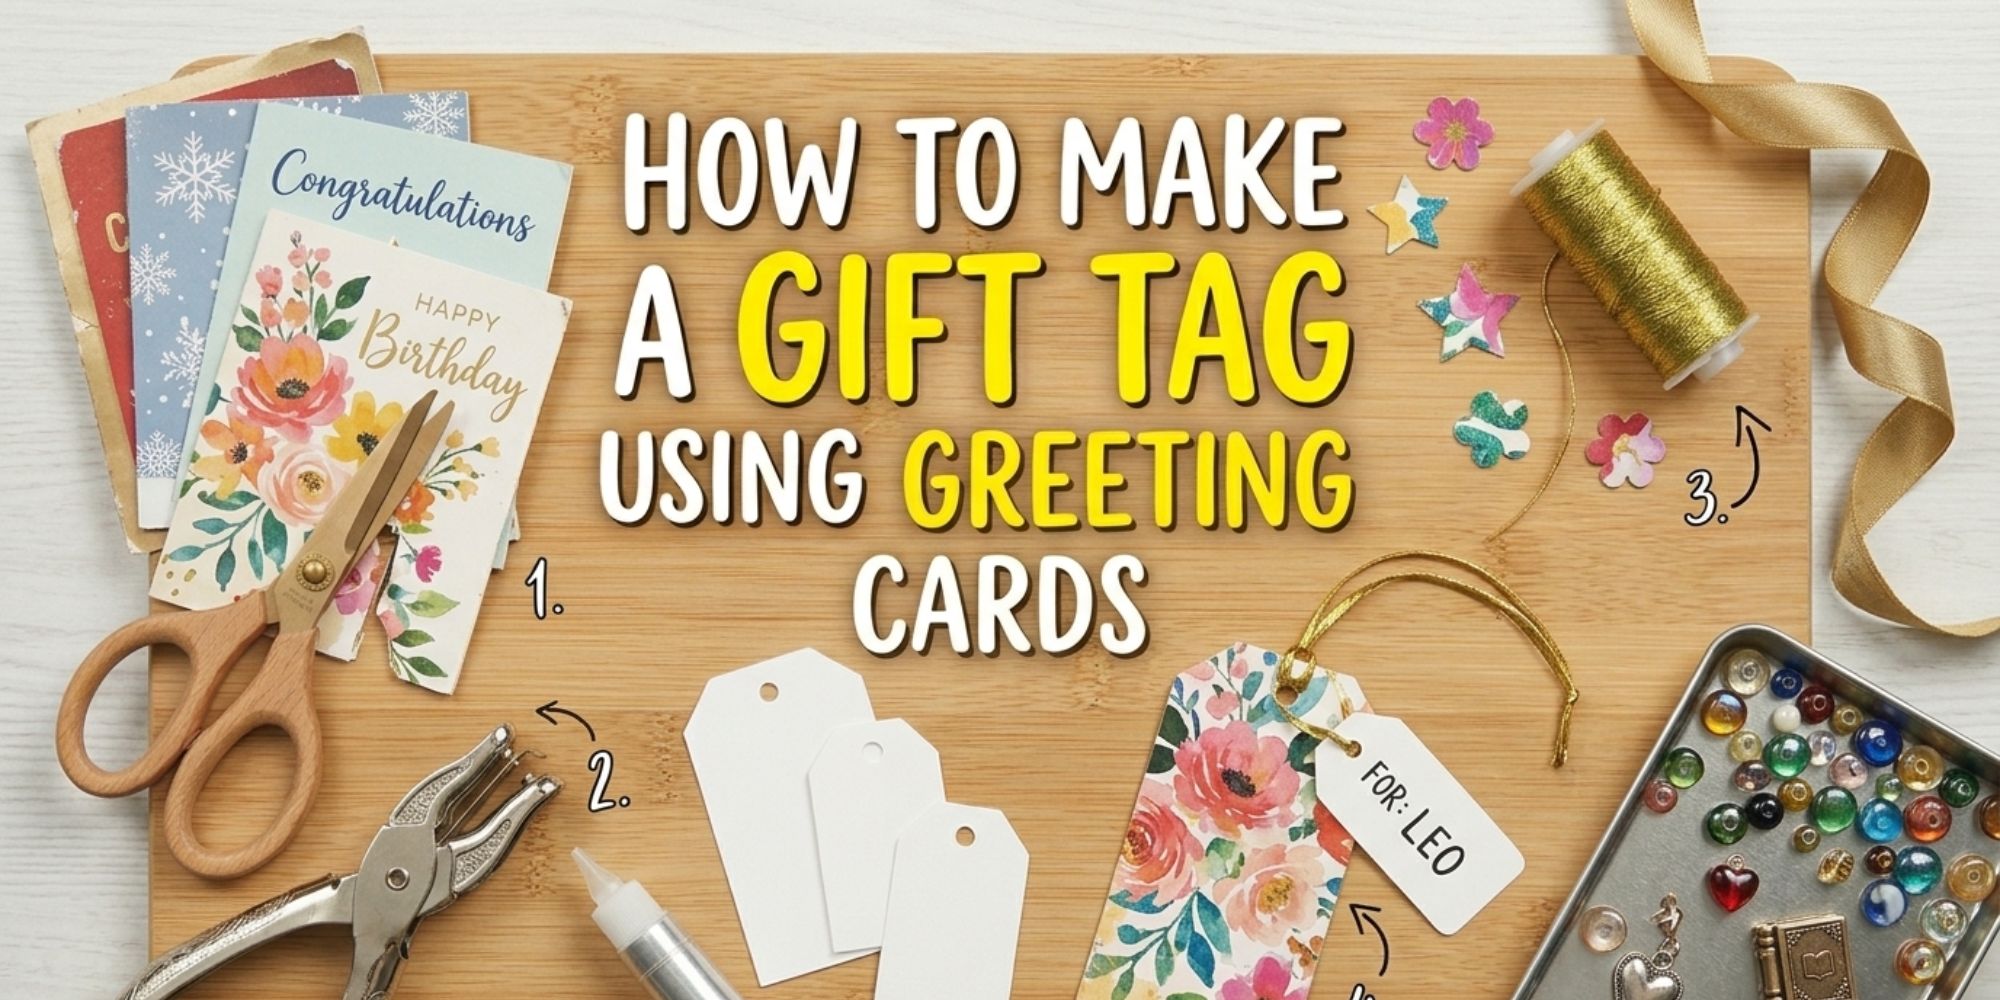
SVG cut files can help you make unique gift tags for any occasion. Cut tags from cardstock and add names, patterns, or small designs. Handmade tags add a personal detail to gifts for birthdays, weddings, holidays, and other events.
Home Decor
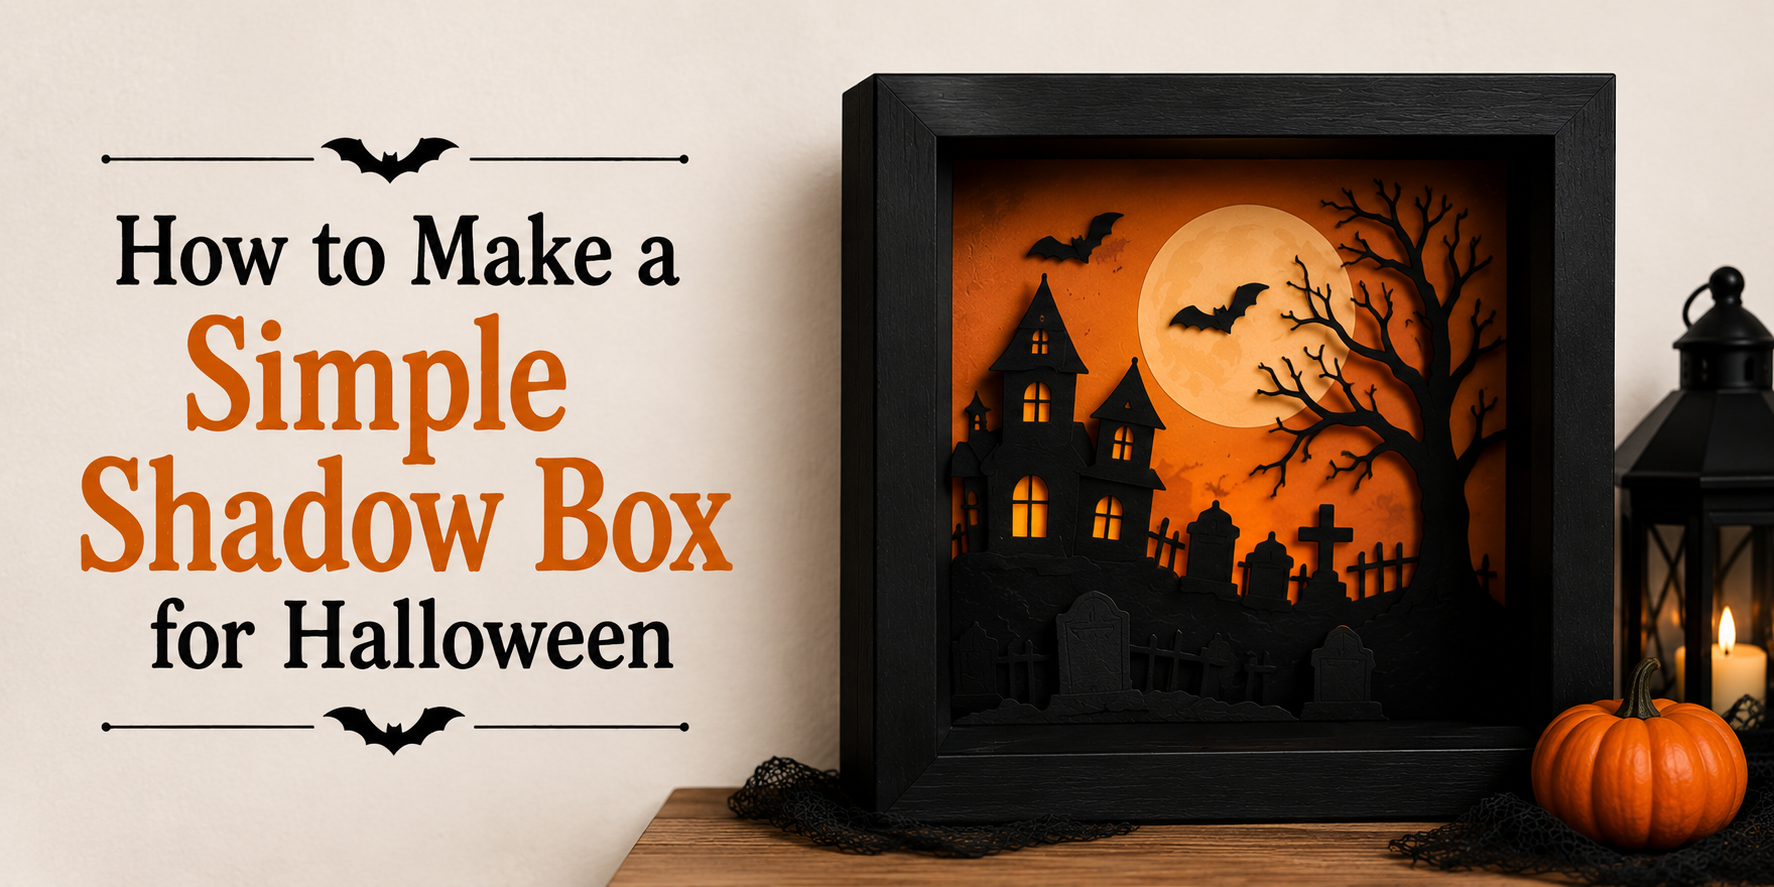
SVG cut files can turn simple materials into home decorations. Create wall art, framed designs, seasonal decorations, or personalized pieces for your space. Layered SVG designs add depth and make each project feel special.
Tips for Organizing Your SVG File Library
A well-organized SVG file library makes crafting projects easier. It helps you find the right design without wasting time searching through many folders. A simple system keeps your files neat and ready for your next Cricut or Silhouette project.
Create Folders by Project Type
Start by sorting SVG files into folders based on the type of project. You can create folders for shirts, stickers, cards, signs, home decor, and holiday crafts. This makes it easier to locate designs for a specific project.
Use Clear File Names
Give each SVG file a name that explains the design. Avoid names like “design1” or “newfile.” Use names that include details, such as “floral-mug-design” or “birthday-card-svg.” Clear names help you find files faster.
Organize Files by Theme or Season
Group designs by themes such as birthdays, weddings, holidays, animals, or quotes. Seasonal folders for Halloween, Christmas, or summer crafts can also keep your collection easy to manage.
Keep Different Versions Separate
Save edited versions in separate folders. This helps you keep the original SVG file safe. You can test new changes without losing the first design.
Remove Files You No Longer Need
Review your SVG library from time to time. Delete duplicate files or designs you no longer use. A clean folder system makes your collection easier to handle.
Add Preview Images
Small preview images help you recognize designs quickly. This is useful for large SVG collections with many similar files. A quick visual check can save time before starting a new craft project.
Back Up Your SVG Files
Save a copy of your SVG library on an external drive or cloud storage. A backup protects your designs from accidental loss. It also keeps your files available across different devices.
Final Notes
Creating SVG cut files for Cricut and Silhouette becomes easier with practice and the right steps. A well-prepared SVG file helps your cutting machine read designs correctly and create clean cuts for different craft projects.
Start with a simple design idea. Build your file with clear shapes, organized layers, and proper cut lines. Small details like converting text to paths, checking open paths, and testing your cut can make a big difference in the final result.
SVG files give you the freedom to create many types of projects. From vinyl decals and custom shirts to greeting cards, stickers, and home decor, these files can help bring your craft ideas to life.
Keep your SVG library organized so you can find your designs easily. Clear file names, folders, previews, and backups help you manage your collection over time.
With basic design skills and careful file preparation, you can create SVG cut files that work well with Cricut and Silhouette machines. Keep learning, testing, and creating new designs for your future craft projects.
FAQs
What is an SVG cut file used for?
An SVG cut file is used with cutting machines like Cricut and Silhouette. It tells the machine where to cut shapes and lines for projects like decals, shirts, stickers, cards, and home decor items.
Can I make my own SVG files for Cricut and Silhouette?
Yes, you can create your own SVG files using vector design software. You can draw shapes, add text, organize layers, and save the design as an SVG file for your cutting machine.
What software can I use to create SVG cut files?
You can use vector design programs like Adobe Illustrator, Inkscape, or CorelDRAW to create SVG files. These tools help you build designs with clear shapes and paths.
Why does my SVG file not cut correctly?
An SVG file may not cut correctly because of issues like duplicate cut lines, open paths, tiny details, or incorrect export settings. Review the design and fix these areas before cutting.
Do SVG files work with both Cricut and Silhouette?
Yes, SVG files can be used with both Cricut and Silhouette machines. You can upload the file into Cricut Design Space or Silhouette Studio and prepare it for your project.
Can SVG files be resized?
Yes, SVG files can be resized without losing quality. The design stays clear because it uses vector shapes instead of pixels.
Do I need to convert text before saving an SVG file?
Yes, converting text to paths helps keep the font shape the same after uploading the file. It prevents font changes or missing text issues in cutting software.
How can I make my SVG files easier to cut?
Keep designs simple, remove extra lines, organize layers, and avoid very small details. A clean design helps the cutting machine follow the correct paths.
Should I test my SVG file before starting a project?
Yes, a test cut helps you check the design size, cut lines, and machine settings. It can help prevent wasted materials and unwanted results.