How to Install Wall Letters: A Step-by-Step Guide
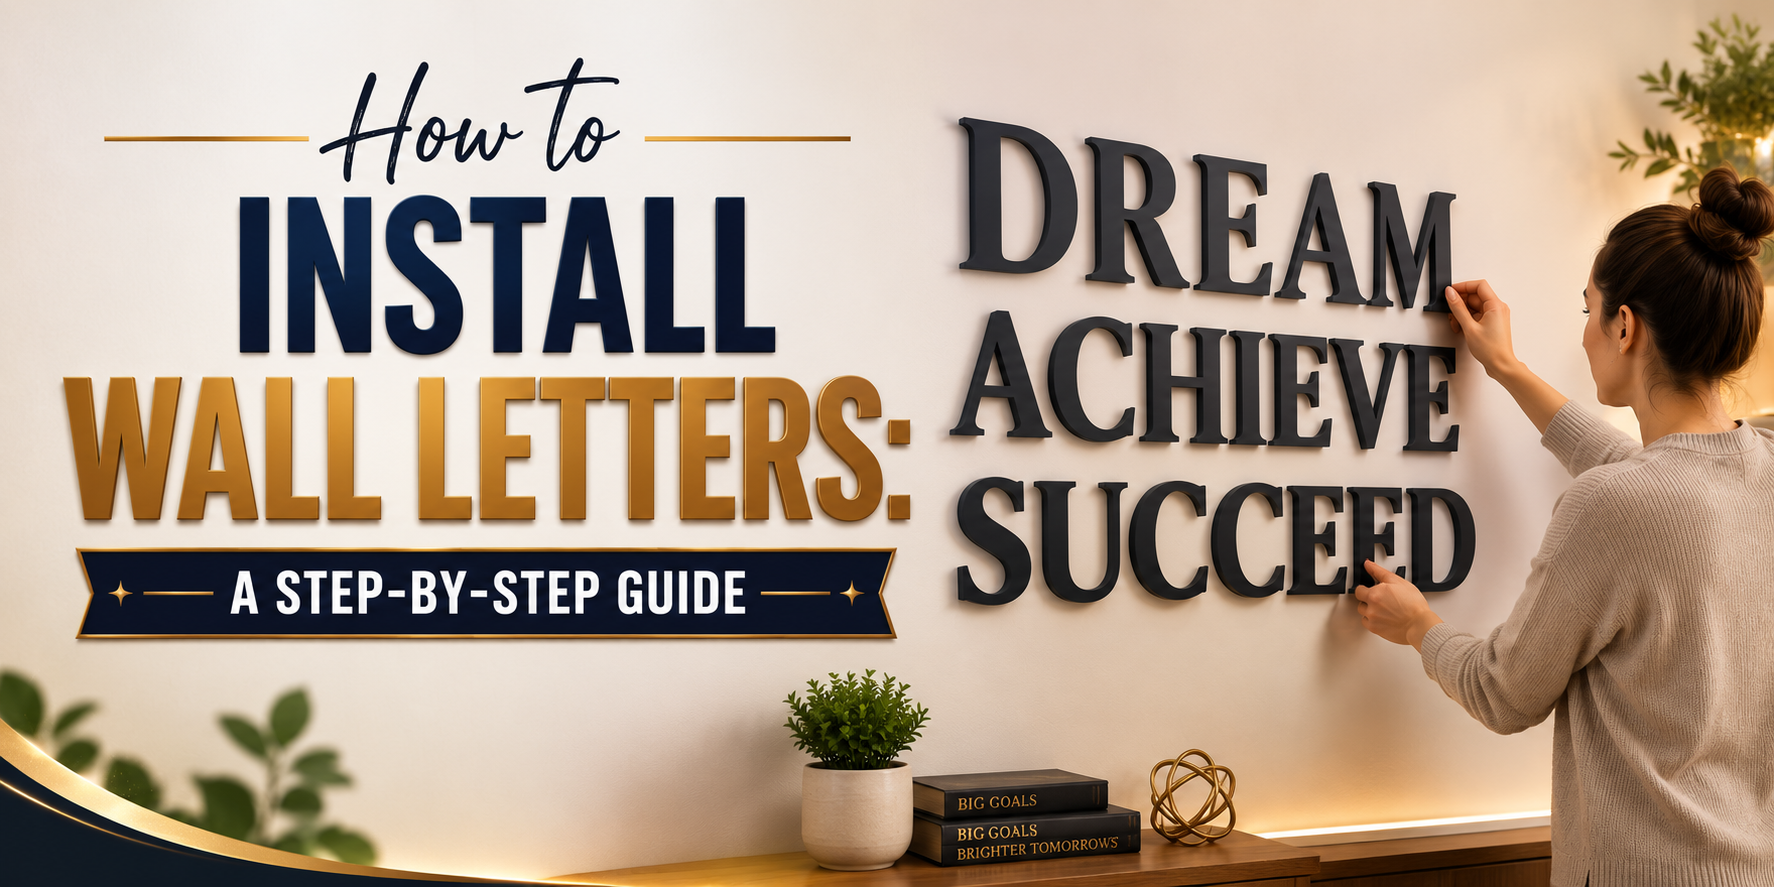
Wall letters can add a personal touch to homes, offices, shops, and event spaces. They help display names, messages, or designs on empty walls. A neat installation gives your space a clean and finished look.
Many people worry about uneven spacing, poor placement, or letters that do not stay in place. The right steps can help you avoid these common issues and create a balanced wall display.
With the proper tools and a simple plan, installing wall letters becomes easier. You can follow each step to prepare the surface, place the letters, and check the final alignment.
This guide explains how to install wall letters step by step. Keep reading to learn the process, tools, and tips for a smooth project.
What Are Wall Letters?
Wall letters are decorative letters or words that are placed on walls to add style and meaning to a space. They can show a name, quote, business sign, family message, or any text you want to display. These letters come in many materials, such as wood, acrylic, metal, and foam. Each material gives a different look. Some designs have a clean and modern style, while others create a warm and handmade feel.
Wall letters are used in homes, offices, shops, event spaces, and many other places. They can be placed above a desk, on a bedroom wall, near an entryway, or as part of a display area. The size, color, font, and material all affect the final look. With the right design, wall letters can turn an empty wall into a meaningful feature. They also give you a simple way to add a personal touch to any room.
Types of Wall Letters
Wall letters come in different materials, sizes, and styles. Each type has its own look and purpose. The right choice depends on the space, design style, and how you want the letters to appear on the wall. Here are some popular types of wall letters to help you choose the best option for your project.
Wooden Wall Letters
Wooden wall letters bring a warm and natural look to any space. They work well in homes, offices, nurseries, and event areas. Wood letters are available in many finishes, such as painted colors, stained wood, or natural grain styles. These letters are strong and easy to customize. You can choose different fonts, sizes, and shapes to match your design. Wooden letters are also simple to install with adhesive strips, glue, or mounting hardware.
Acrylic Wall Letters
Acrylic wall letters have a clean and modern appearance. They come with a smooth surface and many color options. Clear, glossy, and matte finishes help create different styles for your wall design. These letters are lightweight, which makes them easy to place on different wall surfaces. Acrylic letters are often used for business signs, room names, logos, and home decorations. They create a neat look without making the wall feel crowded.
Metal Wall Letters
Metal wall letters offer a strong and stylish appearance. Materials like aluminum, stainless steel, and brass are common choices. These letters can have finishes such as brushed, polished, or painted surfaces. Metal letters are a good fit for offices, stores, and outdoor spaces. They can handle regular use and provide a long-lasting display. Proper mounting helps keep them secure on the wall.
PVC Wall Letters
PVC wall letters are a budget-friendly option for many projects. They are made from lightweight plastic material and can be cut into many shapes and sizes. These letters are easy to paint, making them simple to match with different color themes. PVC letters work well for signs, classrooms, events, and indoor decorations. Their light weight makes installation quick with basic tools and mounting supplies.
Foam Wall Letters
Foam wall letters are soft, lightweight, and easy to handle. They are often used for temporary displays, parties, photo areas, and creative room designs. Foam letters can be painted or covered with different finishes for a custom look. Since foam is light, these letters can be placed on walls without heavy support. They are a good option for renters or anyone who wants a simple wall update.
Illuminated Wall Letters
Illuminated wall letters include built-in lighting to make the letters stand out. They are commonly used for business signs, storefronts, and special event displays. LED lights are often used because they use less power and last longer. These letters add brightness and visibility to a space. Installation may require extra steps for wiring and power connections. Proper planning helps create a clean and safe setup.
Tools and Materials You Will Need
Installing wall letters becomes easier with the right tools nearby. Each item helps you place the letters correctly and keep the final design neat. Gather these supplies before starting the installation process.
Measuring Tape
A measuring tape helps you find the right spot for your wall letters. Use it to check the space between letters, the height from the floor, and the distance from nearby objects. Accurate measurements help create a balanced look.
Level
A level helps keep your wall letters straight. It shows if the letters are placed evenly instead of leaning to one side. This tool is useful for creating a clean and professional display.
Pencil or Painter's Tape
A pencil or painter's tape helps mark the wall before installation. Use light pencil marks to show placement points. Painter's tape works well for creating guides without leaving marks on the surface.
Mounting Template
A mounting template shows the exact position of each letter. It helps you place the letters with the correct spacing. Templates are helpful for designs with multiple letters or words.
Adhesive or Mounting Hardware
The right mounting method keeps your wall letters secure. Adhesive works well for lightweight letters and smooth surfaces. Screws, brackets, or other hardware may work better for larger or heavier letters.
Drill and Screws (If Needed)
A drill and screws help attach wall letters that need stronger support. These tools are useful for heavier materials or surfaces that need extra hold. Check the letter design to know if drilling is needed.
Cleaning Cloth
A cleaning cloth helps prepare the wall before installation. Dust and dirt can affect how well letters stick or stay in place. Wipe the area first to create a clean surface for mounting.
How to Install Wall Letters Step by Step
Installing wall letters is a simple way to add a personal touch to a room, office, or business space. A careful setup helps the letters stay straight and secure. Follow these steps to create a neat and balanced display.
Step 1: Choose the Best Installation Location
Start by picking the right spot for your wall letters. Look for a flat area with enough space around the design. Check the wall from different angles to make sure the letters will be easy to see. Think about the room layout, furniture placement, and viewing height. A good location helps the letters become a natural part of the space.
Step 2: Clean and Prepare the Wall Surface
A clean wall gives the letters a stronger hold. Remove dust, dirt, or marks from the surface with a soft cloth. Let the area dry before placing the letters. Check the wall for bumps or loose paint. A smooth surface helps create a cleaner finish.
Step 3: Measure and Mark the Layout
Measure the wall area before attaching the letters. Mark the center point and decide the spacing between each letter. Use a level to keep the layout straight. Light pencil marks help guide the placement without leaving visible marks after installation.
Step 4: Use a Mounting Template
A mounting template makes letter placement easier. It shows where each letter should go before you attach anything to the wall. Place the template on the wall and adjust it until the design looks balanced. Secure the template with painter’s tape so it stays in place during setup.
Step 5: Apply Adhesive or Install Mounting Hardware
Choose the right method based on the type of wall letters you have. Some letters use adhesive strips or glue, while others need screws, pins, or brackets. Follow the product instructions for the best results. Use enough support to keep each letter firmly attached.
Step 6: Attach the Wall Letters
Place each letter carefully on the marked area. Press gently to help the adhesive hold or secure the hardware properly. Work one letter at a time. This helps you keep the spacing even and prevents mistakes during installation.
Step 7: Check Alignment and Make Final Adjustments
After all letters are attached, step back and check the full design. Look for uneven spacing, tilted letters, or areas that need small changes. Make any final adjustments to create a clean and balanced look. A quick review at the end helps your wall letters appear polished and well placed.
Installation Tips for Different Wall Surfaces
Wall letters can be installed on many types of walls. Each surface needs a slightly different approach. A smooth wall often needs less preparation. A textured or uneven wall may need extra care.
Painted Walls:
Clean the area before placing the letters. Make sure the paint is fully dry and in good condition. Use adhesive strips, mounting tape, or other options that work well with painted surfaces.
Wood Walls:
Wood surfaces can hold wall letters well. Check if the wood is smooth or rough. A rough surface may need light sanding before installation. Screws, nails, or strong adhesive can work based on the letter style.
Brick or Stone Walls:
Brick and stone have uneven textures. Strong mounting methods help keep letters in place. Check the gaps and bumps on the wall before choosing the right hardware.
Glass or Tile Walls:
Clean these surfaces with a suitable cleaner. Remove dust, oil, and marks before mounting. Adhesive options made for smooth surfaces often work better here.
Wallpapered Walls:
Take extra care with wallpaper. Some adhesives may damage the paper layer. Test a small area first before installing all the letters. A little preparation helps the letters stay secure and look neat. The wall type plays a big role in the final result.
Common Wall Letter Installation Mistakes
Installing wall letters looks simple, but small mistakes can affect the final look. Careful planning helps create a clean and balanced display.
Skipping Measurements
Many people place letters without measuring the space first. This can lead to uneven spacing or a layout that does not fit the area. Measure the wall, mark the letter positions, and check the spacing before attaching anything.
Installing on a Dirty Surface
Dust, grease, and dirt can reduce the grip of adhesives. A dirty wall may cause letters to fall over time. Clean the area and let it dry before starting the installation.
Using the Wrong Adhesive
Not every adhesive works for every wall or letter material. A weak adhesive may not hold the weight. A strong adhesive may damage some surfaces. Pick an option that matches both the wall type and the letter material.
Ignoring Wall Material
Each wall has its own texture and strength. A method that works on a painted wall may not work on brick or tile. Check the wall material before choosing tools and mounting supplies.
Not Checking Letter Alignment
Letters that sit at different heights can make the design look uneven. Use a level or guide marks to keep each letter straight. Step back from the wall during installation to check the overall look.
Rushing the Installation Process
Moving too quickly can cause mistakes with placement, spacing, or attachment. Take time to mark the layout and secure each letter properly. A careful approach helps create a clean finish.
Tips to Make Wall Letters Look Professional
Wall letters can create a clean and stylish look in any room. Small details during installation can make a big difference in the final result. These tips help you place your letters neatly and create a balanced design.
Keep Even Spacing
Spacing between each letter affects the overall look of your design. Uneven gaps can make the letters look messy. Measure the space between each letter before attaching them to the wall. Use a ruler or measuring tape to keep the gaps the same. Mark each letter position with a pencil. This simple step helps create a neat and polished display.
Center the Design Properly
A centered design creates a balanced appearance. Start by finding the middle point of the wall. Mark the center area before placing your letters. Arrange the letters on the floor first to check the width of the full design. This helps you find the best position before making any holes or using adhesive.
Use a Level Throughout Installation
A level helps keep your wall letters straight. Even a small angle can make the design look uneven. Place the level across the letters as you install each piece. Check the position after adding each letter. This keeps the entire design aligned from start to finish.
Choose the Right Mounting Method
The right mounting method depends on the letter material, size, and wall type. Small lightweight letters may work well with adhesive strips. Larger letters may need screws, anchors, or other hardware. Check the weight of your letters before installation. A secure mounting method helps keep the letters in place for a long time.
Test the Layout Before Installation
Planning the layout before attaching the letters saves time and prevents mistakes. Place paper templates or the actual letters on the wall first. Step back and check the design from different angles. Adjust the position until the layout looks balanced with the room.
Match Letter Size to the Wall Space
The size of your wall letters should fit the available space. Large letters can stand out on a wide wall, while smaller letters work better in smaller areas. Measure the wall before choosing your letter size. Leave enough empty space around the letters so the design does not feel crowded. A proper size creates a clean and comfortable look.
How to Care for Installed Wall Letters
Wall letters can stay clean and attractive with regular care. Simple maintenance helps protect the material and keeps the letters looking neat on your wall. Start by removing dust with a soft, dry cloth. Gently wipe the surface of each letter to avoid scratches. A microfiber cloth works well for most materials. For deeper cleaning, use a damp cloth with mild soap and water. Avoid harsh cleaners because they may damage the finish. Dry the letters with a clean cloth after wiping.
Pay attention to the edges and corners of the letters. Dust can collect in small spaces, so clean these areas carefully. A soft brush can help remove dirt from detailed designs. Keep wall letters away from moisture if they are made from materials that do not handle water well. Check the mounting area from time to time to make sure the letters stay firmly attached. With regular cleaning and gentle handling, installed wall letters can keep their shape, color, and style for years.
Final Verdict
Installing wall letters is a simple project that can change the look of any space. The key is to plan the layout, prepare the wall, and use the right mounting method. Careful measurements and proper placement help create a clean and balanced display.
Take your time during each step. Small details like spacing, alignment, and surface preparation can make a big difference. Regular cleaning also helps keep your wall letters looking fresh and secure.
With the right tools and a clear process, you can install wall letters with confidence. A well-placed design adds personality to your home, office, shop, or event space while making the wall more attractive.
FAQs
How do I prepare a wall before installing wall letters?
Clean the wall surface with a soft cloth to remove dust, dirt, and marks. A clean and dry surface helps adhesives work better and keeps the letters secure.
Can I install wall letters without drilling holes?
Yes, many lightweight wall letters can be installed with adhesive strips, glue, or mounting tape. The best method depends on the letter material, size, and wall surface.
How do I keep wall letters straight during installation?
Use a level and mark the placement area before attaching the letters. A mounting template can also help keep spacing and alignment even.
What is the best adhesive for wall letters?
The right adhesive depends on the letter type and wall material. Lightweight letters often work well with adhesive strips, while heavier letters may need stronger support.
Can wall letters be installed on textured walls?
Yes, but textured walls may need extra care. Choose a mounting method that works with the surface texture and provides enough support.
How do I clean installed wall letters?
Use a soft cloth to remove dust from the letters. For deeper cleaning, use a damp cloth with mild soap and water, then dry the surface with a clean cloth.
How far apart should wall letters be spaced?
The spacing depends on the letter size and design style. Measure the gaps before installation to create an even and balanced look.
Can I move wall letters after installing them?
Some wall letters can be removed and repositioned, especially those attached with removable adhesives. Other mounting methods may leave marks or require more care during removal.