How to Create an SVG in Canva for Beginners
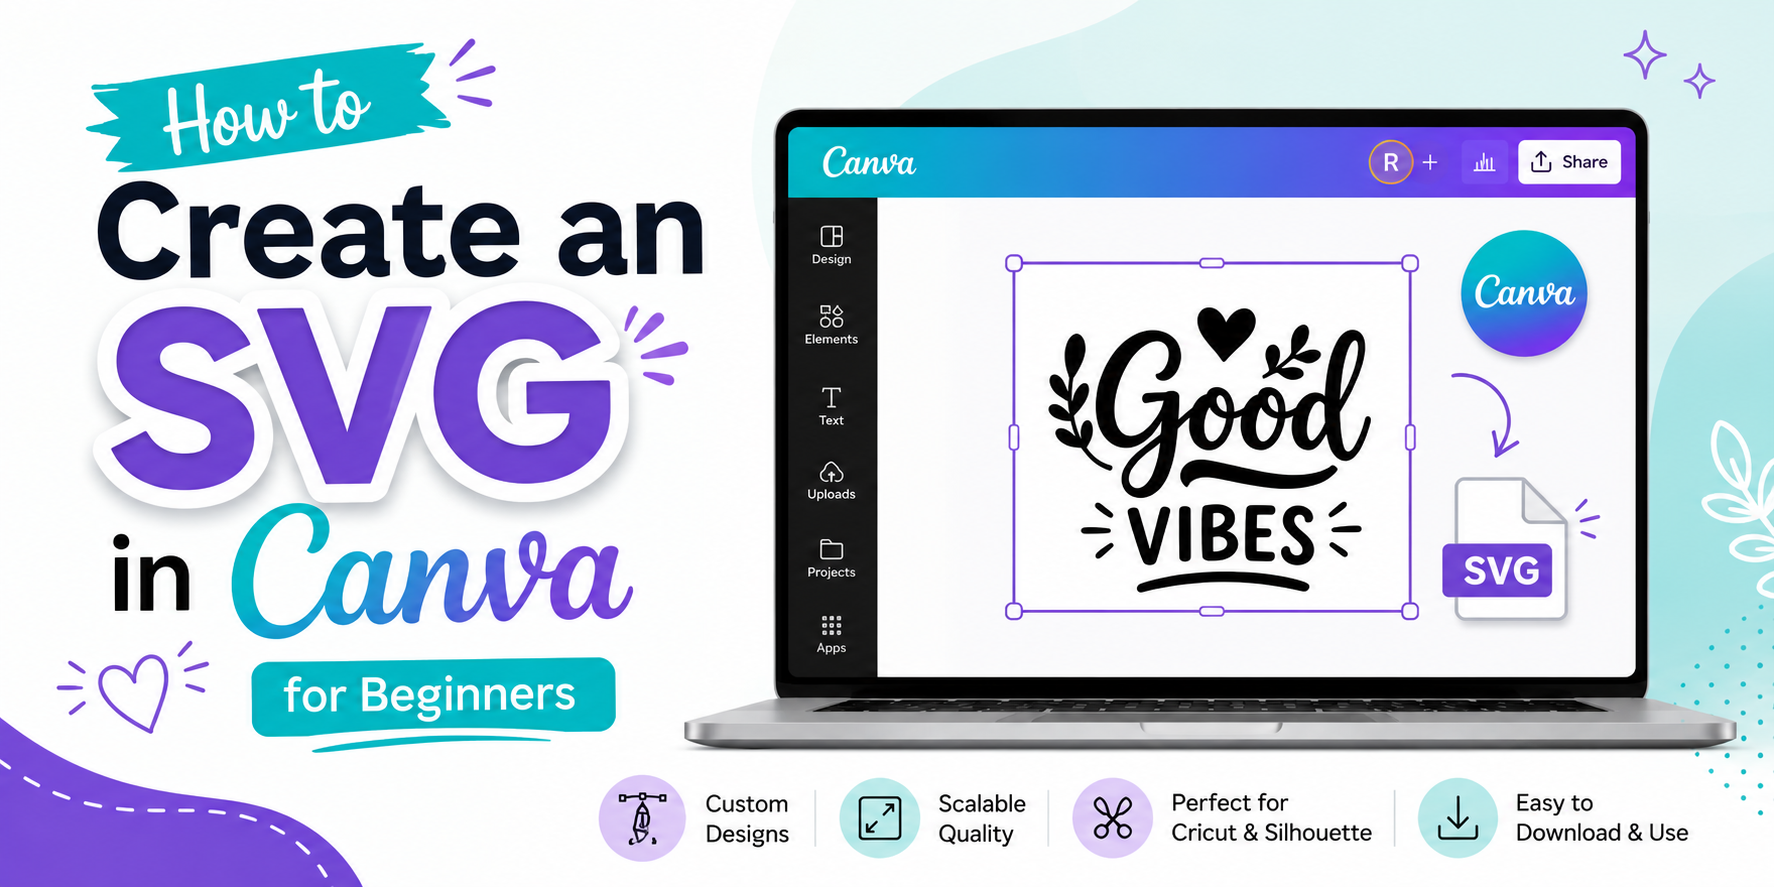
Creating an SVG file can feel confusing for beginners who want to make custom designs in Canva. Many users are unsure about the right steps, tools, and settings needed to create a clean SVG file. The process may seem difficult at first for new designers.
The good news is this guide breaks the process into simple steps. You will learn how to create an SVG in Canva, choose the right settings, and prepare your file for different uses.
With clear instructions, beginners can build SVG designs, avoid common mistakes, and use their files for projects like Cricut crafts, stickers, printables, and more. These steps help you create files with confidence.
What Is an SVG File?
An SVG file is a type of image file that uses lines, shapes, and points to create graphics. SVG stands for Scalable Vector Graphics. Unlike regular image files, an SVG can be resized without losing quality.
SVG files are useful for craft projects, logos, icons, and digital designs. They work well with cutting machines because the machine can read the shapes and cut each part with accuracy.
An SVG file is made from paths instead of pixels. This means the design stays clear and sharp, even after making it larger or smaller. For beginners, SVG files are a helpful choice for creating clean and flexible designs in Canva.
Canva allows users to create SVG files with simple design tools. You can add shapes, text, and other elements, then save the design as an SVG file for future projects.
Can You Create SVGs in Canva?
Yes, you can create SVG files in Canva. Canva lets you design custom graphics and save them as SVG files. This file type keeps your design clear and sharp, even after resizing.
Creating an SVG in Canva is simple for beginners. You can start with a blank design or use Canva tools to create shapes, icons, and text. After finishing your design, you can export it as an SVG file from the download options.
SVG files work well for projects that need clean lines and flexible sizing. They are often used for cutting machines, logos, stickers, and other creative projects.
Canva makes the process easy with its simple design tools. You do not need advanced design skills to create a basic SVG. A few steps can help you turn your idea into a usable file.
How to Create an SVG in Canva for Beginners
Creating an SVG in Canva is a simple way to make custom graphics for different projects. SVG files are useful because they can be resized without losing quality. They work well for designs like logos, stickers, labels, signs, and craft projects.
Canva gives beginners a simple workspace with tools for adding shapes, text, icons, and other design elements. You do not need advanced design skills to create a basic SVG. A few simple steps can help you build a clean and useful file.
Step 1: Create a New Design
Start by opening Canva and selecting the option to create a new design. Choose a blank page if you want to build your SVG from the beginning. A blank canvas gives you more control over every part of the design.
You can also start with a template and adjust it to match your idea. Remove any parts you do not need and keep only the elements that fit your project.
Before adding anything, decide what type of SVG you want to make. A clear idea helps you choose the right shapes, text, and layout.
Step 2: Choose the Right Canvas Size
The canvas size affects how your SVG looks during the design process. Pick a size that works well for your project. A larger canvas can give you more space to arrange different elements.
Make sure the design has enough room around each part. Crowded designs can be harder to edit and use later. Leave some empty space so each element is easy to see.
The final SVG file can be resized after export. The main goal is to create a balanced design that looks clear on the canvas.
Step 3: Add Shapes, Text, and Graphics
Now you can add the main parts of your SVG. Use Canva’s elements section to find shapes, icons, and graphics that match your design idea.
You can add text for names, quotes, labels, or other messages. Choose a font that is easy to read. Simple fonts often work better for SVG designs.
Shapes can help build the main structure of your design. You can combine circles, squares, lines, and other shapes to create custom artwork.
Try placing each element carefully. Keep the design simple so the SVG stays easy to use.
Step 4: Customize Colors and Layout
After adding your elements, adjust the colors and layout. Canva allows you to change the color of shapes, text, and graphics.
Choose colors that work well together. Too many colors can make the design look messy. A small color palette often creates a cleaner result.
Move each part until the layout feels balanced. Check the spacing between letters, shapes, and graphics. Small changes can improve the overall look of your SVG.
Step 5: Group and Align Elements
Grouping helps keep multiple elements together. Select the parts that belong together and use the group option in Canva.
This makes it easier to move or resize sections of your design without changing each part separately.
Use alignment tools to keep your elements in the right place. Straight lines and even spacing help your SVG look neat.
Take a moment to check the placement of every element. A well-arranged design is easier to edit later.
Step 6: Review Your Design
Before exporting your SVG, review the entire design. Check the text, colors, shapes, and spacing.
Look for small mistakes that may affect the final file. Make sure all elements are placed correctly and nothing is missing.
You can also check how the design looks at different sizes. This helps you see if the SVG stays clear and readable.
A final review saves time and helps you create a better file.
Step 7: Export as an SVG File
Once your design is complete, it is time to save the file. Open the download options in Canva and select SVG as the file type.
Check the settings before downloading. Make sure you are saving the correct design and file format.
After exporting, your SVG file is ready to use. You can add it to compatible projects, edit it later, or use it for your creative work.
Creating an SVG in Canva becomes easier with practice. Start with simple designs and learn each tool step by step.
Best Practices for Designing SVGs in Canva
Creating an SVG in Canva is easier with a few simple design habits. Good choices during the design process help create clean files that work well for cutting machines and other uses.
Keep Designs Simple
Simple designs often work better as SVG files. Too many small details can make the design hard to cut or edit. Use clear shapes, balanced spacing, and clean lines. A simple layout also helps the main parts of the design stand out.
Use Vector-Friendly Elements
SVG files are made for vector graphics. Use shapes, lines, icons, and other elements that can scale without losing quality. Canva includes many design elements that work well for SVG projects. These elements keep the file sharp at different sizes.
Avoid Raster Images
Raster images are made from pixels. Photos and some graphic files may lose quality when resized. They can also create problems during the SVG export process. Use vector-based elements instead of pixel-based images for better results.
Choose Readable Fonts
Font choice affects how your SVG looks and works. Pick fonts with clear letters and simple shapes. Very thin or detailed fonts may not cut well. Test the text size and spacing before exporting your file.
Organize Layers Before Exporting
A clean layer setup makes editing easier. Place each element on the right layer and remove any extra parts you do not need. Check the design order before exporting the SVG file. A well-organized file saves time during future edits.
How to Optimize Your SVG File
A clean SVG file works better for design projects. A simple file is easier to edit and use. Before adding your SVG to a project, check the file and remove anything you do not need.
Reduce Unnecessary Elements
Too many parts can make an SVG file harder to manage. Remove extra shapes, hidden layers, and unused details. Keep only the parts that are needed for your design.
A clean layout helps your file load better. It also makes future edits easier. Check each layer and remove items that do not add value to the final design.
Compress SVG Files
Large SVG files can take more space and may slow down your workflow. Compressing the file reduces its size while keeping the design quality.
Use an SVG compression tool to clean the file code. This can remove extra information from the file. The result is a smaller SVG that is easier to store and share.
Test the File Before Using It
Always check your SVG before using it for a project. Open the file in your design software and make sure every part looks correct.
Check the size, lines, colors, and layers. A quick test helps you find problems early. It also helps make sure the SVG works well for your final project.
Common Mistakes to Avoid
Creating an SVG in Canva is simple, but a few mistakes can cause problems with your final file. Knowing what to avoid helps you create a cleaner design and a smoother workflow.
Using Unsupported Elements
Some Canva elements may not work well in an SVG file. Certain graphics, effects, or design features may change after export. This can affect how the design looks in cutting machines or other programs.
Use simple shapes, clean lines, and compatible elements for better results. Check your design before saving the SVG file.
Forgetting to Convert Text When Needed
Text can create issues if the font is not available on another device or program. The design may look different after opening the SVG file.
Converting text into a shape can help keep the same look. This step is useful for designs that need to stay exactly the same after export.
Overcomplicating the Design
Too many details can make an SVG harder to use. Small parts, extra layers, and complex shapes may cause problems during editing or cutting.
Keep your design clean. Use only the elements needed to share your idea. A simple design is often easier to manage.
Exporting in the Wrong Format
Saving your file in the wrong format can stop you from using it for your project. SVG is the right choice for designs that need to keep their quality at different sizes.
Before exporting, check the file type and make sure SVG is selected. A quick review can help prevent export issues later.
Where You Can Use Canva SVG Files
SVG files made in Canva can be used for many creative projects. The file format keeps designs clear and sharp at different sizes. This makes SVG files useful for both digital and physical projects.
Cricut Projects
Canva SVG files work well with Cricut machines. You can use them to create custom designs for cards, home decor, labels, and other craft projects. Upload the SVG file to Cricut Design Space, adjust the size, and prepare it for cutting.
Silhouette Studio
SVG files from Canva can also be used in Silhouette Studio. They help you create clean cuts for craft projects. You can make custom shapes, patterns, and designs for different materials.
Laser Cutting and Engraving
SVG files are useful for laser cutting and engraving projects. The clear lines help machines follow the design with accuracy. You can use them for wood signs, acrylic pieces, and other handmade items.
Websites and Logos
SVG files are a good choice for website graphics and logos. They keep images clear on different screen sizes. A logo saved as an SVG can look sharp on both small and large displays.
Stickers, T-Shirts, and Printables
Canva SVG files can be used for stickers, T-shirts, and printable designs. You can create artwork, save it as an SVG, and use it for different products. This file type helps keep the design quality during printing and cutting.
Troubleshooting Canva SVG Issues
Creating an SVG file in Canva is usually simple, but small problems can happen during the process. A few export or design settings can affect how your file looks or works in cutting software. These common fixes can help you solve SVG issues and prepare your design for Cricut or Silhouette projects.
SVG Export Option Missing
The SVG download option may not appear for every Canva account or design. Check if your Canva plan supports SVG downloads. Some features are only available with certain plans.
The design size can also affect the export option. Make sure your design uses a suitable size and format. Open the download menu again and check the file type options.
If SVG is still not available, review your Canva settings or try creating a new design file. A fresh file can sometimes fix export problems.
Fonts Not Displaying Correctly
Fonts may look different after exporting an SVG. This often happens because the font is not supported by the program you use to open the file.
To prevent this issue, convert text into a graphic element before downloading your SVG. This keeps the shape of the letters the same.
You can also check your cutting software after importing the file. Make sure the text layers appear correctly before starting your project.
Design Looks Different After Export
Your SVG may not look the same after export because of missing elements, color changes, or layer settings. Review your design in Canva before downloading it.
Keep your design simple with clear layers and separate elements. Group related parts together so they stay in the right place.
After downloading, open the SVG in your cutting software to check the result. Small adjustments may be needed before cutting the final design.
File Won't Open in Cricut or Silhouette
A Canva SVG file may fail to open in Cricut or Silhouette because of file errors or unsupported elements. Start by checking that the file downloaded completely.
Try uploading the SVG again. If the issue continues, open the file in another design program and save it again as an SVG.
Also, check the layers and remove any extra effects that may cause problems. A clean SVG file is easier for cutting machines to read and use.
Canva SVG Tips for Beginners
Creating SVG files in Canva becomes easier with a few simple habits. Beginners can save time, avoid mistakes, and create cleaner designs by following a few basic steps. These tips help you build confidence as you work on your SVG projects.
Start with Simple Designs
Begin with basic shapes, icons, and simple text. A clean design is easier to edit and export as an SVG file. Too many details can make your design harder to manage.
Try making a small project first. A simple logo, label, or cut file can help you learn Canva tools without feeling overwhelmed.
Save Template Copies
Keep a copy of your original design before making changes. This lets you return to the first version if you need to fix something later.
Create a new copy before testing different colors, fonts, or layouts. Your original file stays safe, and you can try new ideas without losing your work.
Use Grids and Guides
Grids and guides help you place elements in the right position. They keep your design balanced and make spacing easier to control.
Use these tools to line up text, shapes, and images. A well-organized layout creates a cleaner SVG file that looks better after export.
Preview Before Exporting
Check your design carefully before saving the SVG file. Look at the size, spacing, colors, and small details.
A quick preview helps you spot errors before using the file for printing or cutting. Make any needed changes first, then export your final SVG from Canva.
Final Notes:
Creating an SVG in Canva does not have to feel difficult. With the right steps, beginners can make clean and useful SVG files for many creative projects.
Start with a clear design idea. Use simple shapes, readable text, and organized layouts. Check your file before exporting to make sure all parts look correct.
Practice helps you become more comfortable with Canva tools. Begin with small designs, test your SVG files, and improve your skills with each project.
A well-made SVG file can be used for Cricut crafts, Silhouette projects, logos, stickers, printables, and more. By following these steps, you can create SVG designs that are ready for your creative needs.
FAQs
Can I create an SVG file in Canva for free?
Yes, Canva allows you to create SVG designs with its design tools. Some download options may depend on your Canva plan. Check the available file types before exporting your design.
What is the best Canva size for creating an SVG?
The best size depends on your project. Choose a canvas size that gives enough space for your design. A balanced layout with clear spacing helps create a better SVG file.
Can Canva SVG files be used with Cricut?
Yes, Canva SVG files can be used with Cricut machines. You can upload the SVG file to Cricut Design Space and prepare it for your craft project.
Why does my SVG look different after exporting from Canva?
Your SVG may look different because of font issues, unsupported elements, or layer settings. Review your design before exporting and use simple elements for better results.
Should I use images in a Canva SVG design?
It is better to use vector-based elements like shapes, lines, and icons. Raster images may lose quality and can create issues during the SVG export process.
How can I make my Canva SVG file easier to edit?
Keep your design organized by grouping related elements and removing extra parts. A clean layout makes future edits easier.
Can I use Canva SVG files for logos and stickers?
Yes, SVG files work well for logos, stickers, printables, and other creative projects. The file format helps keep designs clear at different sizes.
Why is my SVG file not opening in Cricut or Silhouette?
The file may have unsupported elements or export issues. Check the SVG file, remove extra effects, and try saving it again before uploading.