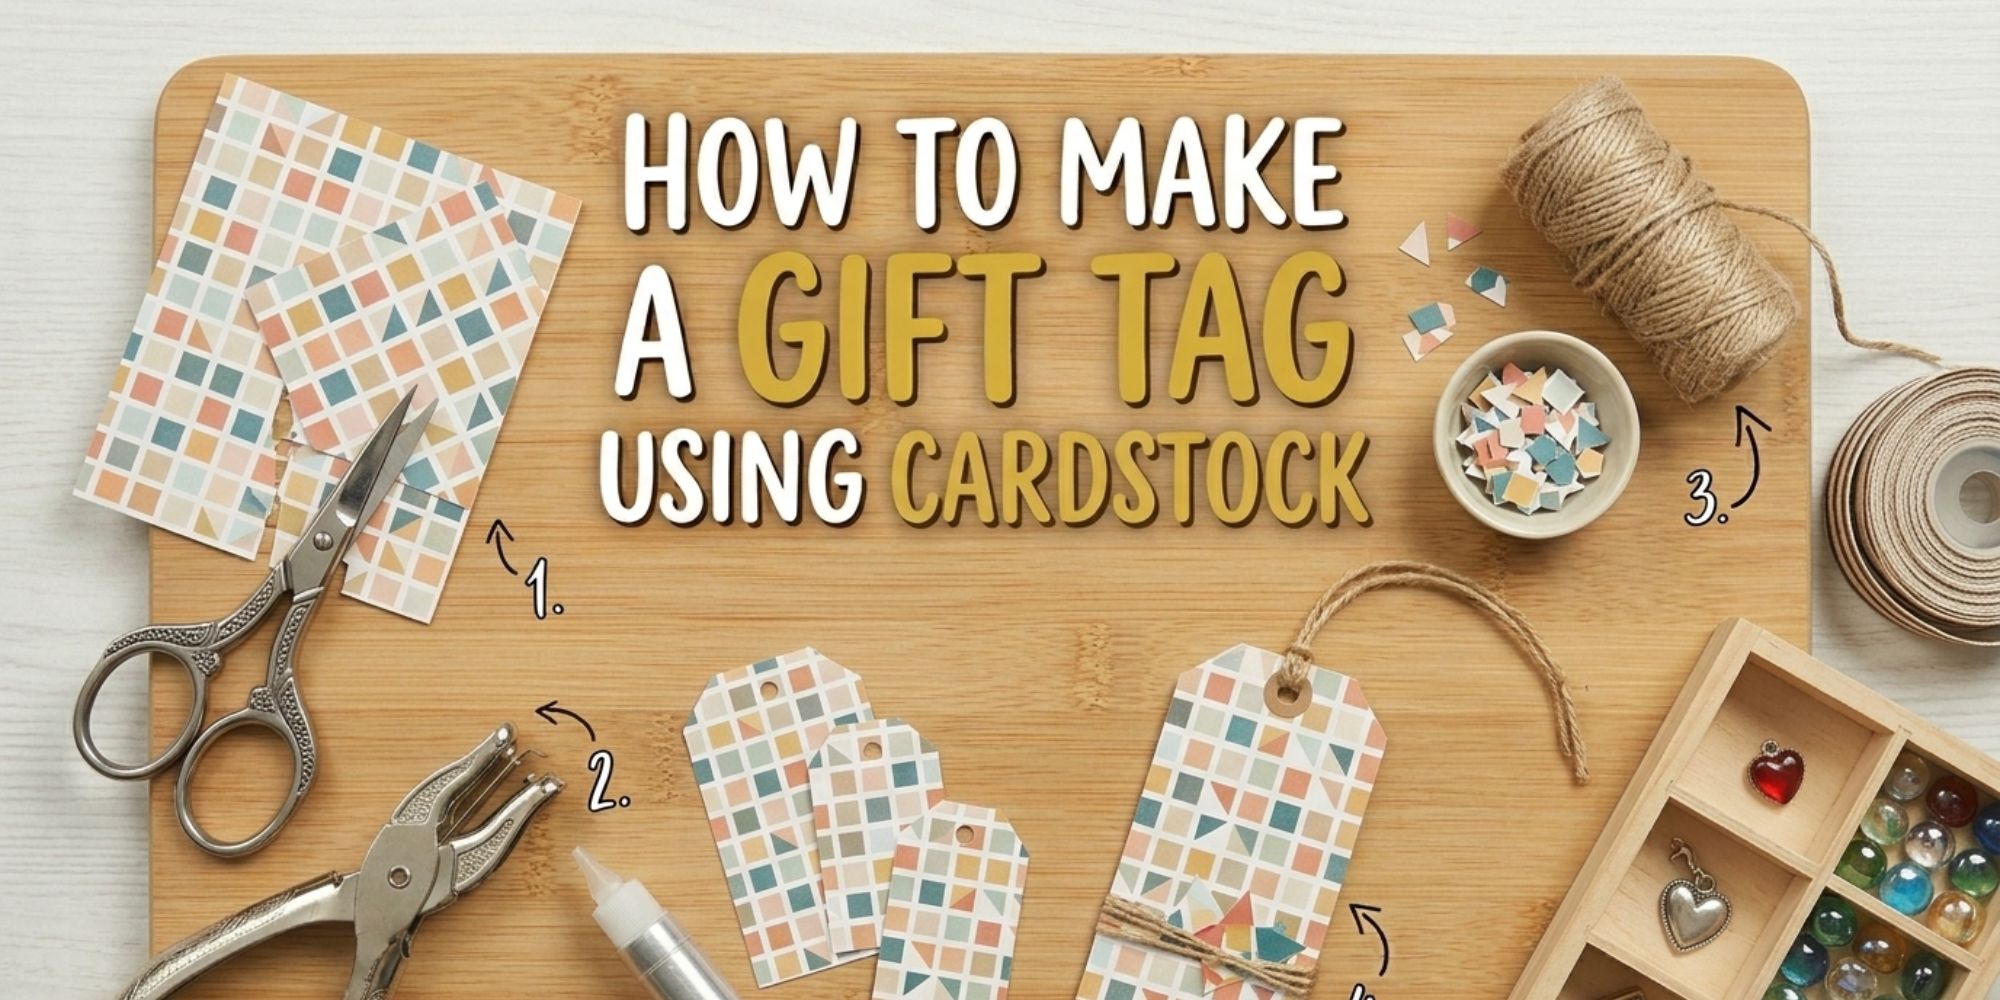
How to Make a Gift Tag Using Cardstock
Gift wrapping often feels incomplete without a gift tag. A plain package can look unfinished and less personal. Many people face this small but annoying problem when they want their gift to stand out.
Without a proper tag, it can be hard to add a name or a short message. Store-bought tags may not match the style of the gift. This can make the whole present feel less thoughtful, even if the gift itself is special.
A simple sheet of cardstock can solve this. It lets you create clean and custom gift tags at home. You can shape, cut, and decorate it in your own way for a neat final touch. Visit ArtBubbles for creative gift tag designs.
Things You’ll Need
You will need a few simple items to make a gift tag using cardstock. These items help you cut, design, and finish your tag with ease. Keep everything ready before you start.
- Cardstock
- Printer (optional)
- Hole puncher
- String
- Scissors
- Metallic pens, glitter glue, sequins, etc (optional)
- Foam mounting tap (optional)
- Shaped scrapbook punchers
9 Steps to Make a Gift Tag Using Cardstock
Here are nine simple steps to make a gift tag using cardstock. Each step shows you what to do in a clear way.
Read the steps below to follow the full process from start to finish.
Step 1: Choose Your Cardstock
Start with colorful cardstock for your project. Pick a blank sheet if you want to decorate it later, or print a design directly on the paper. Use thicker cardstock from 65 to 110 lb so it stays strong during cutting and folding. Smooth cardstock works best for printing images, while textured paper gives a handmade look. Feed only one sheet at a time into the printer to avoid jams.
Step 2: Cut the Cardstock Shape
Cut a shape from cardstock. Shapes include hearts, circles, or squares. Cutting works by hand or with decorative scrapbook hole punches.
- For a standard gift tag, cut a rectangle first. Trim two corners of one narrow end to form a point. For a folded tag, cut a rectangle, then fold it in half. Printed images on cardstock work well. Feed one sheet at a time into the printer.
- Trace a printed tag template onto cardstock for cleaner edges. This helps shapes stay even and neat. A craft knife creates sharper corners than scissors. A cutting mat protects the table and keeps cuts smooth.
- Glue two thin cardstock sheets together before cutting. This creates stronger tags that resist bending. Two layers keep the shape firm during use.
Step 3: Decorate the Tag
Start by decorating the tag in any style you like. Let it dry fully before handling it again. This keeps the design neat and clean for the next step. Take your time and enjoy the process.
- Match the design to the gift bag, holiday, event, or the person who will receive it. A simple drawing or theme can make the tag feel more personal. A cat sketch works well for someone who loves cats.
- Use metallic pens or glitter glue to draw simple patterns or shapes. These tools add shine and make the tag stand out without much effort. Small details often bring the design together.
- Add rhinestones or sequins for extra sparkle. Place them in corners or around drawings for a balanced look. Washi tape also works well around square or rectangular edges to create a clean border.
- Finish with themed stickers that fit the occasion. Birthday tags can include balloons or candles. Layering small decorations and soft fabric pieces can also add depth and a handmade touch.
Step 4: Create a Layered Tag
After decorating your main tag, add a second layer for a 3D effect. Cut a smaller shape from cardstock and decorate it to match or contrast the base design. A square tag can hold a heart shape on top for a simple design twist. This extra layer brings more depth and interest to your craft.
- Use foam mounting tape to attach the smaller piece onto the main tag. Thin foam gives a soft lift, while thick foam creates a stronger shadow effect. Place the shape in the center for a clean look or shift it slightly for a playful style.
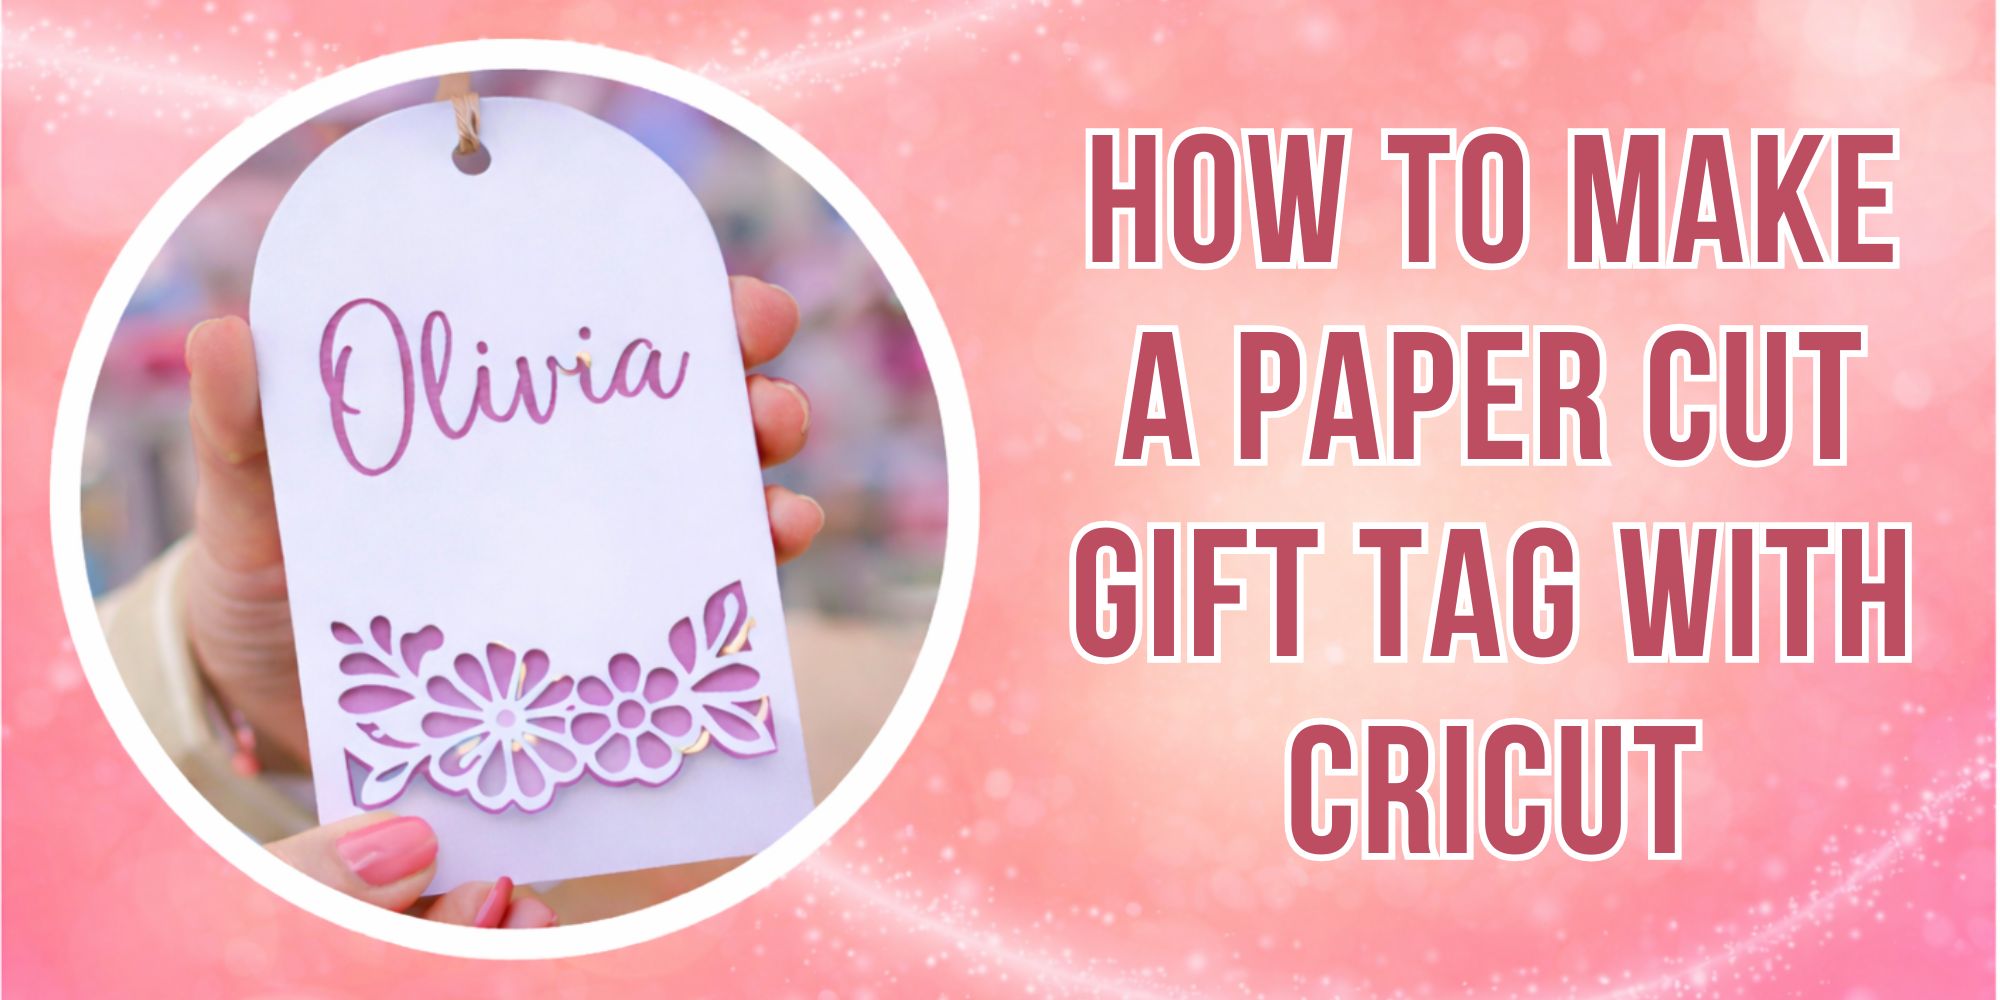
Learn more: How to Make a Paper Cut Gift Tag with Cricut
Step 5: Add Your Message
Write your message on the back of the gift tag. Use a simple “To… From…” format or create your own style. You can also add personal names like “Beloved Wife,” “Doting Dad,” “Sweet Daughter,” or “Wonderful Son.” For special times, use greetings like “Happy Holidays” or “Happy Valentine’s Day.” Pick a tone that fits the person. It can feel funny, emotional, simple, or formal.
- Short messages work best when space is small. Try lines like “Made just for you” or “With love always.” If you made a folded tag, place the message inside the card instead of the back. Keep it neat and clear so the words match the gift and feel personal.
Step 6: Punch a Hole and Attach the Tag
Punch a hole near the top of the gift tag. Keep it away from the written message. If the tag is folded, punch through both layers of cardstock. Add a small reinforcement sticker around the hole to stop tearing and help the tag last longer.
- Double-sided adhesive or tape can attach the tag directly to the gift.
Step 7: Cut the String
Cut a piece of string about twice the length of your finger for your tag. This string helps tie or hang the tag in place. Choose twine or yarn for a rustic look, or use ribbon or metallic thread for a more decorative finish. Thin string gives a clean style, while thicker string feels bold and noticeable.
Step 8: Attach the String
Fold the string in half. Push the folded end through the tag hole to form a loop. Pull the two loose ends through the loop. Tug both ends to tighten and secure the knot. For a stronger hold, double loop the string through the hole before tightening to stop slipping.
Step 9: Attach the Tag to Your Gift
Wrap the two loose ends of the string around the handle of a gift bag or around the ribbon on a wrapped present. Pull the ends together and tie a tight, secure knot so the tag stays in place. Choose tag colors that match your wrapping paper or ribbon. Keep a simple color theme so the whole gift looks clean and neat.
Final Thoughts
Making a gift tag using cardstock is a simple craft. It starts with cutting a clean shape from sturdy paper. Small details like neat edges and clear holes help the tag look better. Writing a name or short message adds a personal touch. Simple tools at home can do the job well. The process stays easy and fun.
Finishing a gift tag brings a nice sense of care. A strong cardstock base keeps it lasting through wrapping and handling. Colors and shapes can match any occasion with ease. A small ribbon or string helps it attach to a present. Each tag shows effort and attention, making gifts feel more thoughtful for others.
FAQs
What type of cardstock works best for gift tags?
Medium to thick cardstock works well for gift tags. It holds its shape and does not bend easily. Smooth cardstock also helps if you plan to print designs on it.
Do I need a printer to make gift tags from cardstock?
A printer is optional. You can print designs if you want neat patterns or text. You can also draw or write on the cardstock by hand.
What tools are needed to cut cardstock gift tags?
Scissors work for simple shapes. A craft knife can help with more detailed cuts. A ruler also helps keep edges straight.
How can I make gift tags more decorative?
You can use metallic pens, stickers, or glitter glue. Small decorations like sequins also work well. Simple designs can still look neat and creative.
How do I punch a hole in a cardstock gift tag?
Use a hole puncher to make a clean hole near the top of the tag. Place it about half an inch from the edge. This keeps the tag strong and prevents tearing.
What can I use instead of string for gift tags?
You can use ribbon, twine, or thin yarn. Even fabric strips can work. Choose something that ties easily and holds the tag in place.