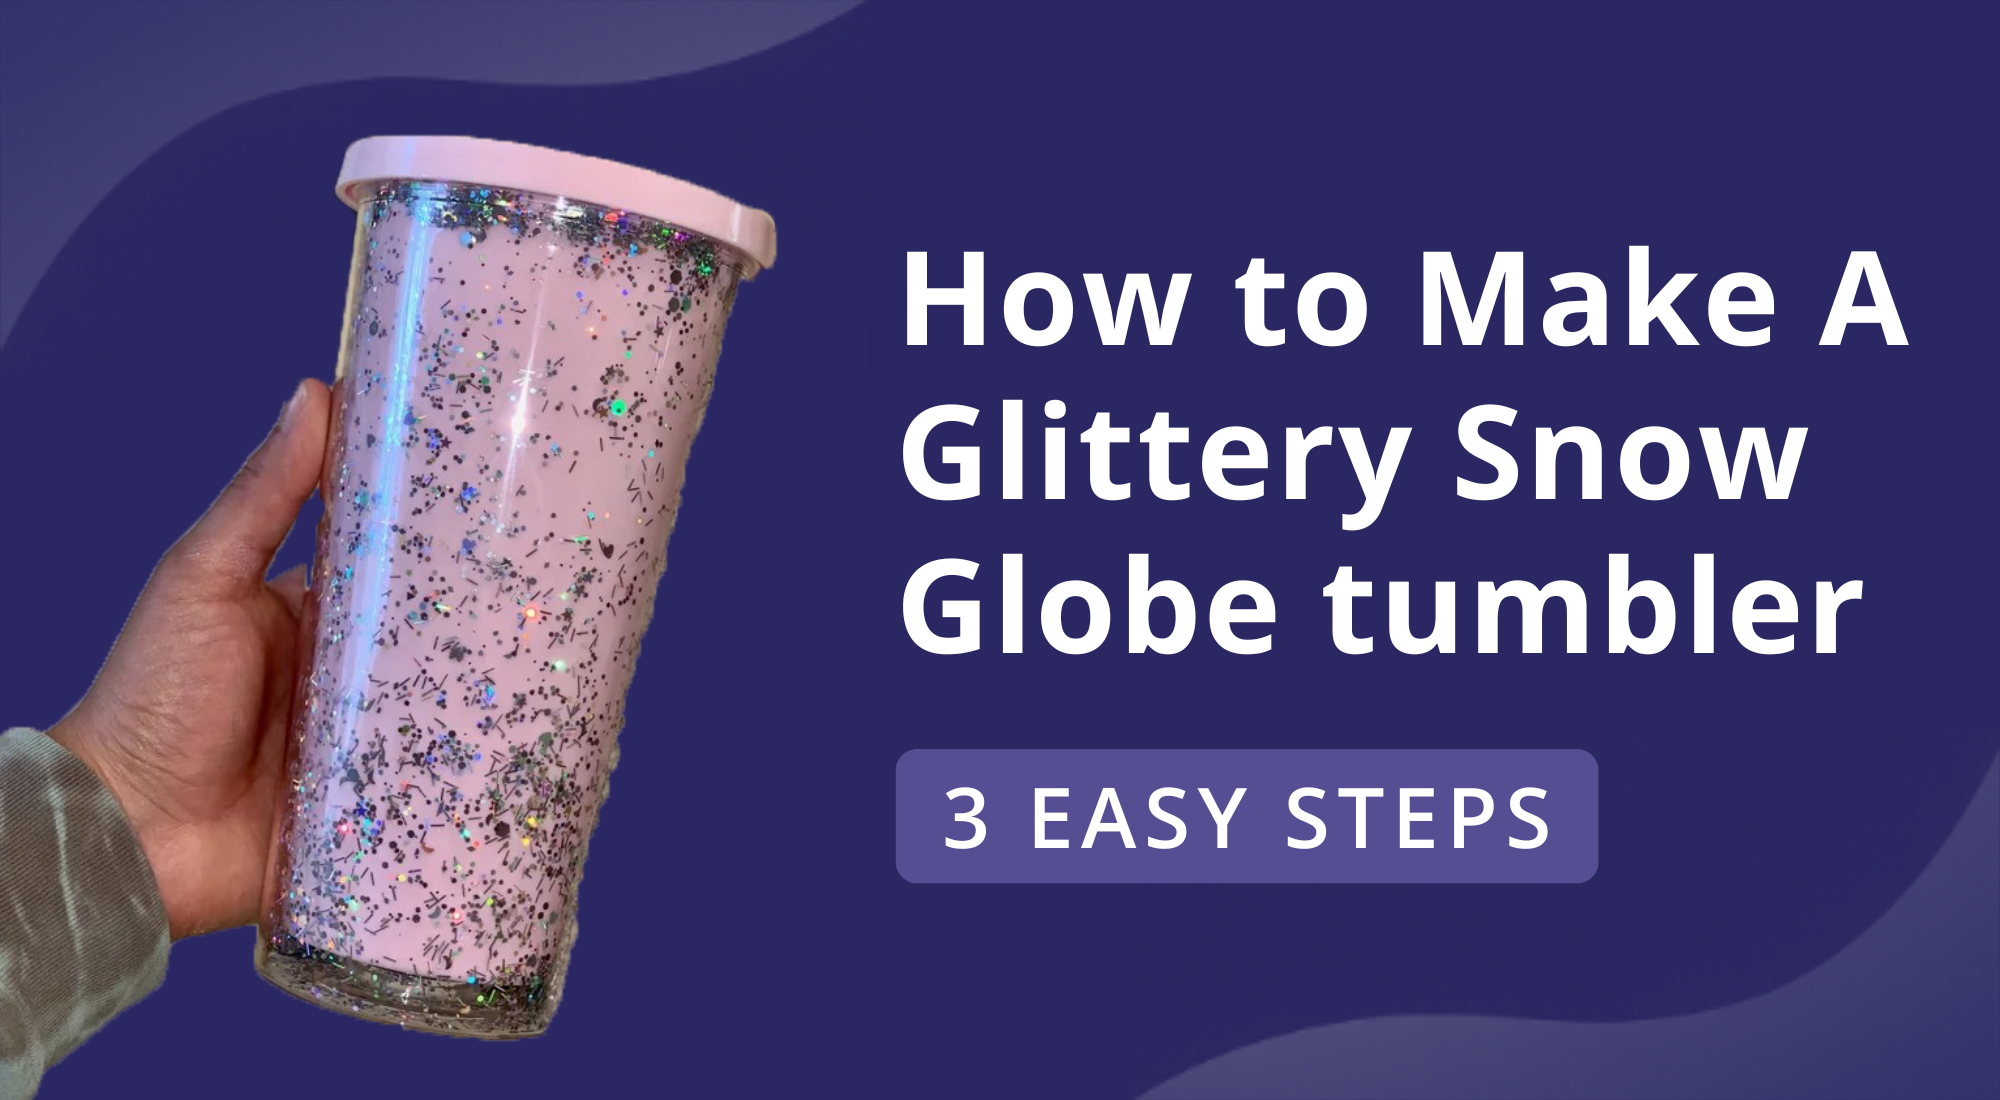
How to make a Glittery Snow Globe Tumbler: 3 Easy Steps
Ever looked at those sparkling snow globe tumblers online and wished you could have one that’s truly your own? Buying them can get expensive, and most store-bought versions don’t match your style or favorite colors. That can leave you stuck with something generic or bland, missing the fun of sipping from a tumbler that feels personal.
The good news is, you don’t have to settle. You can create a glittery snow globe tumbler right at home, perfectly customized to your taste. Whether you want a fun gift for a friend, a festive cup for yourself, or even a unique item to sell on Etsy, making one yourself is simpler than it looks. A few easy steps, some glitter, and a little creativity are all it takes to turn a plain tumbler into something eye-catching and fun.
Follow along with this step-by-step guide, and you’ll have a stylish, sparkling tumbler in your hands before you know it. By the end, you’ll not only enjoy a festive drinkware piece but also gain the satisfaction of crafting it yourself.
Why Make a DIY Glittery Snow Globe Tumbler?
Creating your own glittery snow globe tumbler is more than just a craft project. It gives you a chance to relax, be creative, and make something unique for yourself or others. This simple activity can bring joy, fun, and a sense of accomplishment. Here are some reasons why making one is worthwhile:
- Fun and relaxing activity: Crafting a tumbler allows you to focus on something enjoyable, which can reduce stress and calm your mind. Spending time designing and assembling your tumbler provides a break from daily pressures.
- Creative expression: Making a DIY snow globe tumbler is a perfect way to show your personal style. You can experiment with colors, shapes, and glitter patterns to create a tumbler that reflects your ideas and imagination.
- Thoughtful, customizable gift: A handmade tumbler can be a special gift for friends or family. You can add elements that they love, turning a simple tumbler into a heartfelt, personalized present.
- Meaningful activity with kids: Crafting with children is both fun and educational. Kids improve their fine motor skills and creative thinking, while parents get a chance to spend quality time and strengthen their bond.
- Custom seasonal designs: You can design tumblers for different holidays or seasons, such as winter, Halloween, or birthdays. This makes your tumbler a versatile decoration and gift that fits any occasion.
What liquids are put into the glittery snow globe tumbler?
A DIY glittery snow globe tumbler combines creativity, fun, and personalization. Whether it’s a stress-relief activity, a family project, or a unique gift, it’s a simple way to make something meaningful and enjoyable year-round.
Choosing the Right Liquids for a Glittery Snow Globe Tumbler
When making a DIY glittery snow globe tumbler, it is important to pick the right liquids. Common choices include glycerin, water, and clear glue. Baby oil can be used, but it is not recommended for plastic tumblers because its thicker consistency may cause issues.
Beginners should start with a simple mix. Use equal parts water and glycerin or half the amount of clear glue. This makes it easier for the glitter to float without clumping or sinking too quickly. Mixing thoroughly ensures a smooth result.
Once the liquids are ready, pour them carefully into the tumbler. Then add glitter. Shaking the tumbler will make the glitter move beautifully inside, creating the classic floating effect that makes snow globe tumblers so appealing.
Different liquids affect glitter movement in unique ways. Glycerin slows the glitter, water makes it move faster, and clear glue gives a medium float. Adjusting the mix lets you control how the glitter behaves.
What is the ratio of different liquids in a glittery snow globe tumbler?
The best ratio for a DIY glittery snow globe tumbler is ⅓ cup (79 mL) clear glue to ⅔ cup (158 mL) distilled water. This combination creates a balanced suspension solution that keeps the glitter floating evenly without making a mess. Using this ratio helps the glitter move at a steady pace, giving the snow globe a smooth and consistent effect.
Adjusting the ratio changes how the glitter behaves. More glue makes the liquid thicker, slowing down the glitter, while adding more water thins the solution, letting the glitter fall faster. You can experiment within a safe range to find the perfect look for your tumbler. Vegetable glycerin is a thinner alternative to clear glue that also lets glitter move more smoothly, offering a slightly different visual effect.
You can also add a touch of color or shimmer. A few drops of liquid watercolor or mica powder can tint the solution without affecting the suspension. This simple addition lets you create unique designs while keeping the glitter movement just right.
Materials Needed for a DIY Glittery Snow Globe Tumbler
Having all your materials ready makes crafting a glittery snow globe tumbler much easier and more enjoyable. Gather the following essential tools and supplies before starting your project:
- Drill
- Distilled water
- Glycerin
- Epoxy
- Acrylic double-wall tumbler
- Glitter
- Mixing stick
- Mica with subtle silver shimmer
- UV light
- Syringe or pipette
- Rubbing alcohol
- Paper towel
- Bowl
- Measuring cup
- Clear glue
- Tape
Preparing everything in advance ensures a smooth and fun crafting process.
Easy Steps to Make a Glittery Globe Snow Tumbler
Now that you know the easy steps for creating a glittery snow globe tumbler, it’s time to put that knowledge into action. The following steps from Artbubbles will guide you through the process, showing you exactly how to make your own sparkling tumbler. Keep reading to follow each tip and instruction to create a stunning DIY snow globe tumbler.
Step 1. Drilling the Tumbler
Start by choosing a clear, double-walled tumbler. Check the gap between the inner and outer layers. A larger gap makes it easier to create a hole for adding glitter. Pick a tumbler made of thicker plastic to prevent cracking. Choose a size and shape that works best for you, such as 16, 24, or 32 oz.
Before drilling, mark the spot at the bottom where you want the hole. Use a marker or a small piece of tape to make a clear target. This helps prevent mistakes and keeps the hole centered.
To drill the hole, use a 5/16 drill bit. Position the drill at the marked spot on the bottom outer layer. Drill slowly and steadily. Stop once you reach the gap between the layers. Take your time to avoid cracking the plastic. You might hear a slight popping sound when the drill enters the gap.
If you prefer not to drill, you can use a hot-fix tool with a 7 mm concave attachment. Heat the tool and carefully press it at the marked spot. Hold it in place for about one minute. The high heat will melt a small hole in the outer layer. Be very careful to avoid burns while handling the tool.
After making the hole, remove any plastic debris. Reverse the drill slowly to release leftover pieces. Shake the tumbler upside down to get rid of loose bits. Use tweezers for any stubborn pieces. When using the hot-fix tool, reapply heat to soften pieces that did not come out and remove them carefully with tweezers.
Following these steps ensures a clean, safe hole ready for adding glitter. Marking the drilling spot, drilling slowly, and removing debris properly help prevent cracks or damage to your tumbler. Safety is important, so handle tools with care and check your work before moving to the next step in your project.
Step 2. Filling the Tumbler
Filling a double-walled plastic tumbler with glitter requires care and patience. Following a step-by-step approach helps the glitter settle evenly and prevents air bubbles. This guide will walk you through each step to achieve a smooth, sparkling finish.
1. Create a barrier around the hole
Before adding any glitter or liquid, it’s important to protect the edges of your tumbler. Masking tape acts as a barrier to keep glue and glitter from spilling over. Take your time to secure it evenly around the hole.
- Place masking tape around the edge of the tumbler hole.
- This barrier prevents glitter or glue from spilling over the sides.
- Make sure the tape is secure and covers any gaps along the hole.
2. Pour water and chunky glitter
Adding glitter in layers creates depth and sparkle inside your tumbler. Starting with small amounts allows you to control the distribution. Tapping and twisting gently helps the glitter settle evenly.
- Add a small amount of water into the hole first.
- Then pour in chunky glitter. Tap and twist the tumbler gently to help the glitter fall evenly.
- Continue layering until you have about 1–2 inches (2–5 cm) of glitter.
- Experiment with mixing fine, medium, and chunky glitter for more sparkle and dimension.
3. Mix a glitter suspension solution
The glitter suspension solution helps the glitter move and stay in place. Adjusting the glue-to-water ratio changes how fast or slow the glitter falls. Adding glycerin or mica can improve movement and shimmer.
- In a small bowl, combine ⅓ cup (79 mL) clear glue with ⅔ cup (158 mL) water.
- Stir until smooth. You can also add a small amount of vegetable glycerin to make the glitter move more freely.
- Adjust the ratios: more glue makes glitter fall slowly, more water makes it flow faster.
- For extra sparkle, add mica or metallic flakes to the mixture.
4. Add the glue mixture into the tumbler
Pouring the solution carefully ensures even coverage and reduces air bubbles. Using a syringe or pipette gives more control. Gentle tapping and shaking mixes the glitter with the solution.
- Use a syringe or pipette to pour the glue solution into the hole.
- Tap the bottom of the tumbler and shake gently to mix the glitter evenly.
- Continue adding until the mixture reaches the top of the hole.
- Pour slowly along the side of the tumbler to reduce air bubbles.
Let the tumbler sit overnight
Place the filled tumbler in a stable spot where it won’t be disturbed. This gives air bubbles time to rise and disappear naturally. Letting it rest overnight ensures the glitter settles evenly and the solution smooths out.
Shake and check before sealing
Before sealing the tumbler, plug the hole with your finger or a paper towel and shake gently to check glitter distribution. If the glitter is uneven or the mixture is low, add more glue solution or glitter until it reaches the top. Once satisfied, lightly tap the tumbler on a soft surface to settle any remaining bubbles and create a smooth finish.
Sealing your glitter-filled double-walled tumbler ensures it is leak-proof and looks polished. This process protects the glitter inside and gives the tumbler a smooth, finished bottom. Follow these steps carefully for the best results.
Step 3. Sealing the Tumbler
A clean base helps the resin stick properly and prevents leaks. Make sure the bottom is free from dust, oils, or debris before sealing.
- Dampen a paper towel or cotton ball with rubbing alcohol.
- Wipe the bottom of the tumbler thoroughly.
- Let it dry completely before moving to the next step.
1. Pour UV Resin or 5-Minute Epoxy into the Hole. Filling the hole slowly prevents air bubbles and ensures a strong seal. Safety is important when working with resin.
- Wear gloves and a respirator mask.
- Squeeze the UV resin gently around the hole and slowly fill it.
- Alternatively, mix and pour 5-minute epoxy if preferred.
- Tap the tumbler lightly to release trapped air bubbles, or use a toothpick to pop small bubbles.
2. Cure the Resin and Check for Leaks. Curing the resin solidifies the seal and prevents spills. Always inspect the bottom to make sure it is fully protected.
- Place the tumbler under a UV light for 2 minutes.
- Flip it over and check for any leaks.
- If needed, add more resin and cure again until fully sealed.
3. Apply a Thin, Even Layer to the Entire Bottom
A full resin layer gives the tumbler a smooth, professional finish and enhances the sparkle.
- Use a silicone brush or gloved finger to spread resin evenly across the bottom.
- Optionally, sprinkle a small amount of glitter for extra shine.
- Cure the resin again under UV light to set the final layer.
- Make sure the bottom is smooth and free of streaks or bumps before using your tumbler.
Conclusion
Making your own glittery snow globe tumbler is fun and rewarding. It adds a personal touch to items you use every day and saves money compared to buying ready-made options. You can choose colors, glitters, and tumbler styles to match your taste. With durable stainless steel options and unique designs, the possibilities are endless. Follow ArtBubbles guide to craft a sparkling, customized tumbler for yourself, friends, and family.
FAQ:
What is the best liquid for making a snow globe tumbler?
The best liquid is a mix of distilled water and a small amount of glycerin. The glycerin slows down the glitter so it falls more slowly and looks like real snow. You can also add a few drops of clear glue for extra thickness.
What is the ratio of glycerin and water for the glittery snow globe tumbler?
A common ratio is about 1 part glycerin to 3 parts water. This keeps the glitter floating nicely without making the liquid too thick. You can adjust slightly if you want the glitter to fall faster or slower.
Why is distilled water used while making the glittery snow globe tumbler?
Distilled water is free from minerals and impurities. This helps prevent cloudiness and keeps the glitter moving smoothly. Tap water can cause the liquid to look cloudy over time.